I have been so busy I forgot to post this up here for my friends on Tweakscene. Alot has changed here, I don't even see my OS's anymore but maybe I am not looking in the right spot.
Anyway I recently placed 3rd in a modding contest and was fortunate enough to gain a wonderful sponsor "Coolermaster"
I will be bringing this rig up to PAX Prime in Seattle Washington at the end of this month.
Hey guys so I am completely redoing my case since I was given permission from Gigabyte and the judges so long as I keep the same case and basic theme.
Yeah I know I over did it on the carbon fiber so the transformation from air to liquid will only have some subtle carbon fiber to accent everything I have planned.
Sponsors for this build:
Coolermaster
Patriot Memory
List of products used in the build:
Coolermaster Haf932 Black Edition
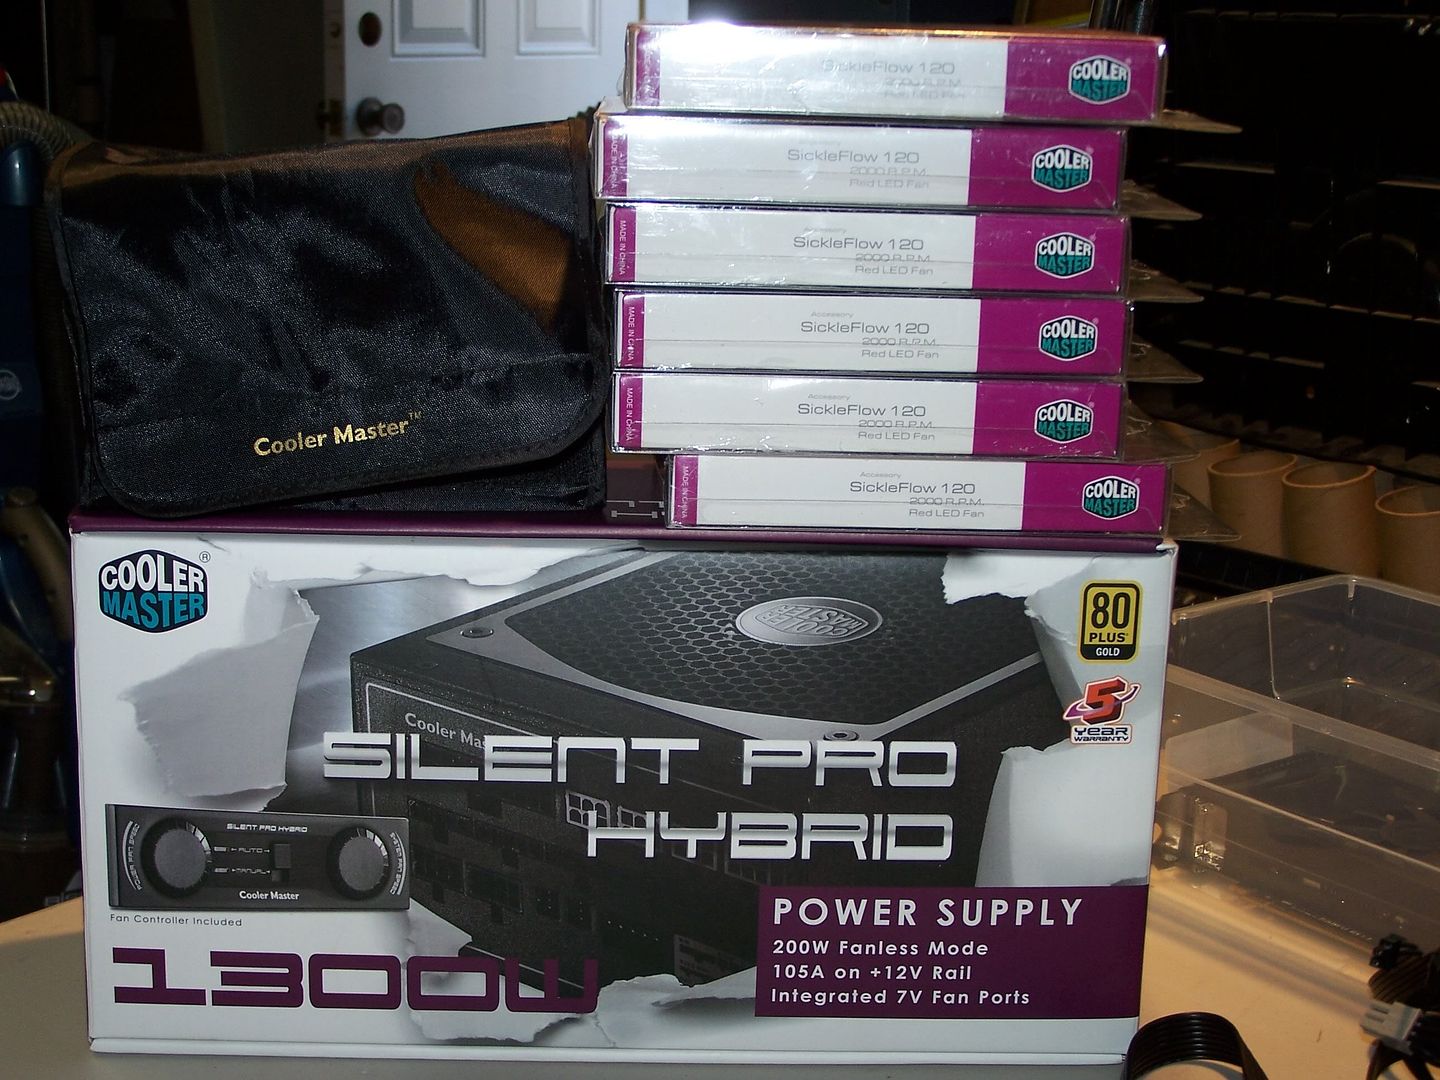
Coolermaster 1300W Silent Pro Hybrid PSU
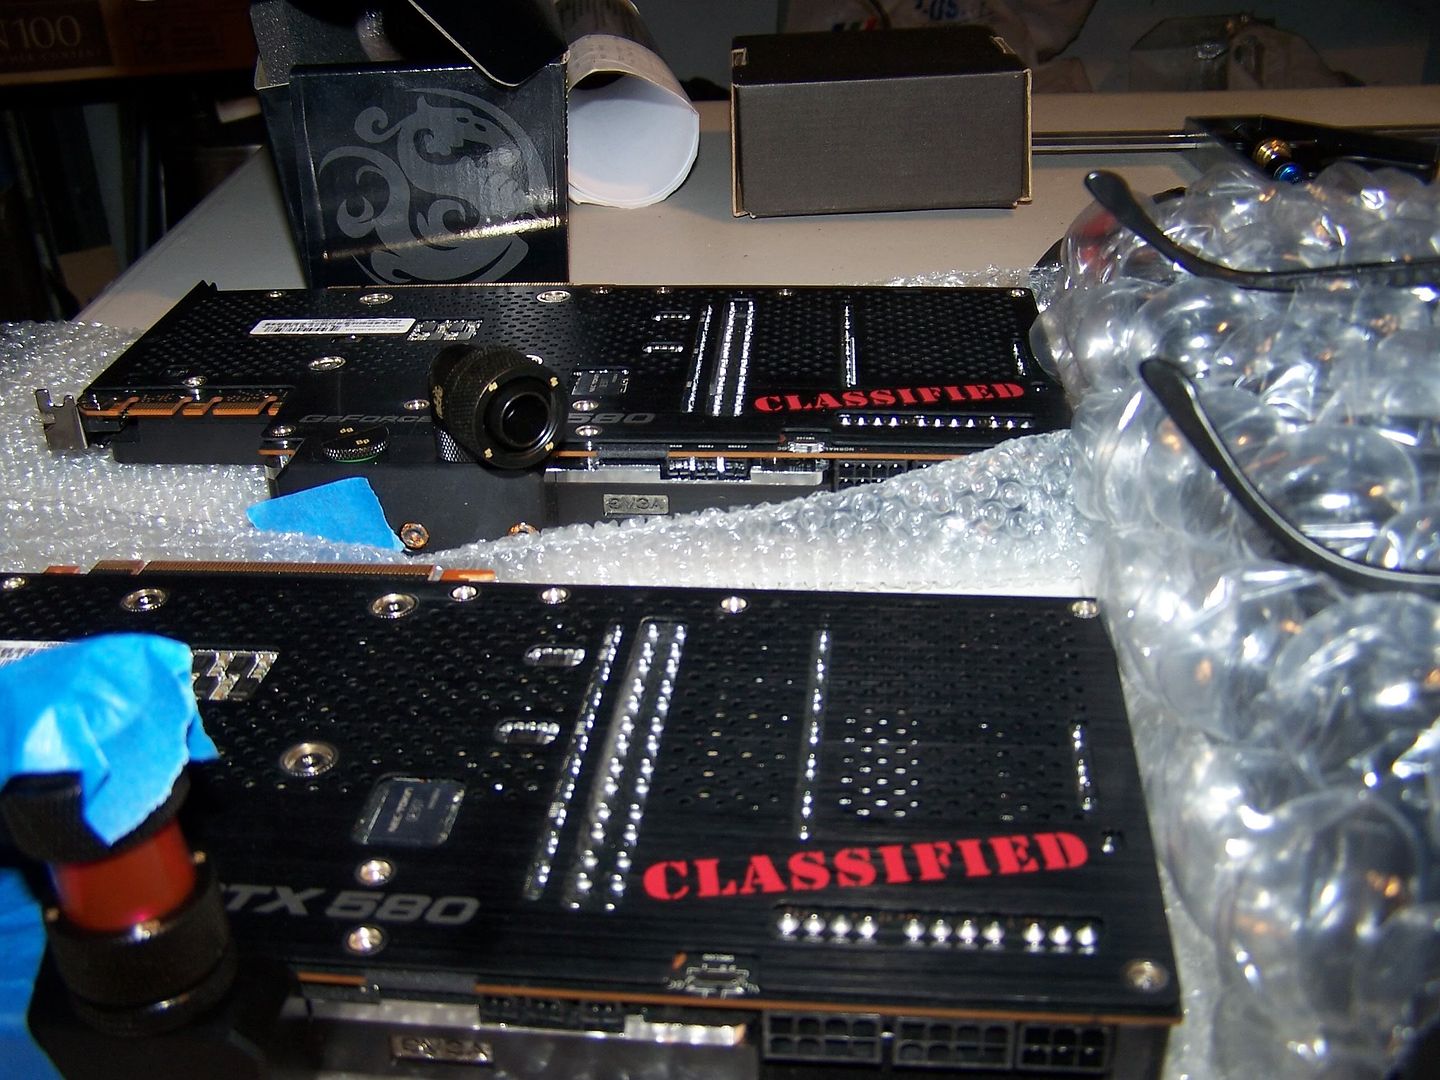
2 EVGA GTX 580 Classified Hydro Copper 3072mb GPU's
Eheim Pump
Gigabyte GA-Z68X-UD7 Motherboard
Patriot Viper Extreme 2133mhz Memory 16gigs
2 Crucial M4's RAID 0
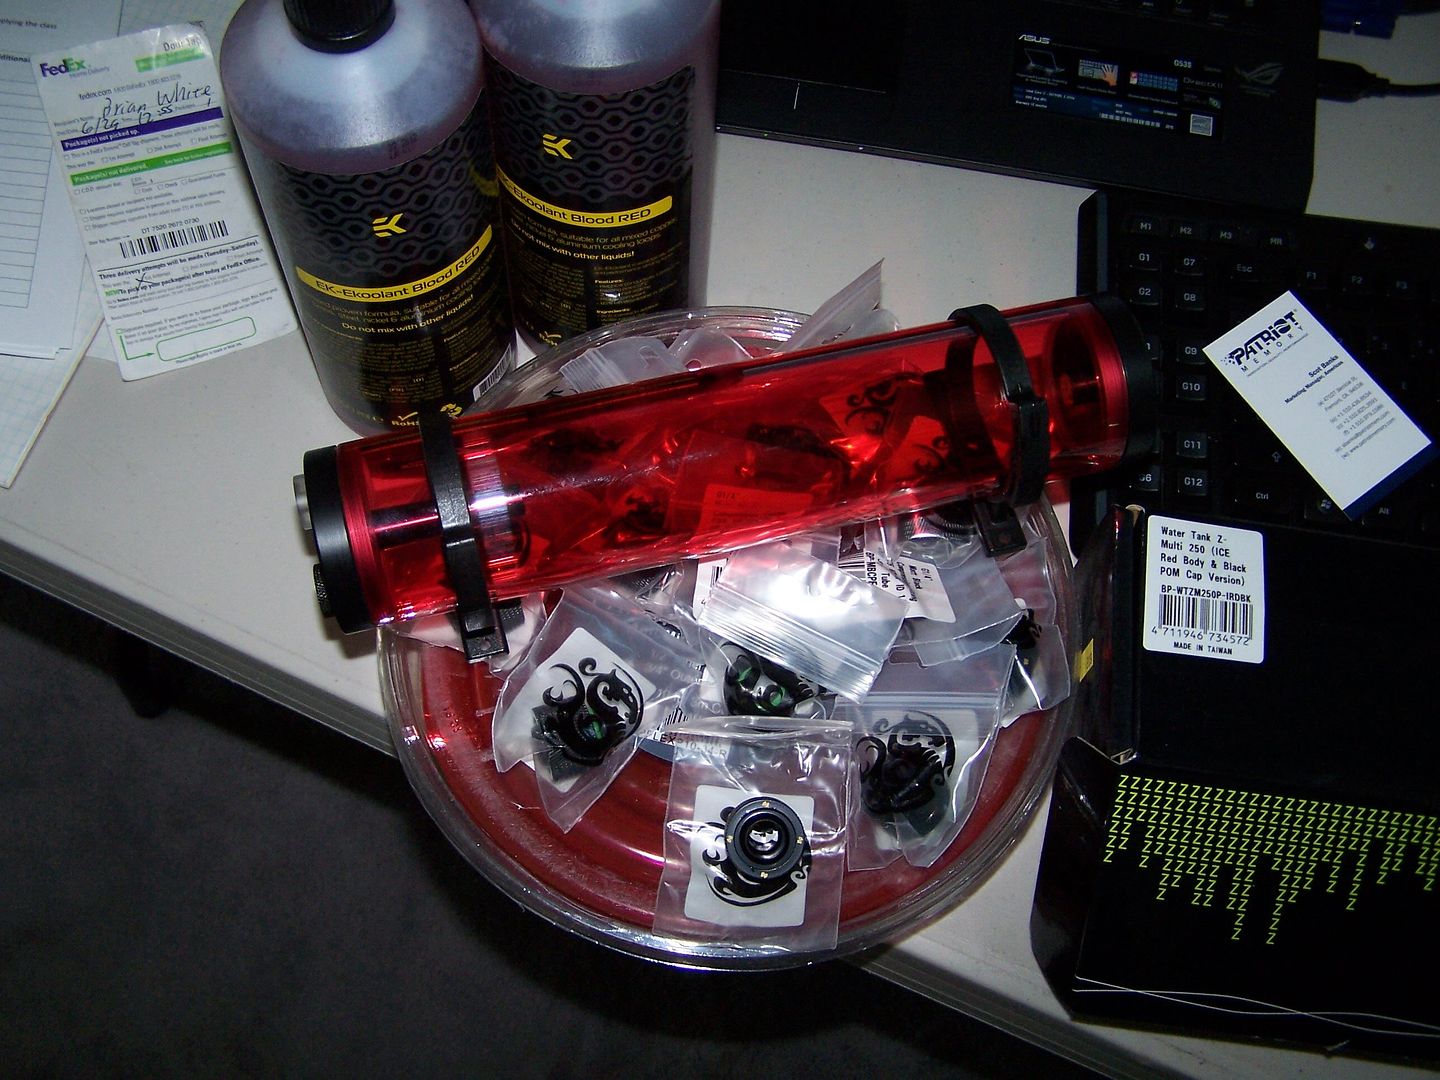
Bitspower Reservoir
Bispower compression fittings
Alphacool 240 Rad and Alphacool 120 Rad
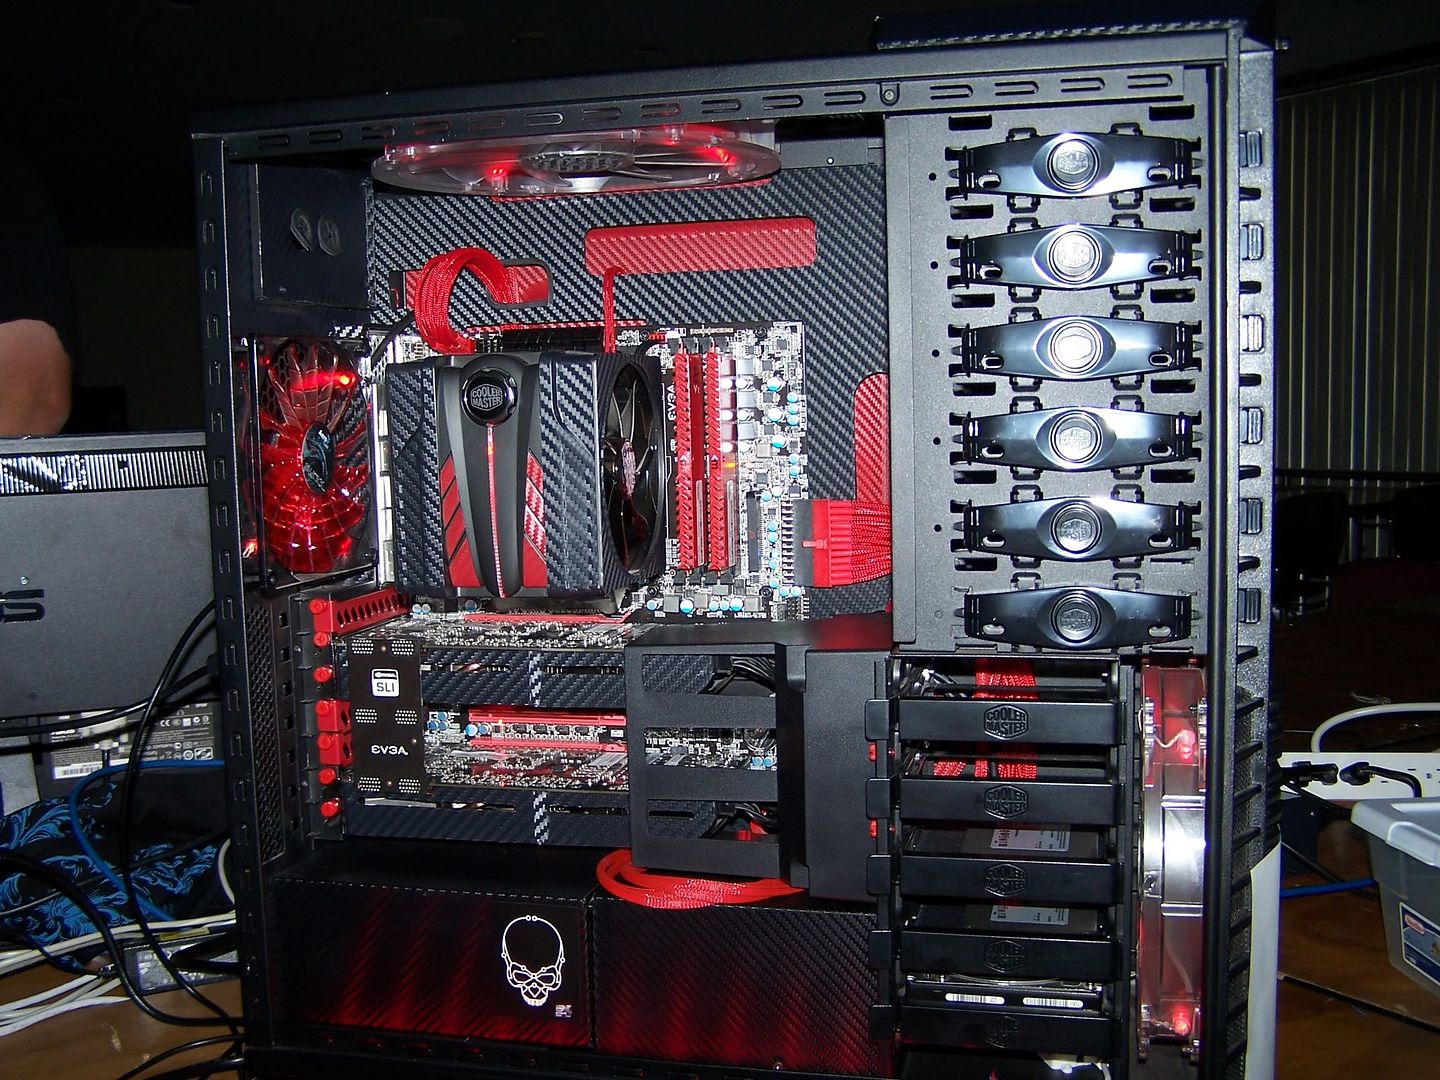
Here is what is used to look like:
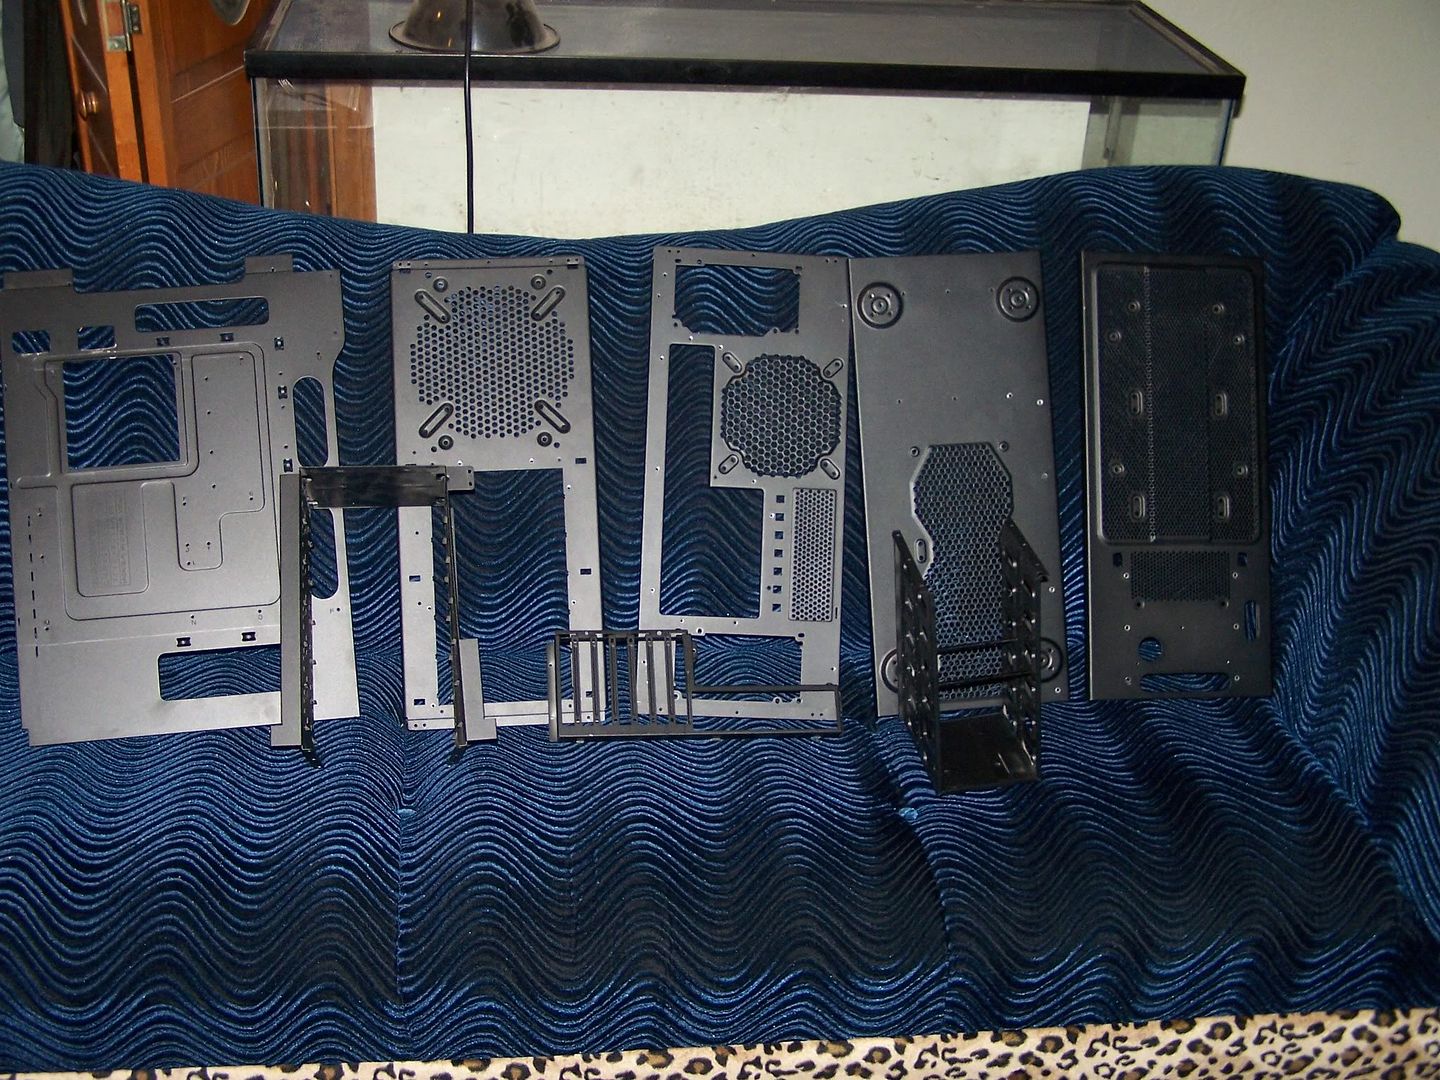
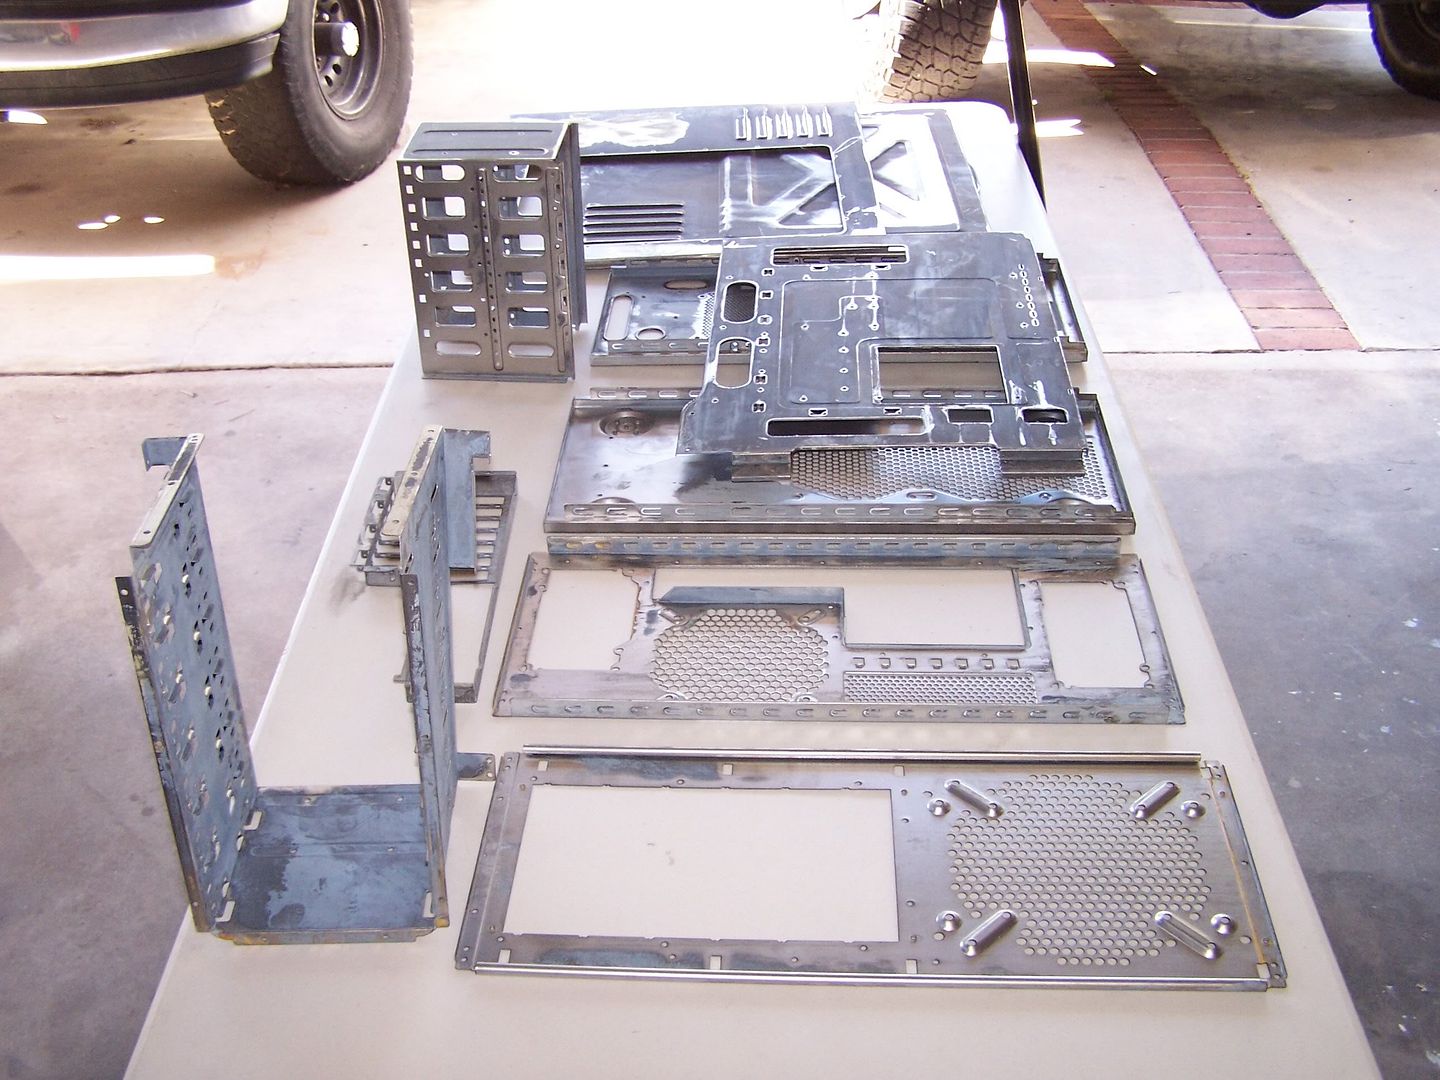
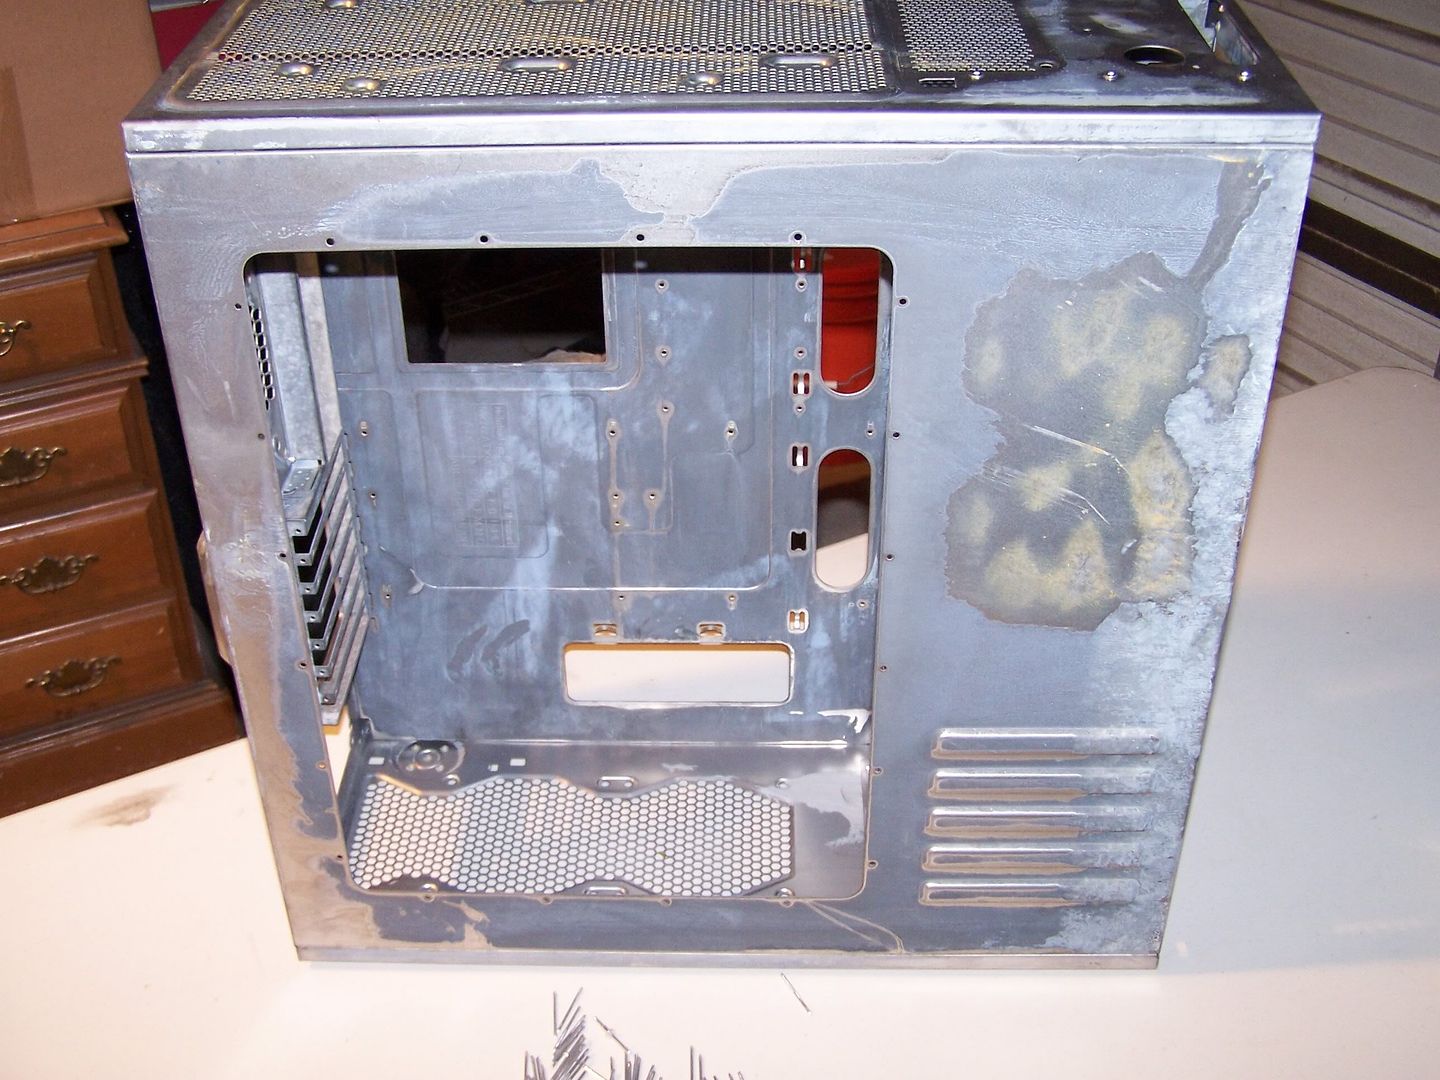
First I had to break the case down and strip the powder coating because I will be powder coating everthing a red and black.
Going to be doing a 240 rad up top and a 120 in the back with two 580 classified hydrocopper gpus. Also going to be changing out the motherboard for a Gigabyte one as you will see in the pics.
Now before I get all crazy I need to load windows and raid 0, overclock, benchmark and make sure this board and the parts I have installed right now are working to my specifications.
Here are some of the parts I will be implementing:
What I am planning is to delete the 5.25" bays and hd bays and turn them into a reservoir bay and a pump bay so going to be cutting a lot out of there and putting a nice additional window to show off the reservoir then on the back panel I will be doing another window and going to remove my SSD's and mount the bare PCB's on the other side with a window to see them as well.
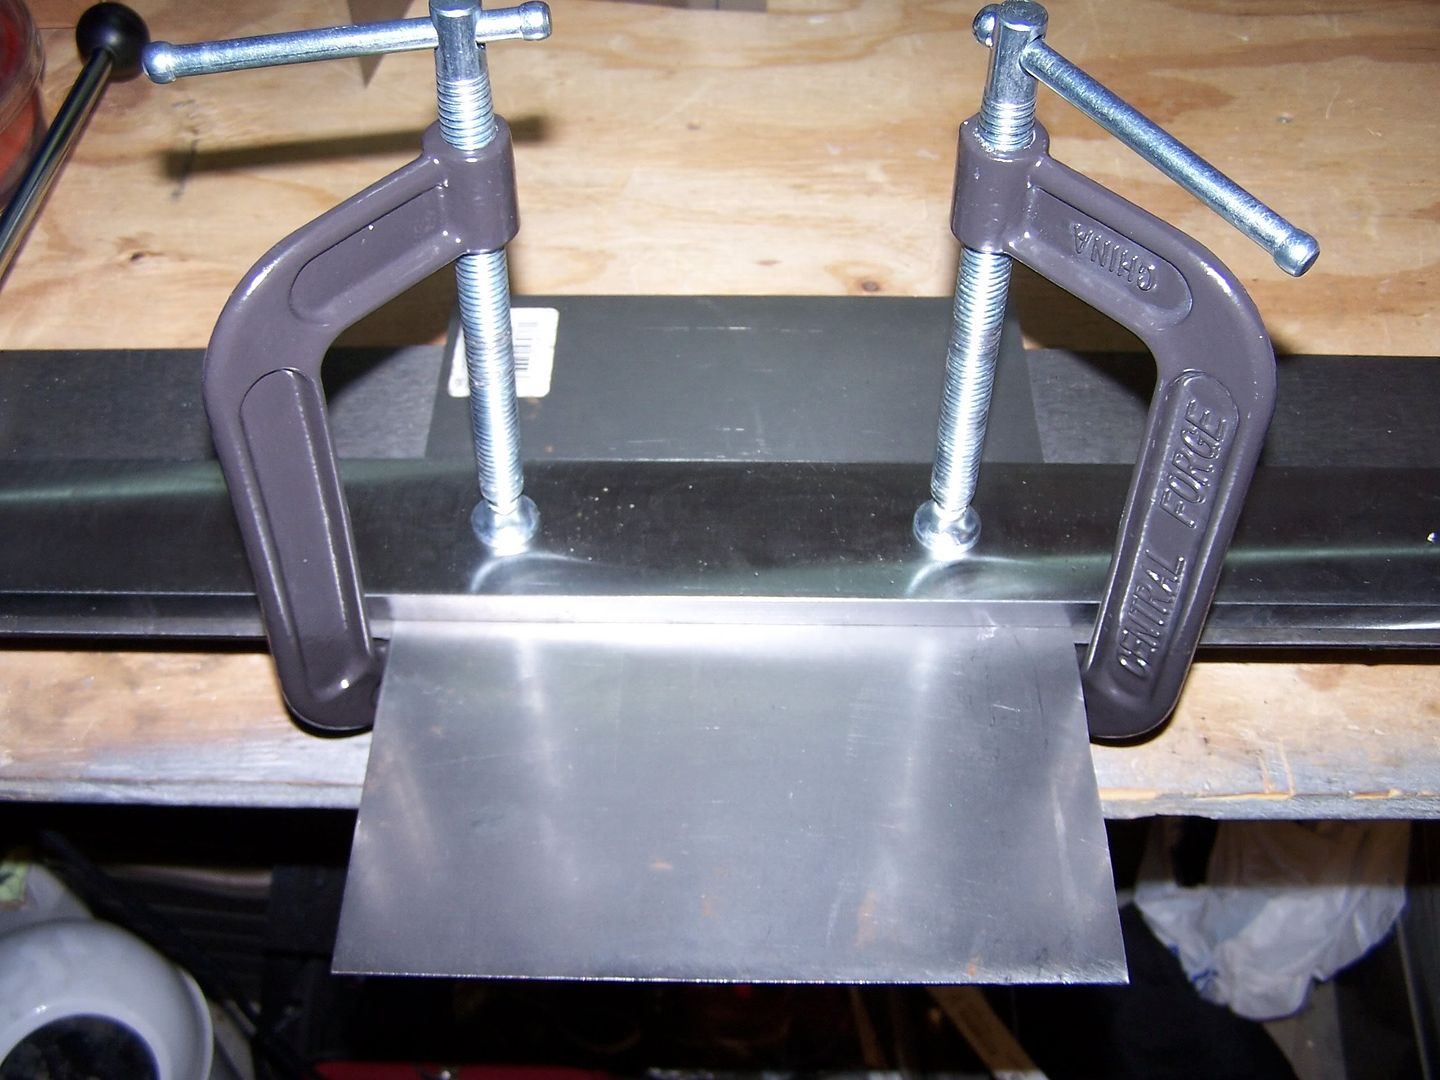
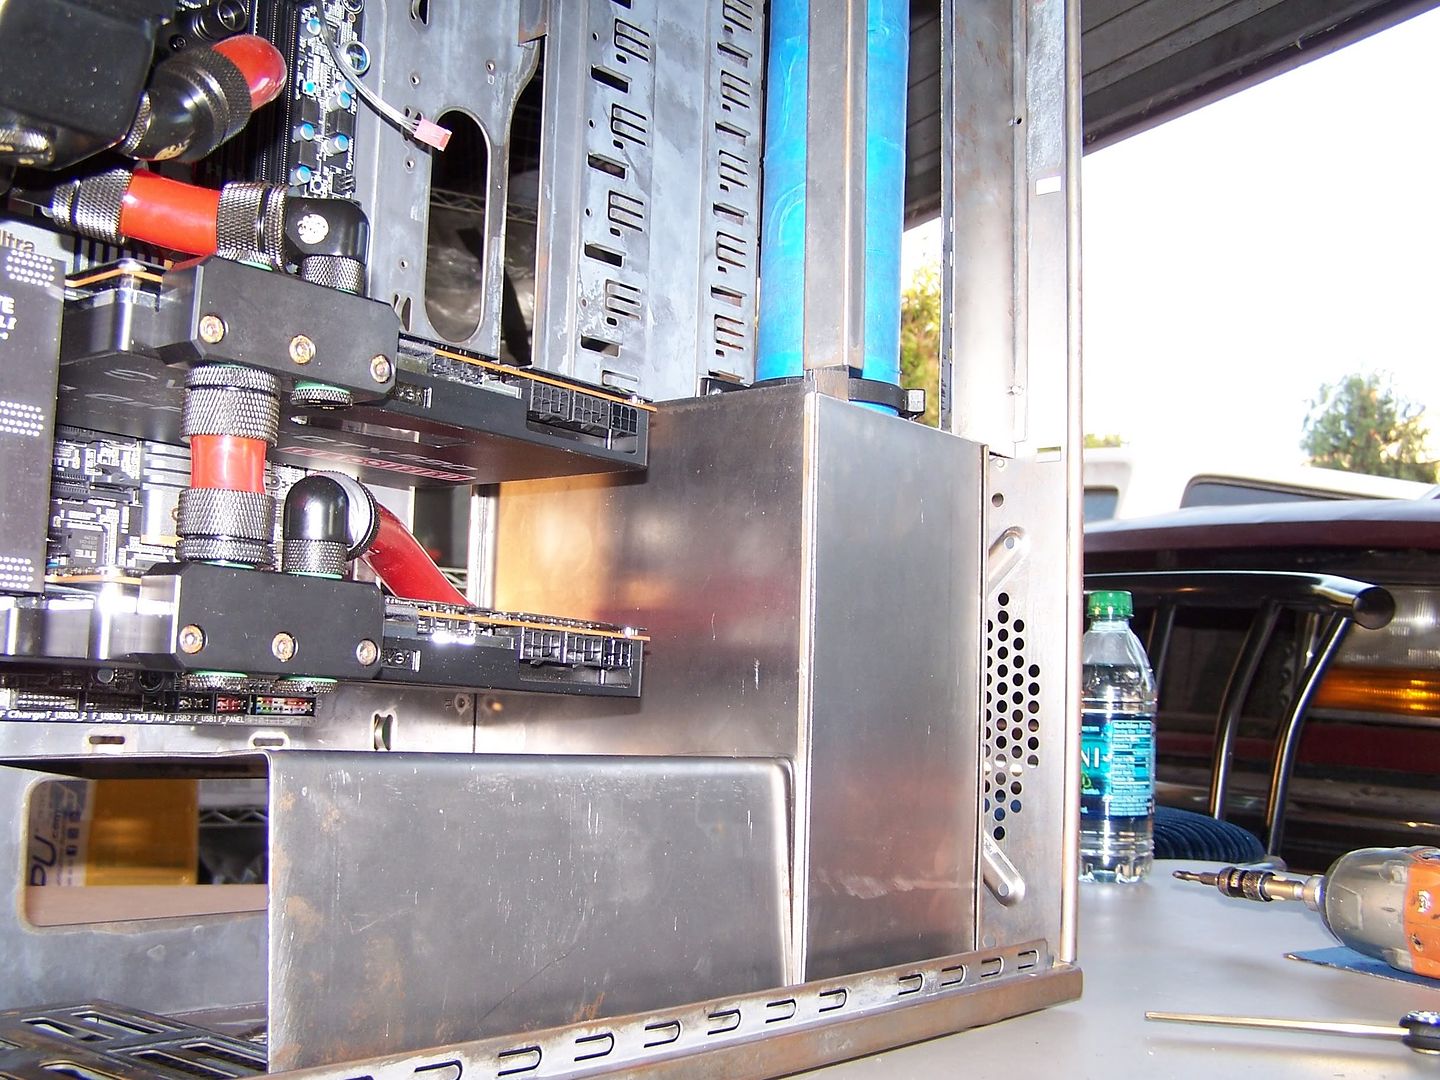
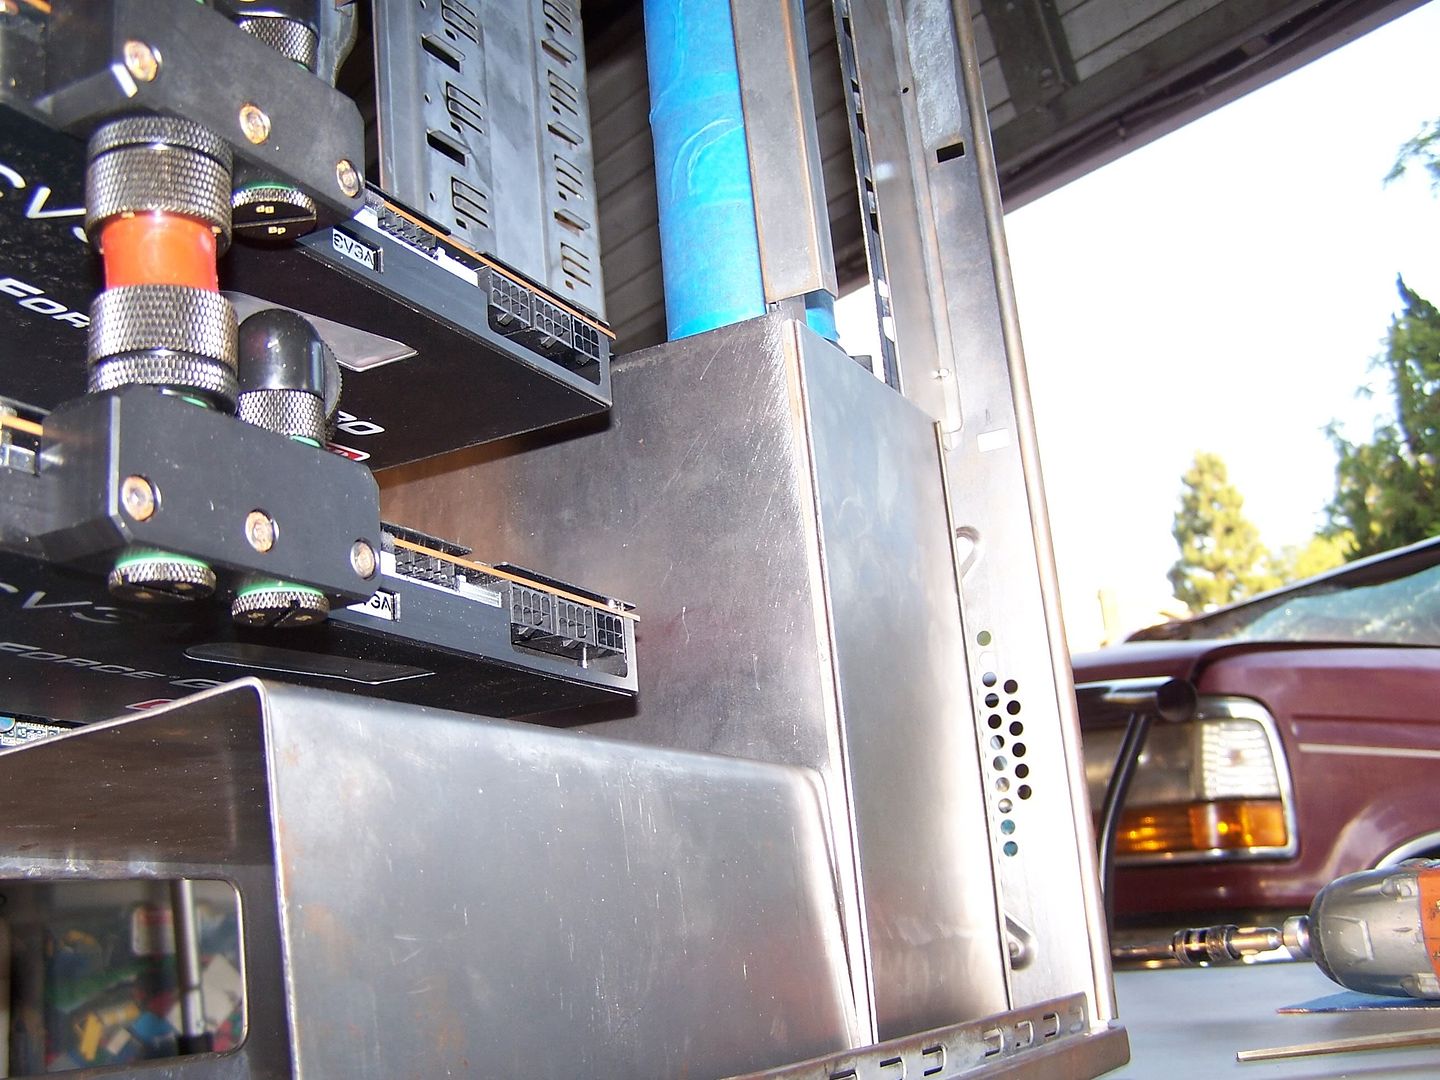
First up is going to make a custom PSU shroud with some 16 gauge steel so I picked up a bending brake from harbor freight and made this nice psu shroud which will be powder coated.
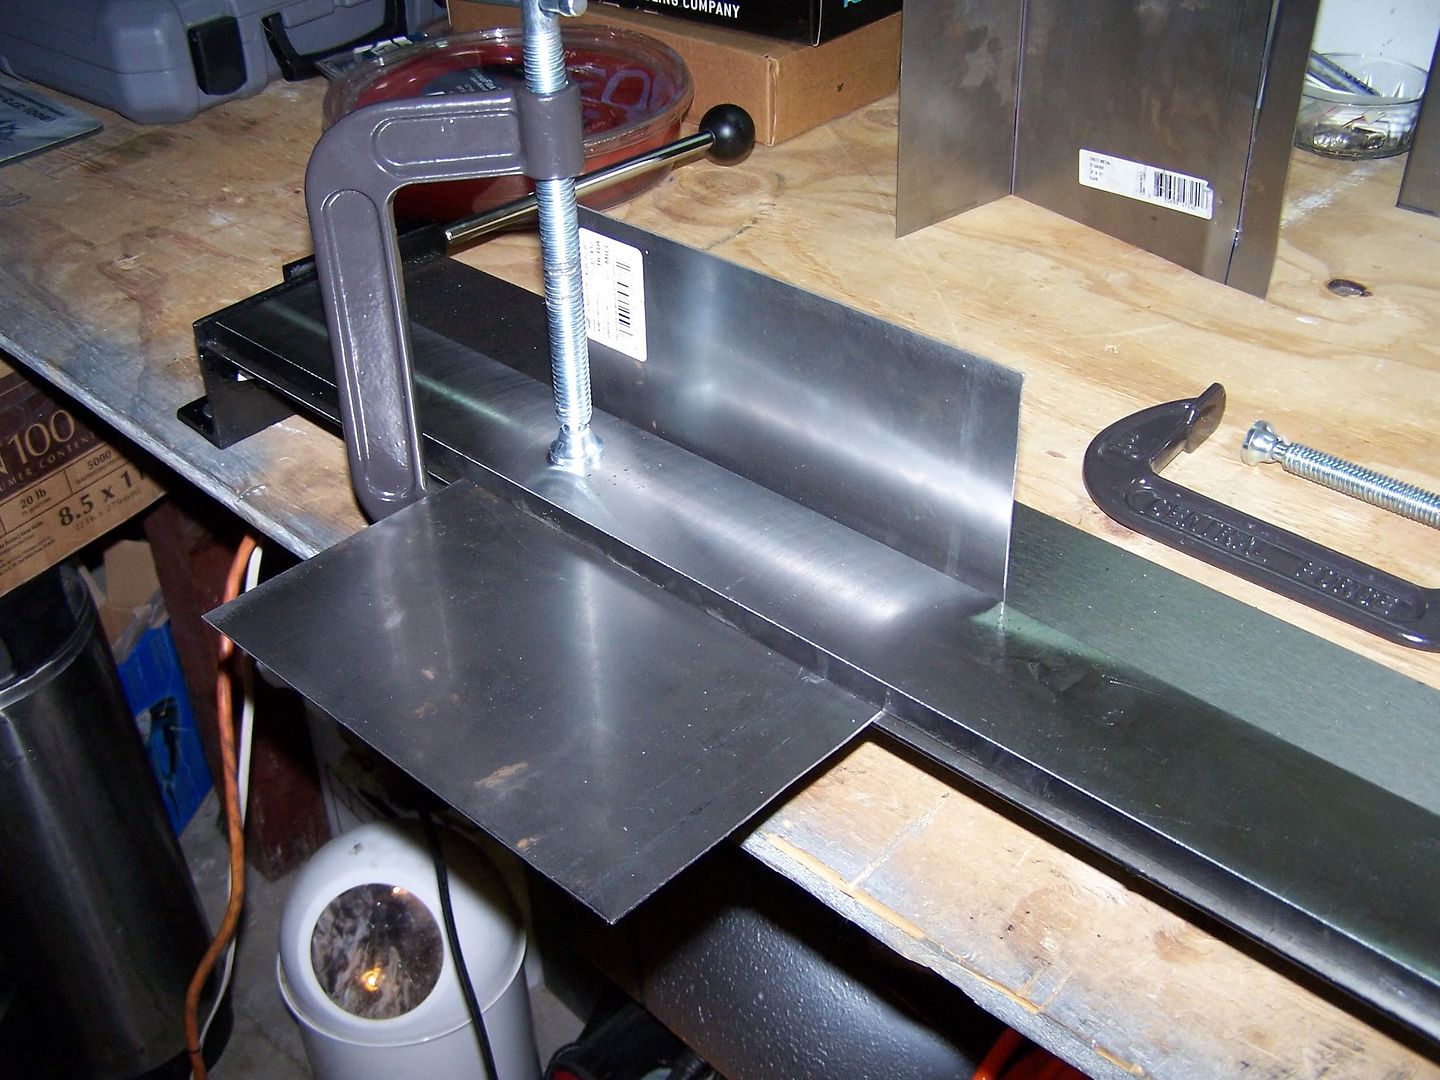
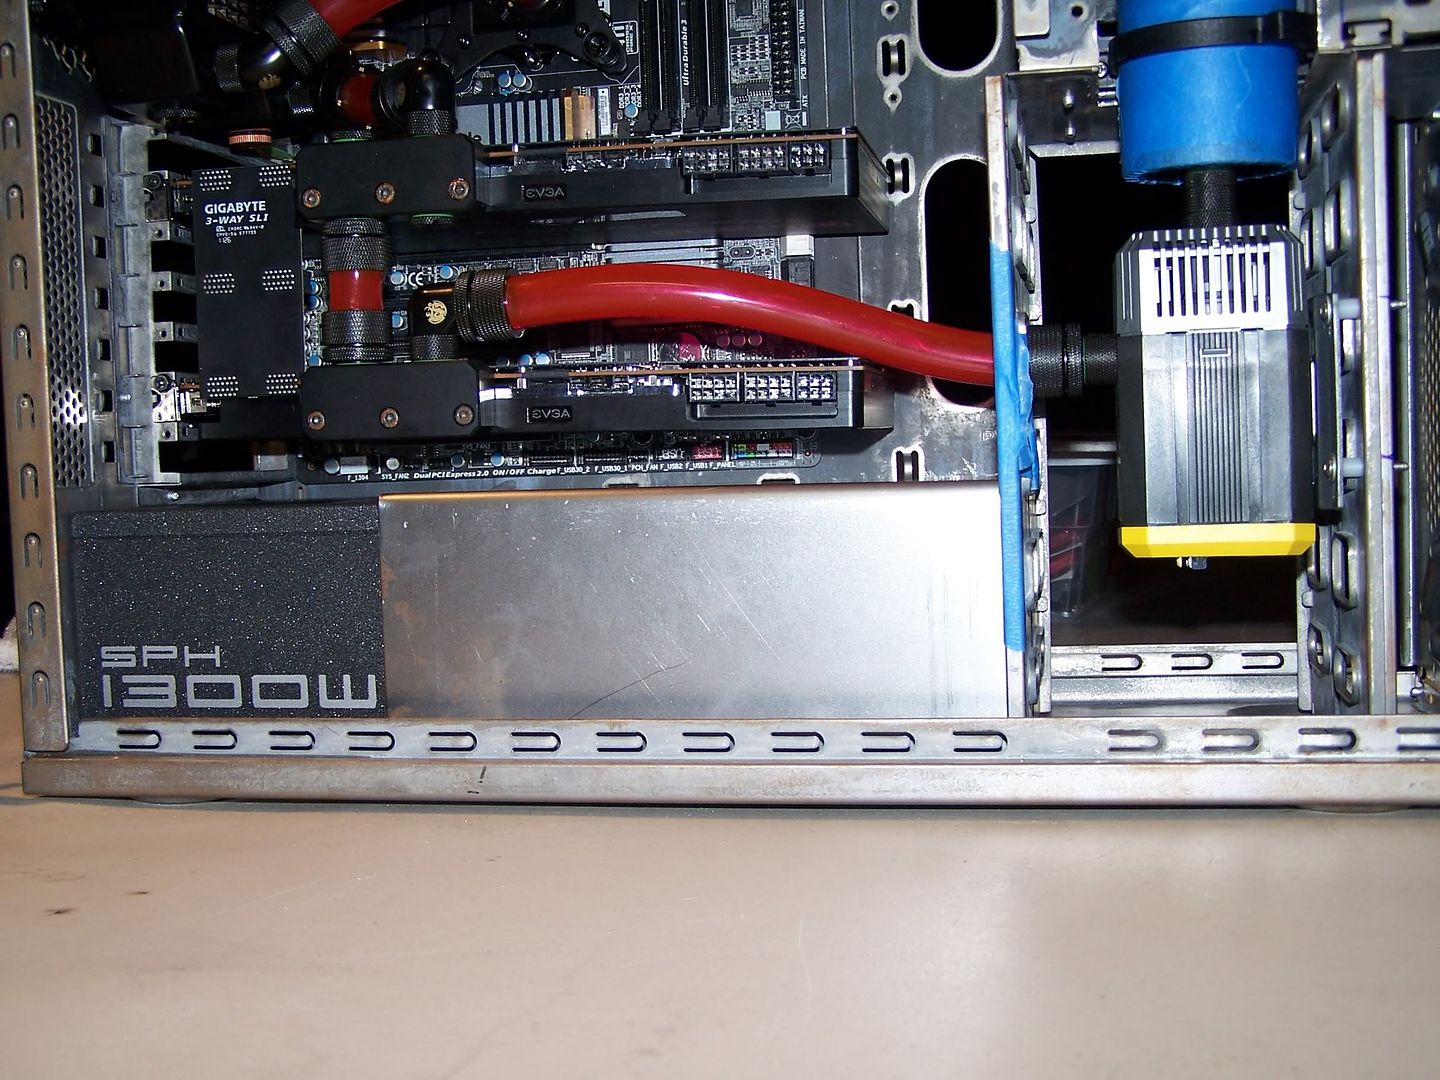
Originally I was going to cover the entire PSU but I wanted to make sure I left the SPH 1300 to be displayed to show my gratitude to Coolermaster. I am pretty satisifed with it like this and I will be drilling a hole and slapping a grommet in there for the 4 8pins and 2 six pins these GPU's require.
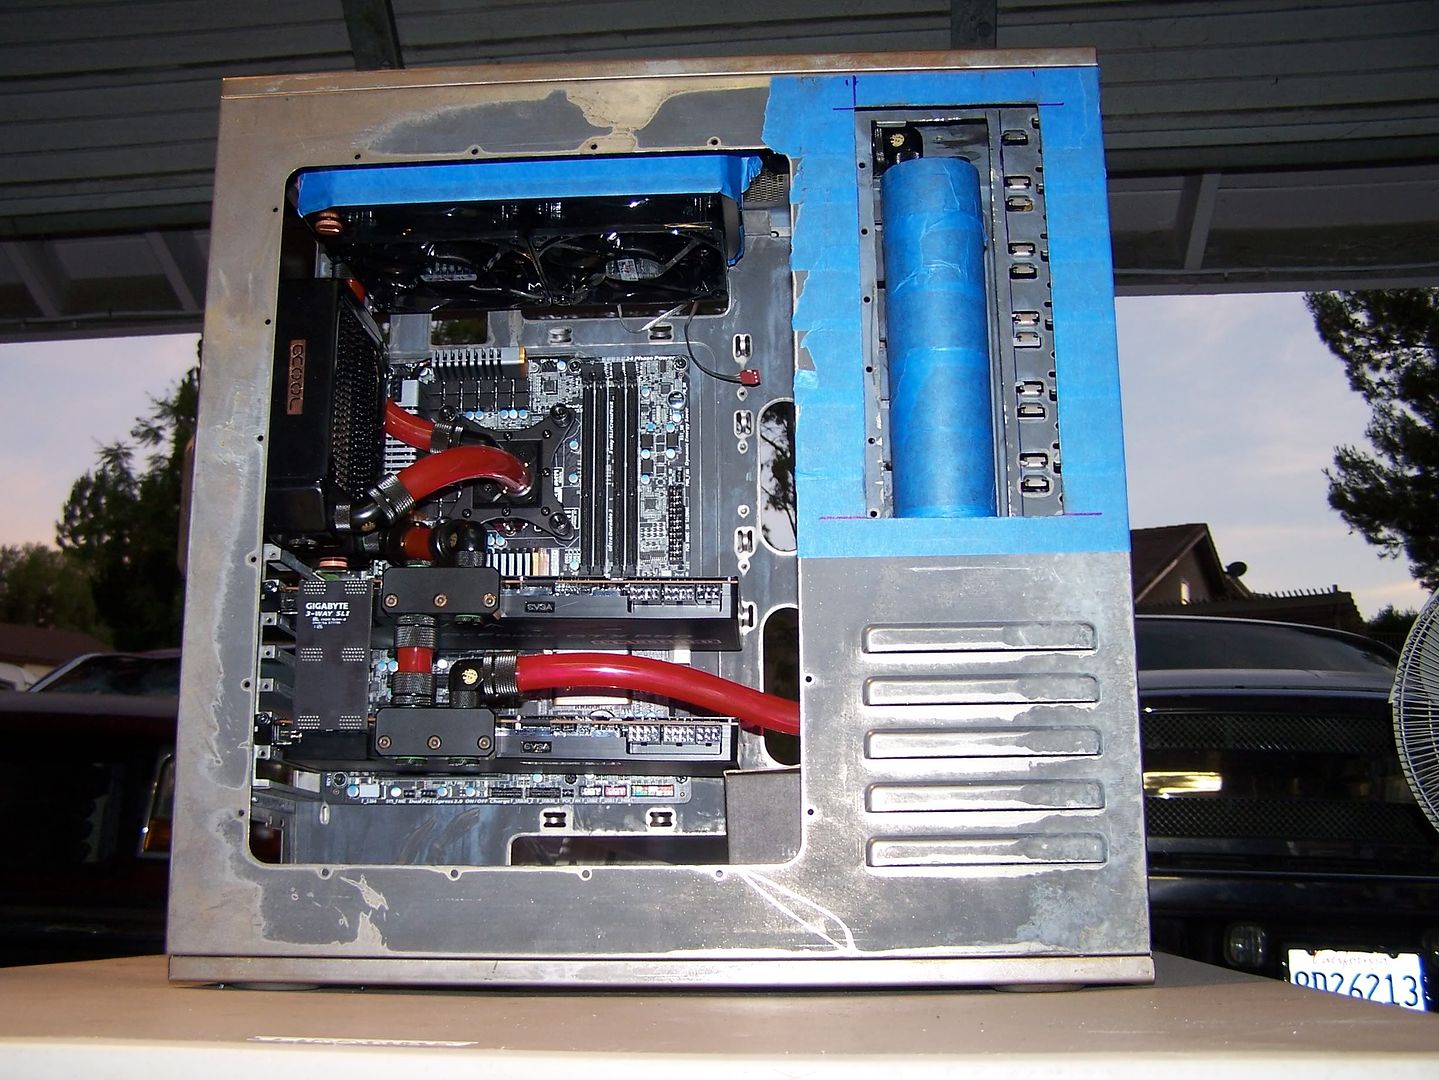
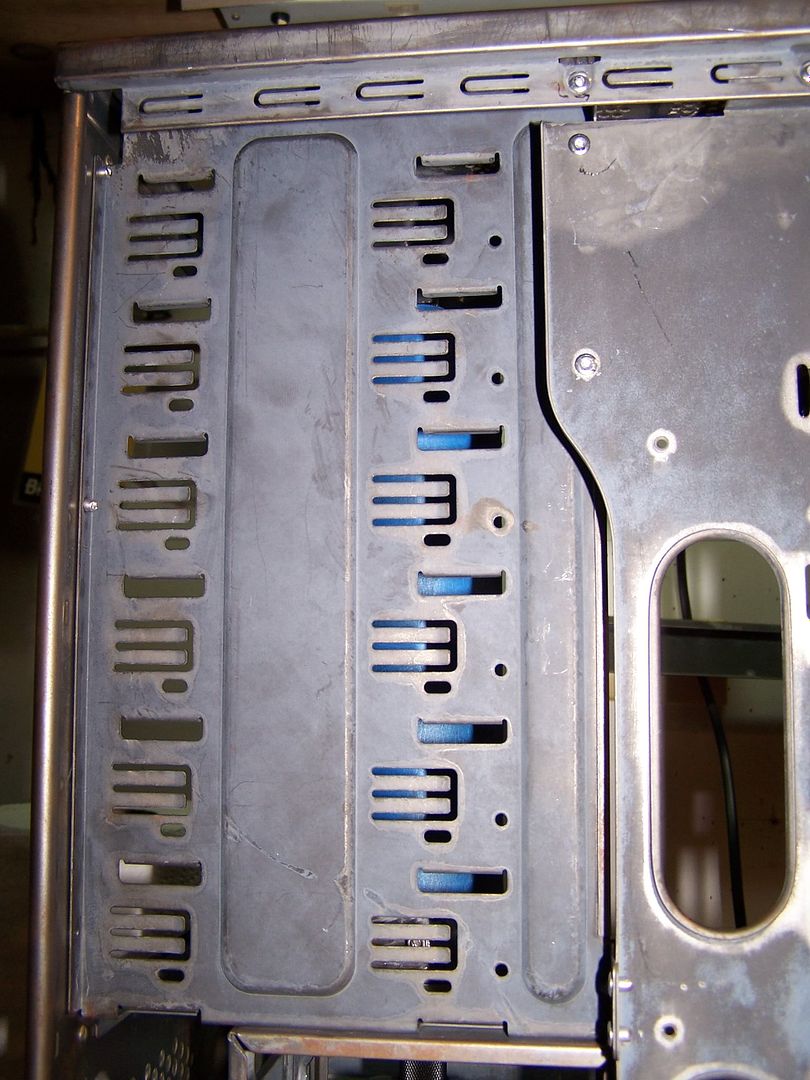
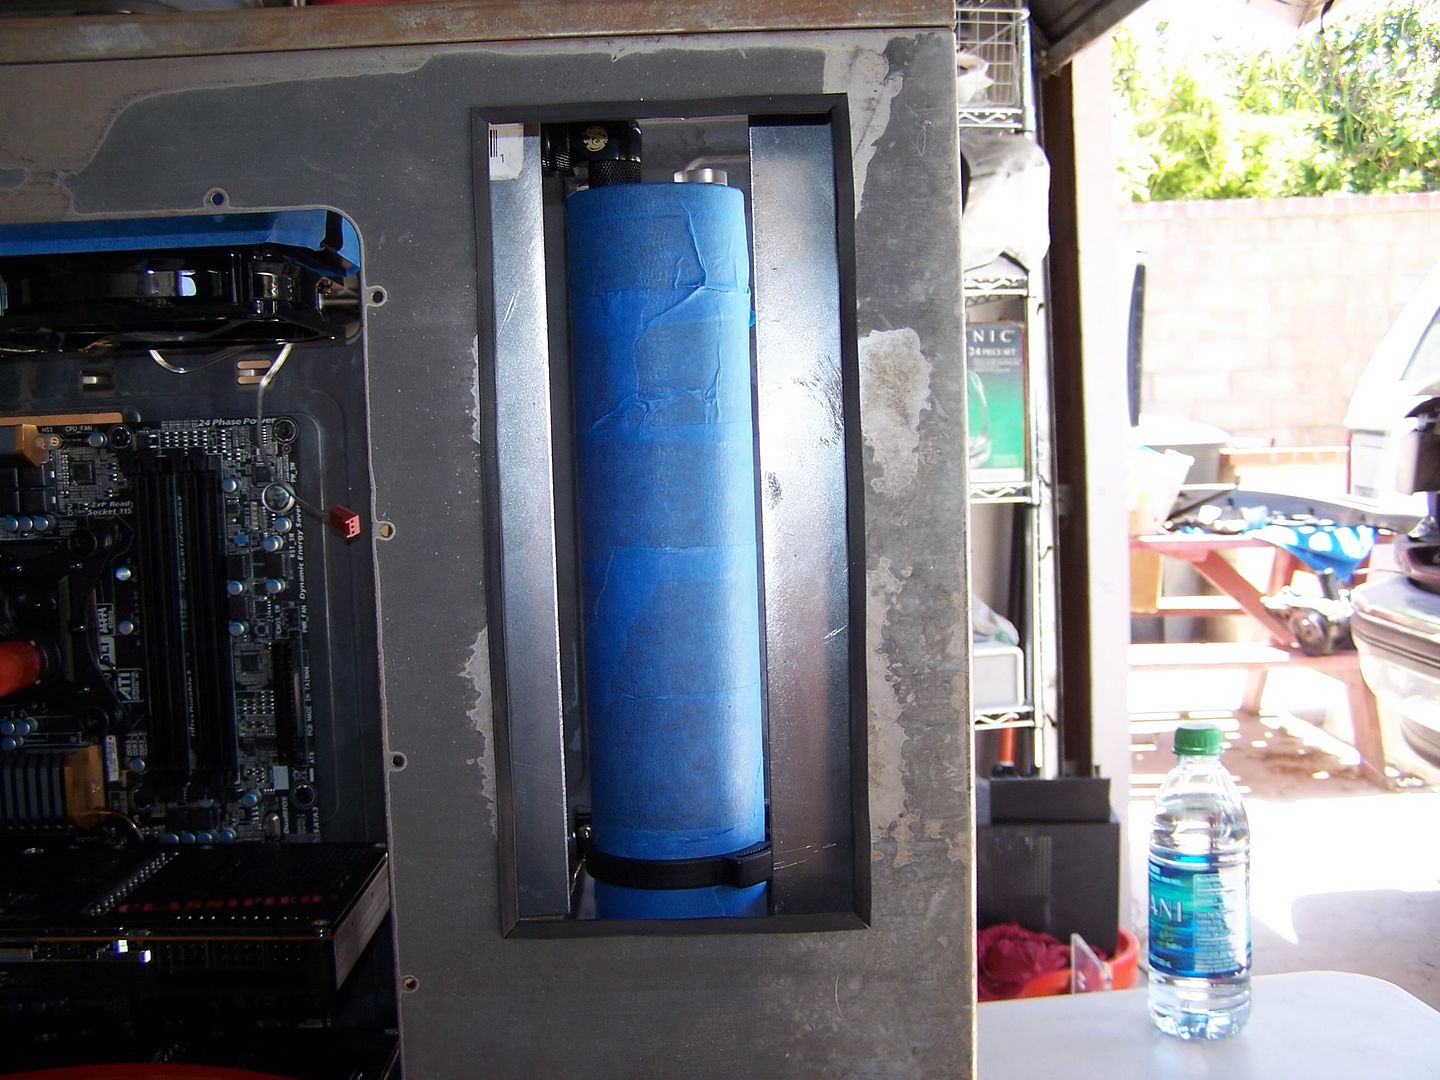
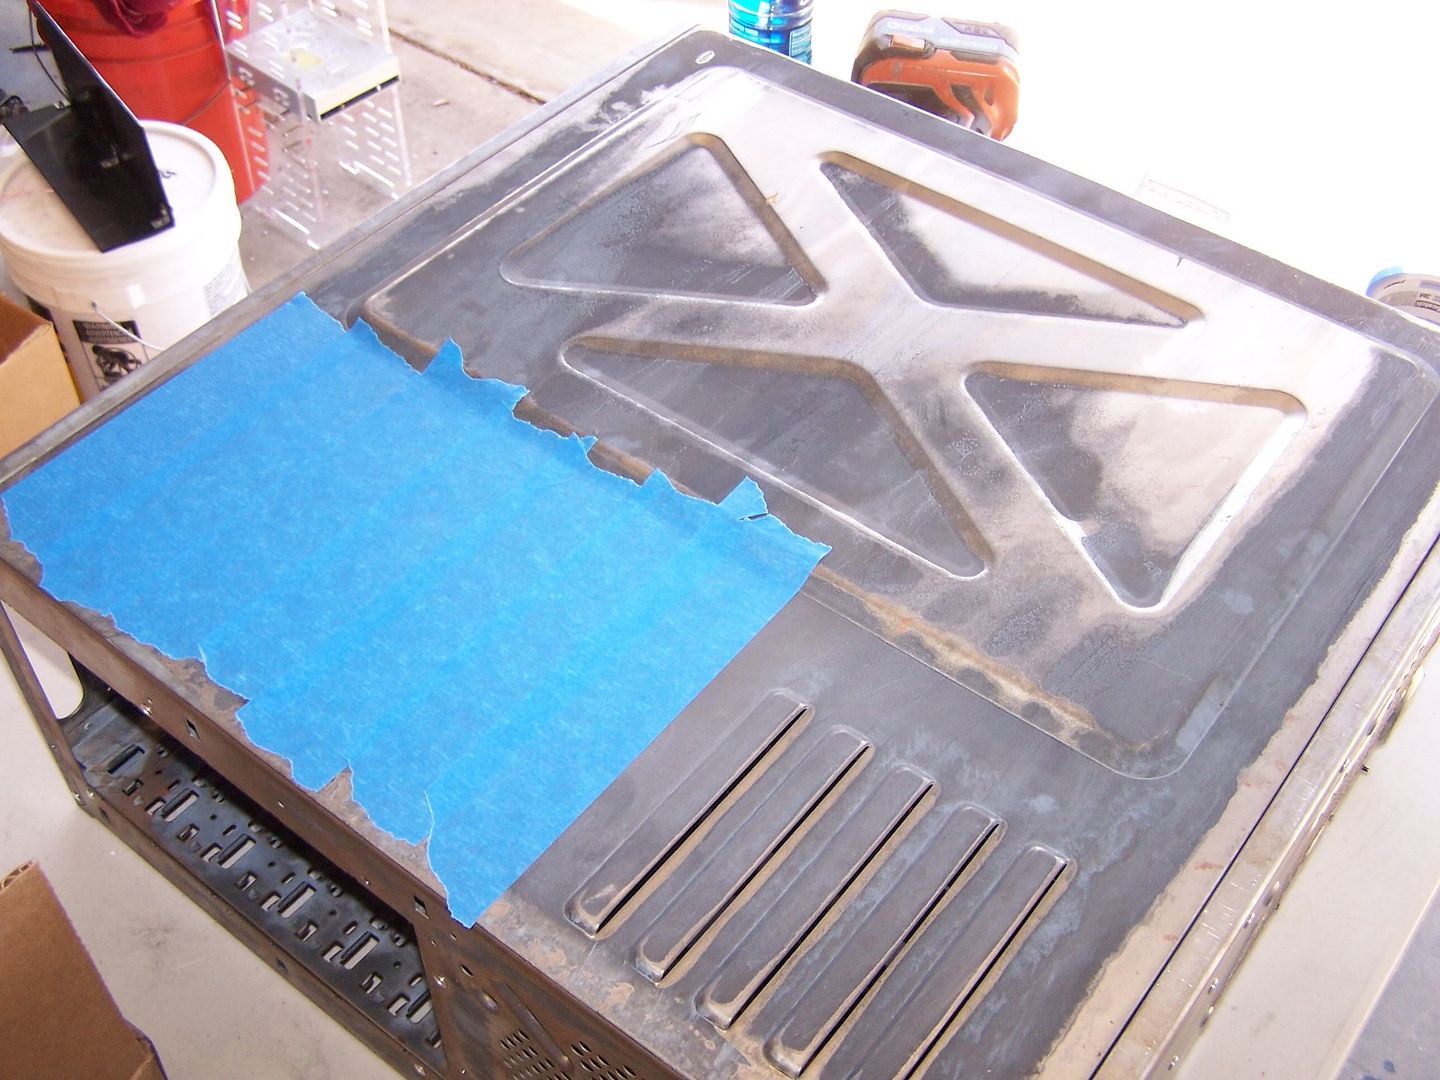
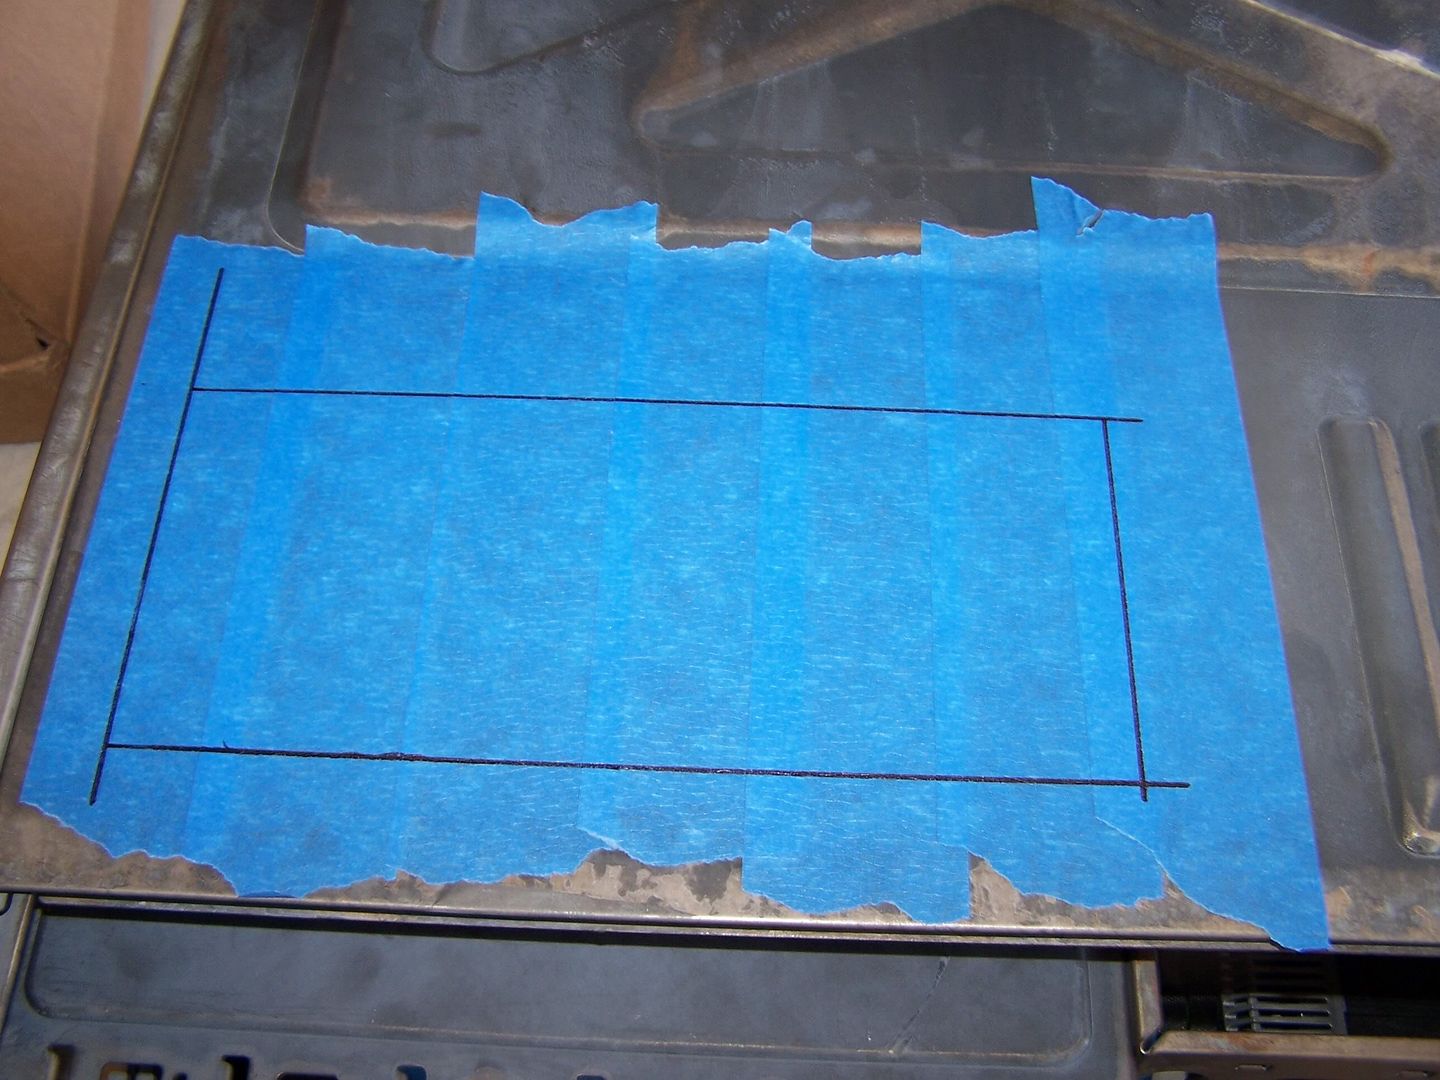
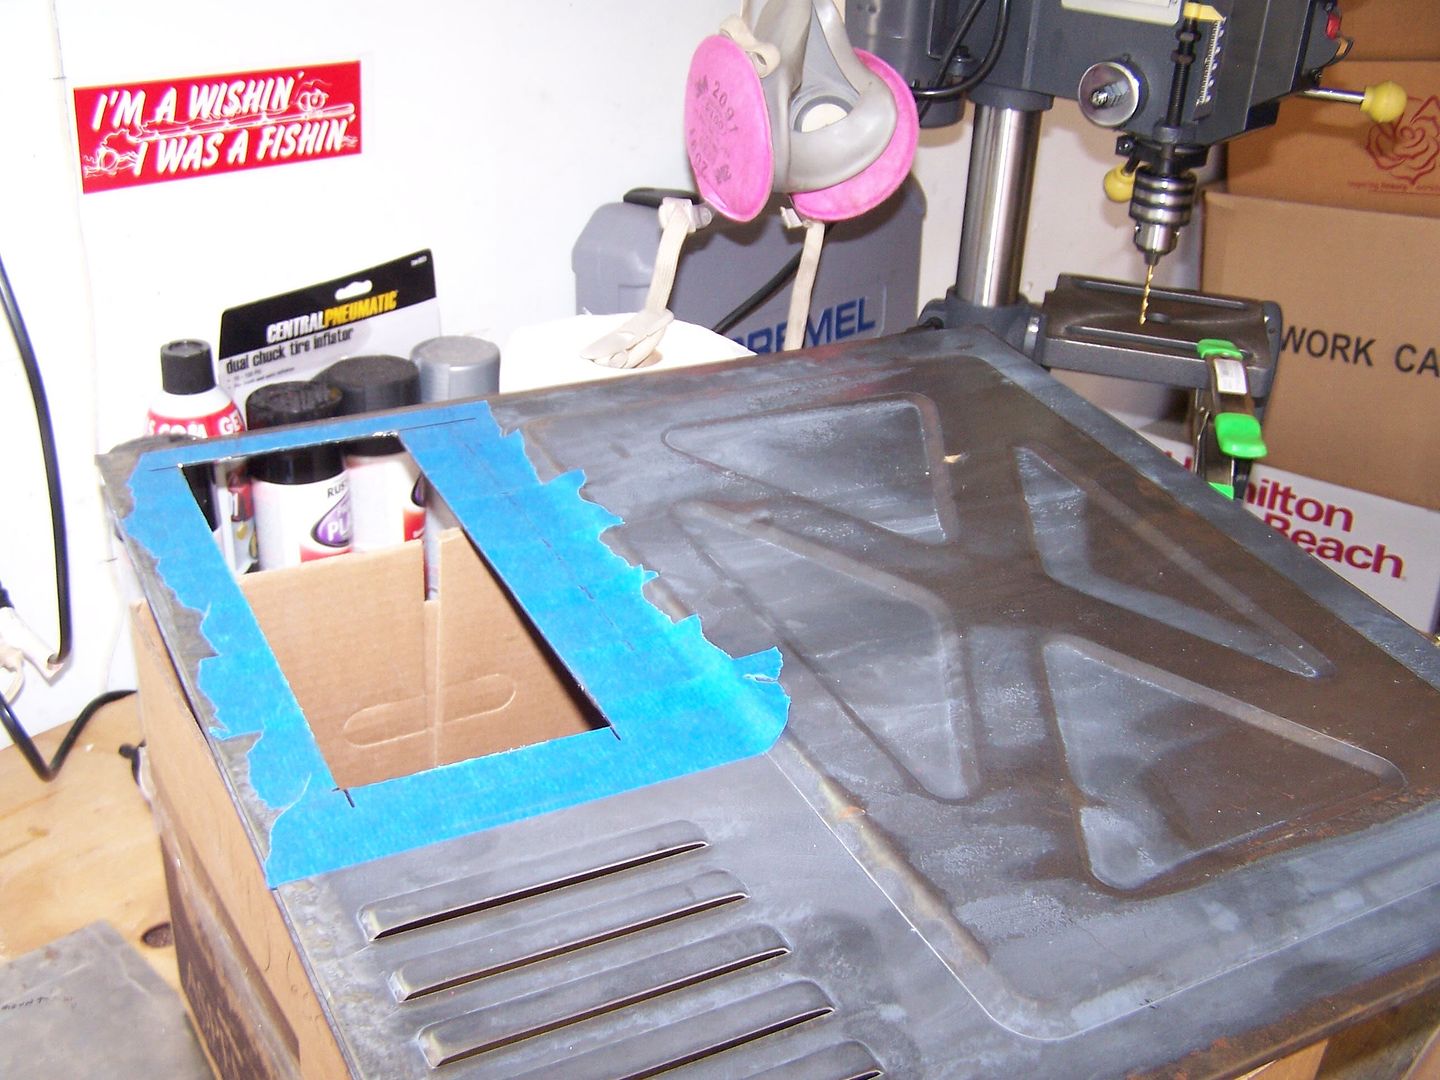
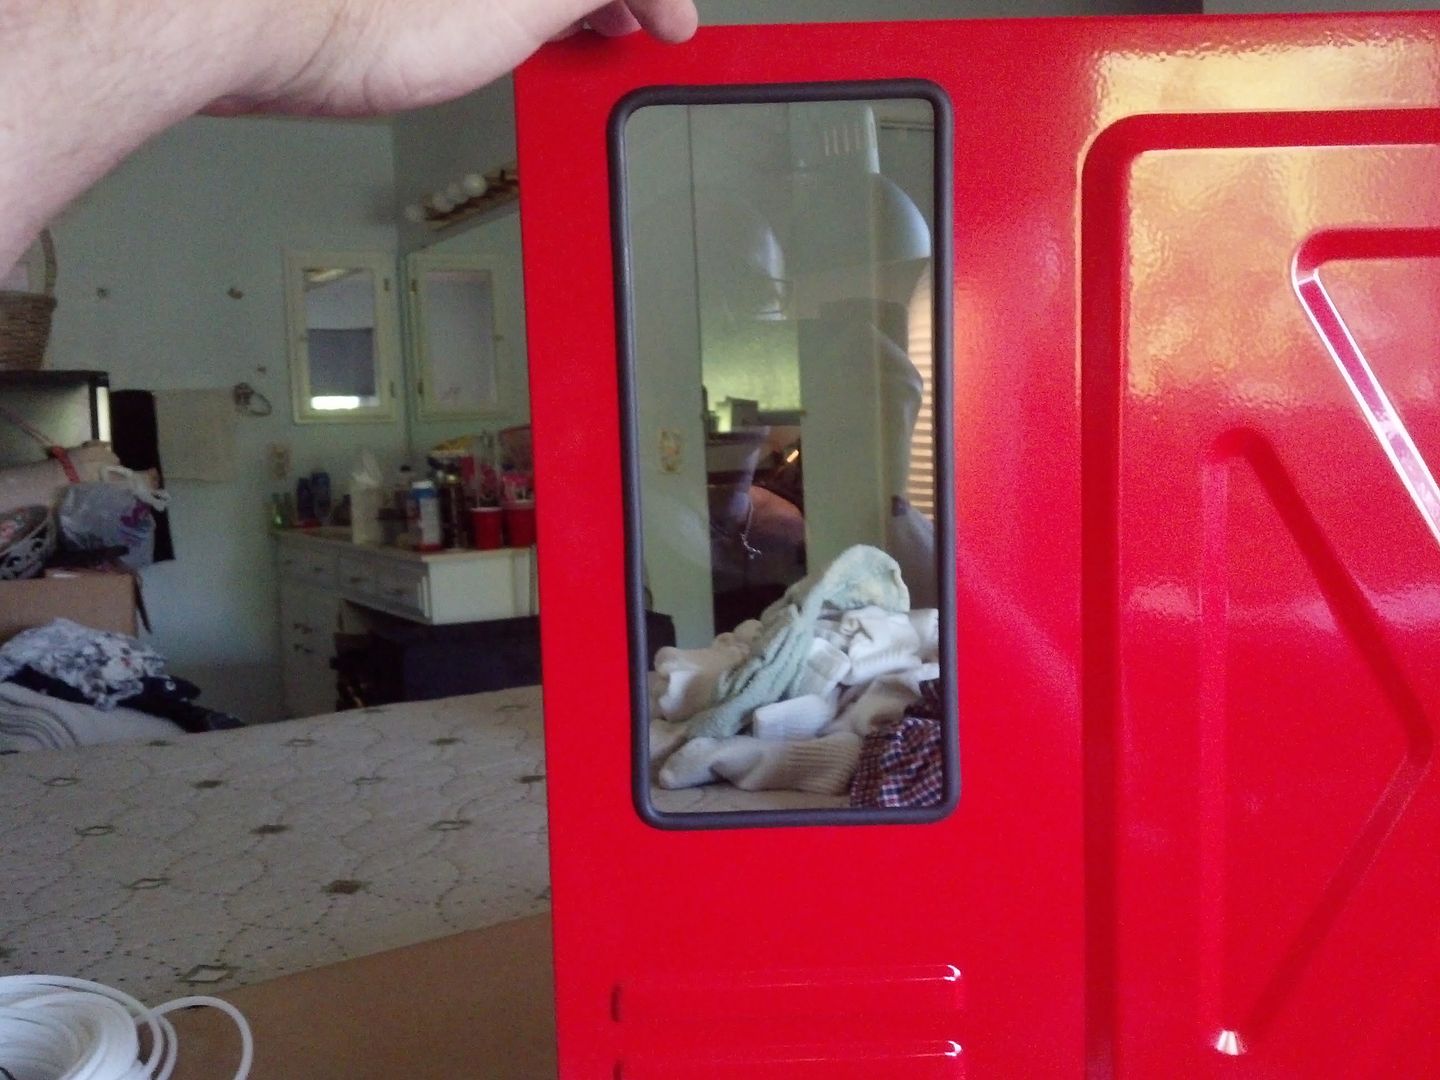
Next up is to cut a nice window for the new reservoir bay.
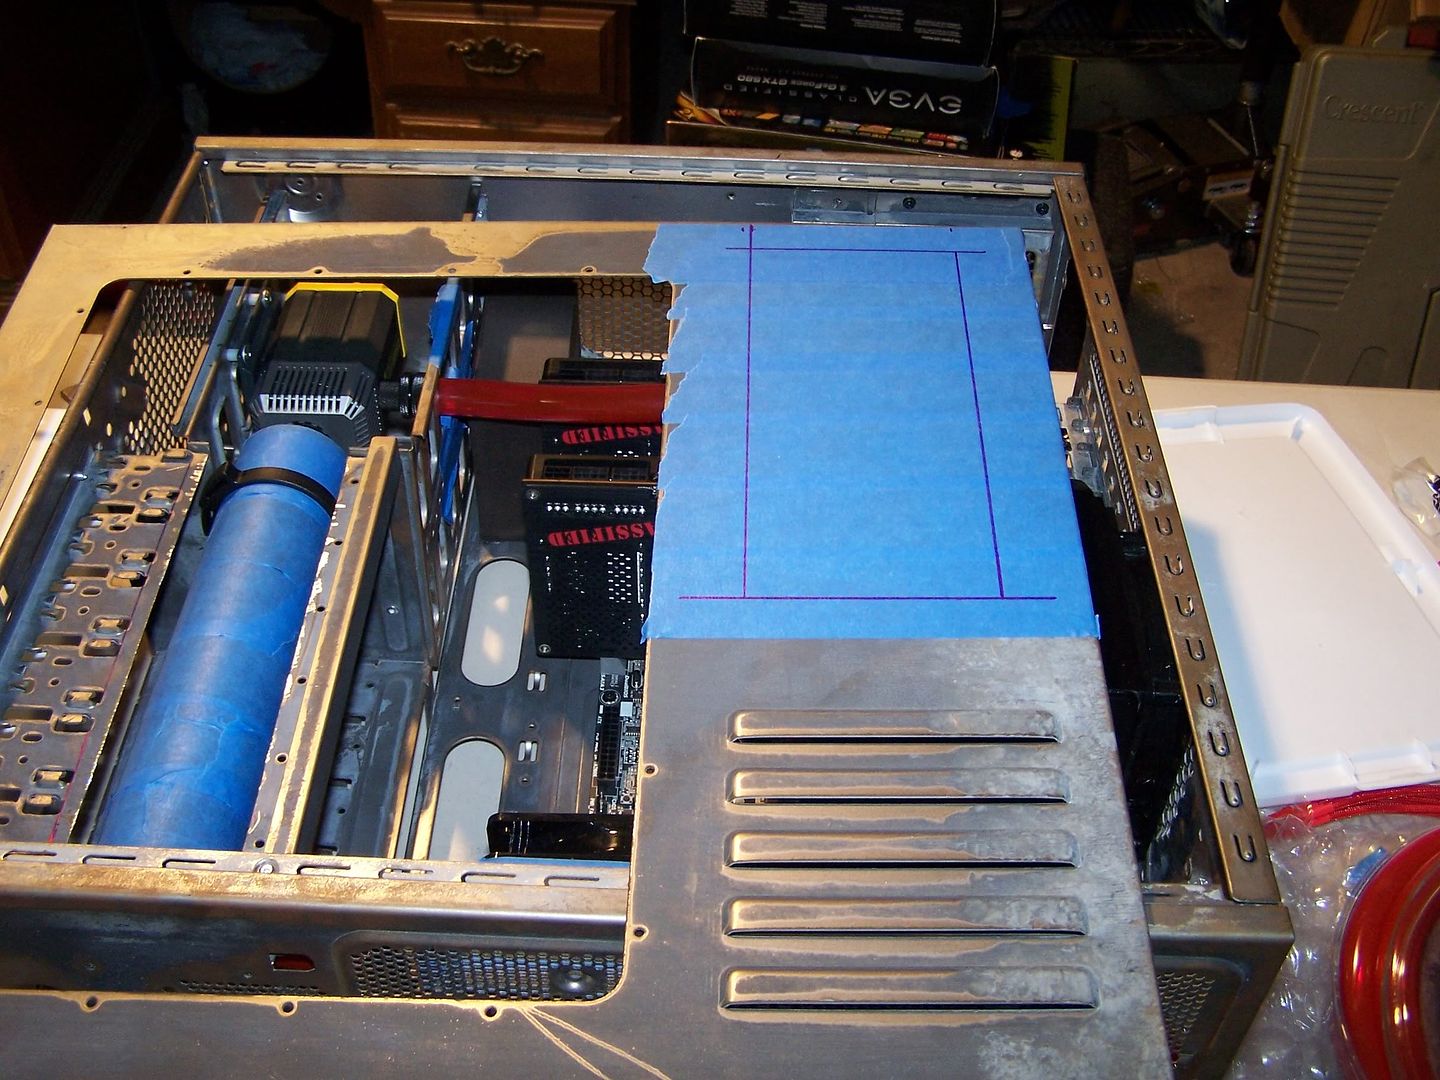


As you can see there are still some ugly tabs on the 5.25" bay I deleted so I will be cutting all of those out and cutting a nice flush piece of steel for the left and right side that I will just rivet in there later to give it a nice clean look and accent the reservoir.
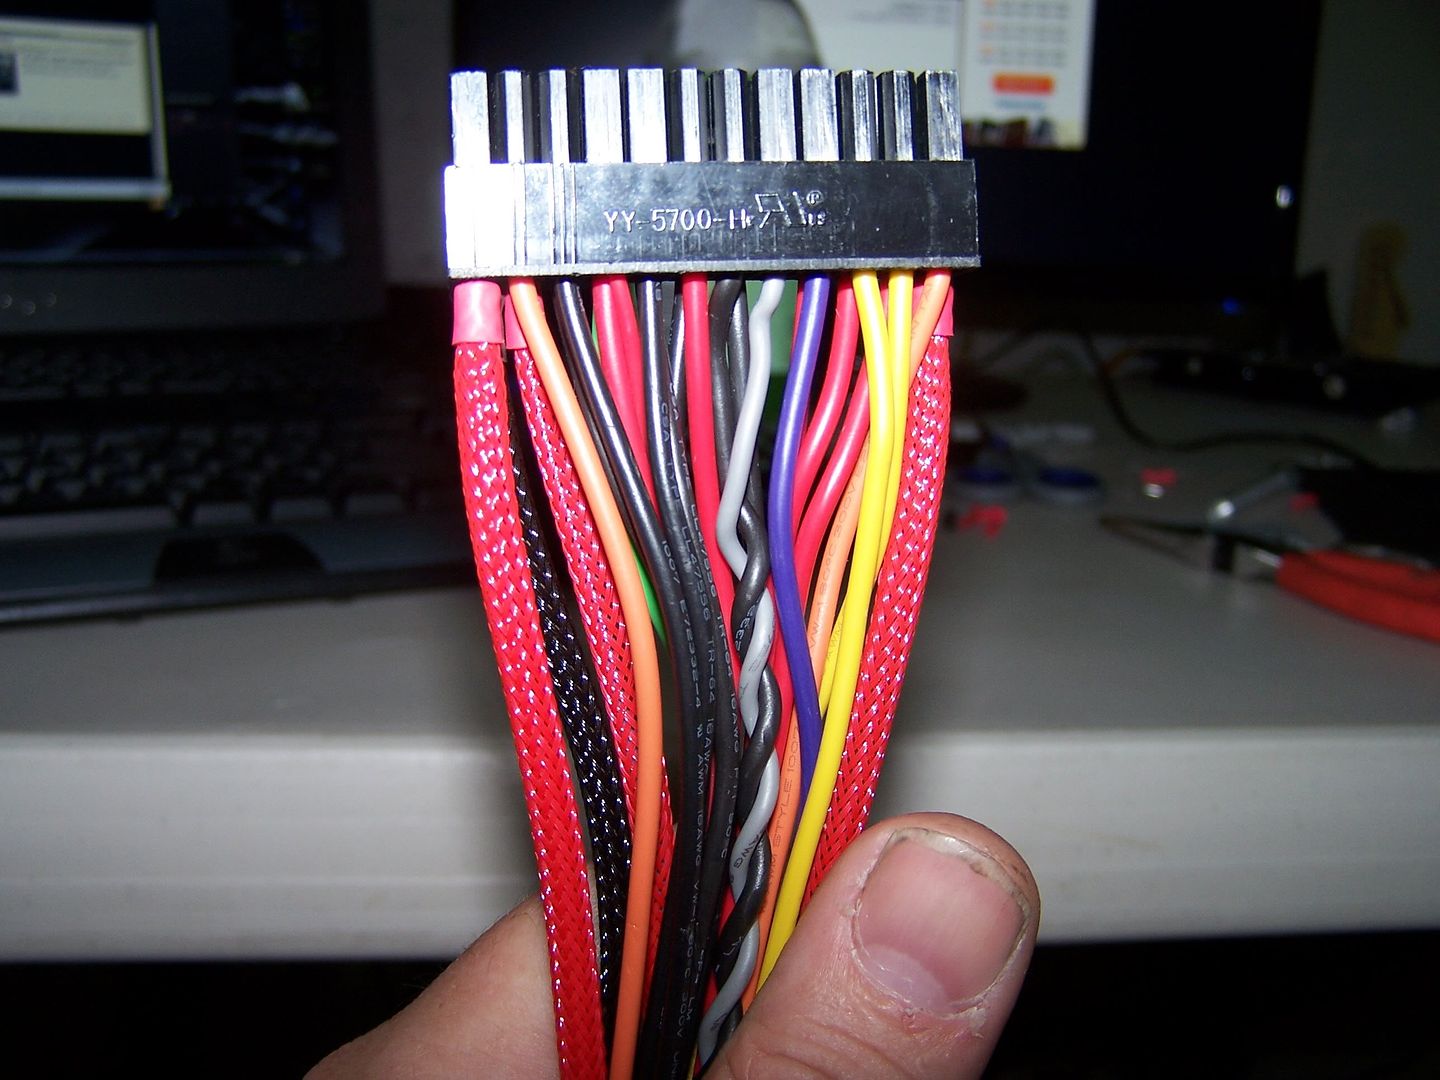
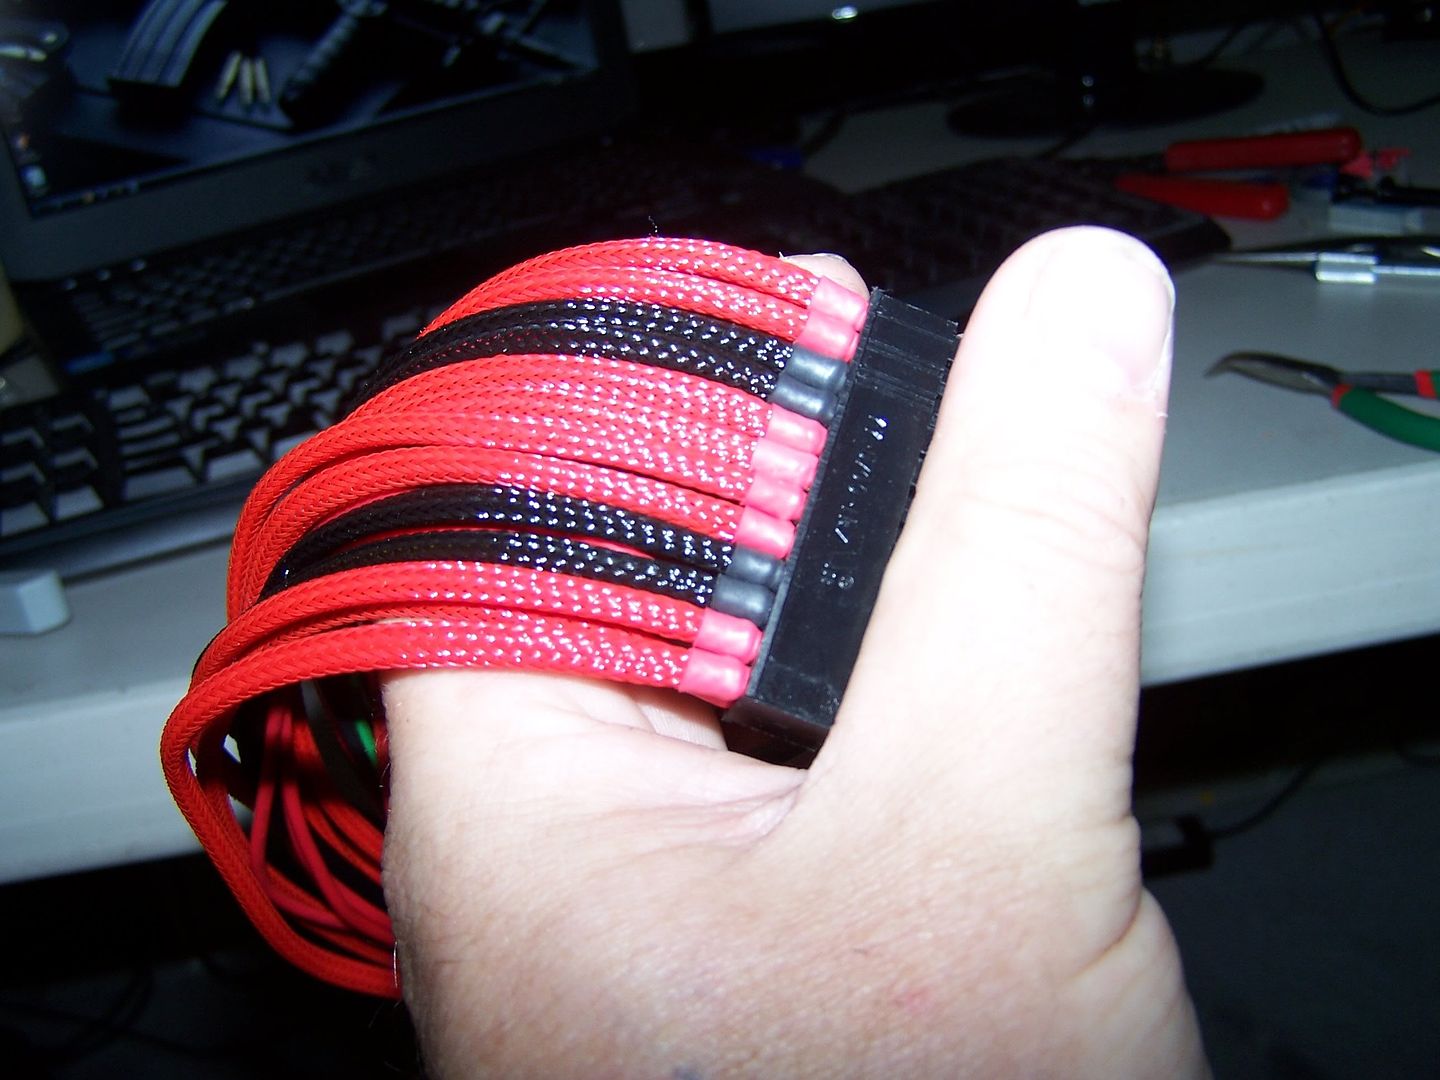
Had to get my butt started on the sleeving before time runs out for me so started on the 24 pin today.

Well that's it for now will post more as it comes along.
Wanted to at least give a small update on my build log.
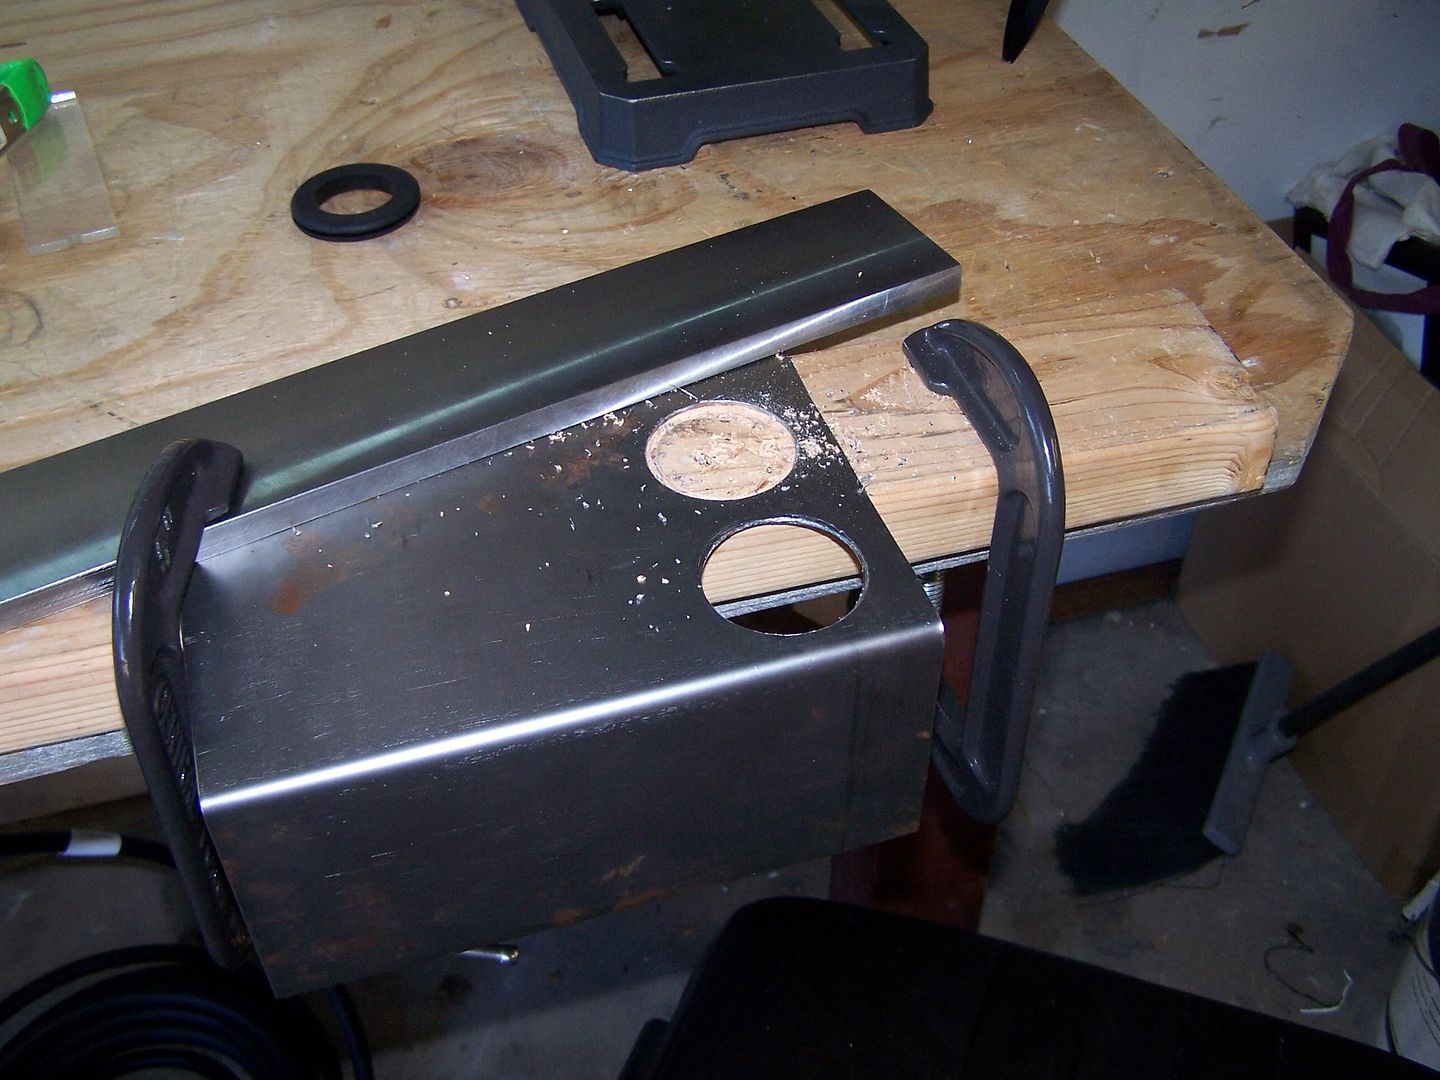
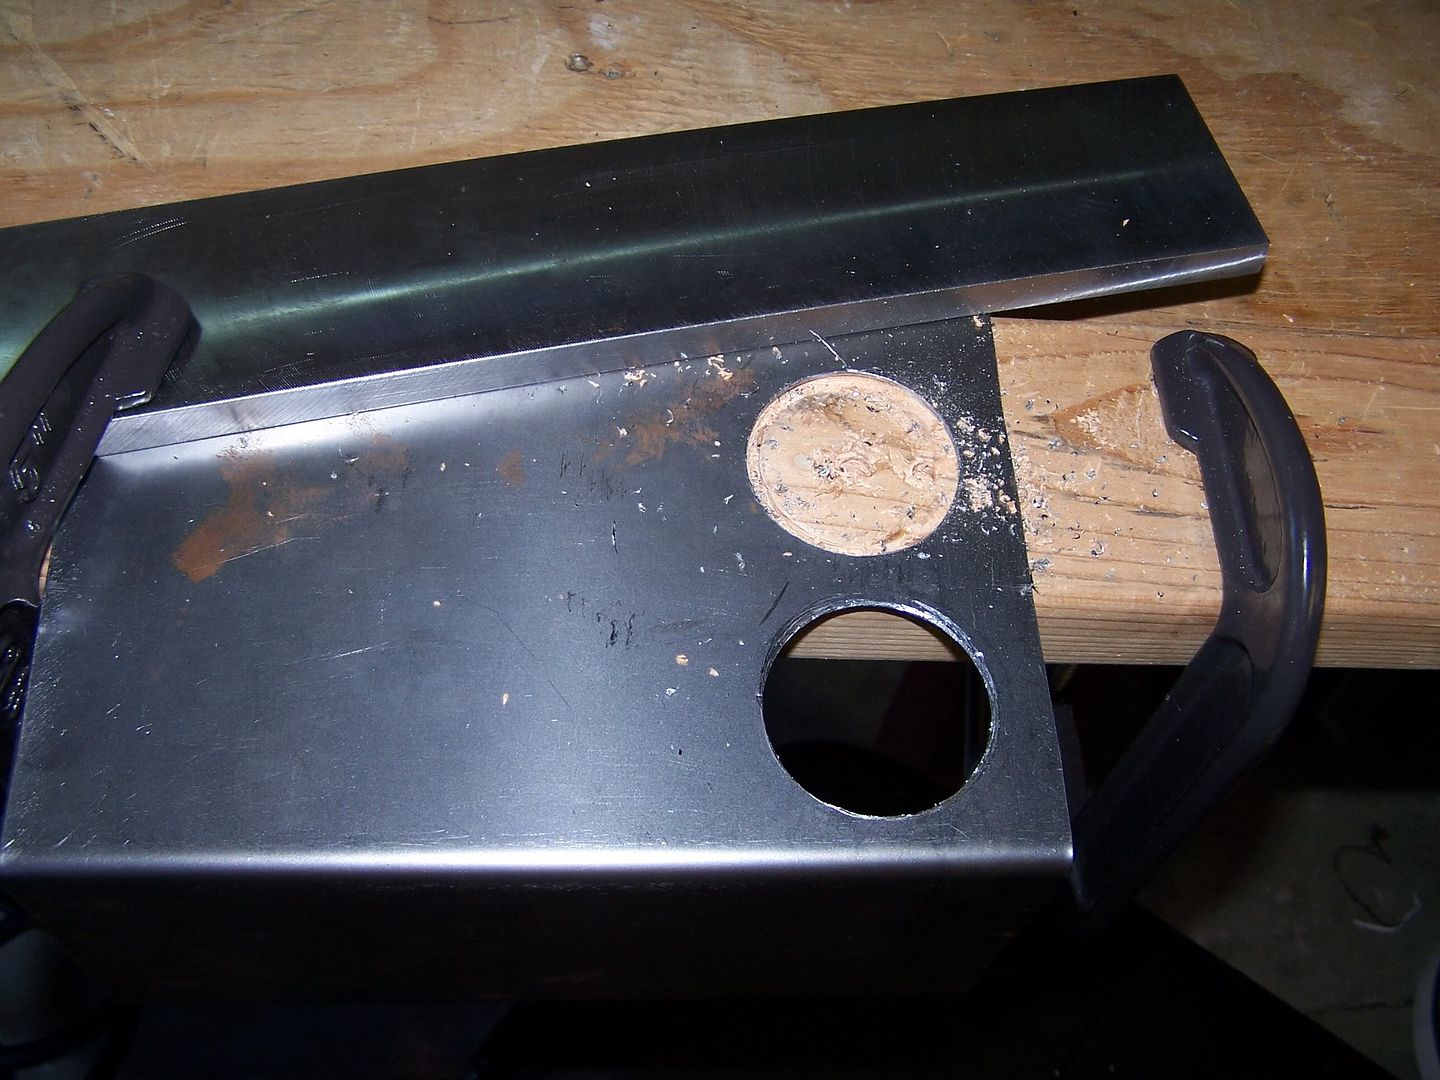
I have been so busy with work haven't had much time on this mod but did manage to get a little bit done today. I plan on routing my 4 8 pin PciExpress cables and my 2 6 pin PciExpress cables through the PSU shroud I made from 16gauge steel so I had to drill a couple of holes in order to make that happen as seen here:
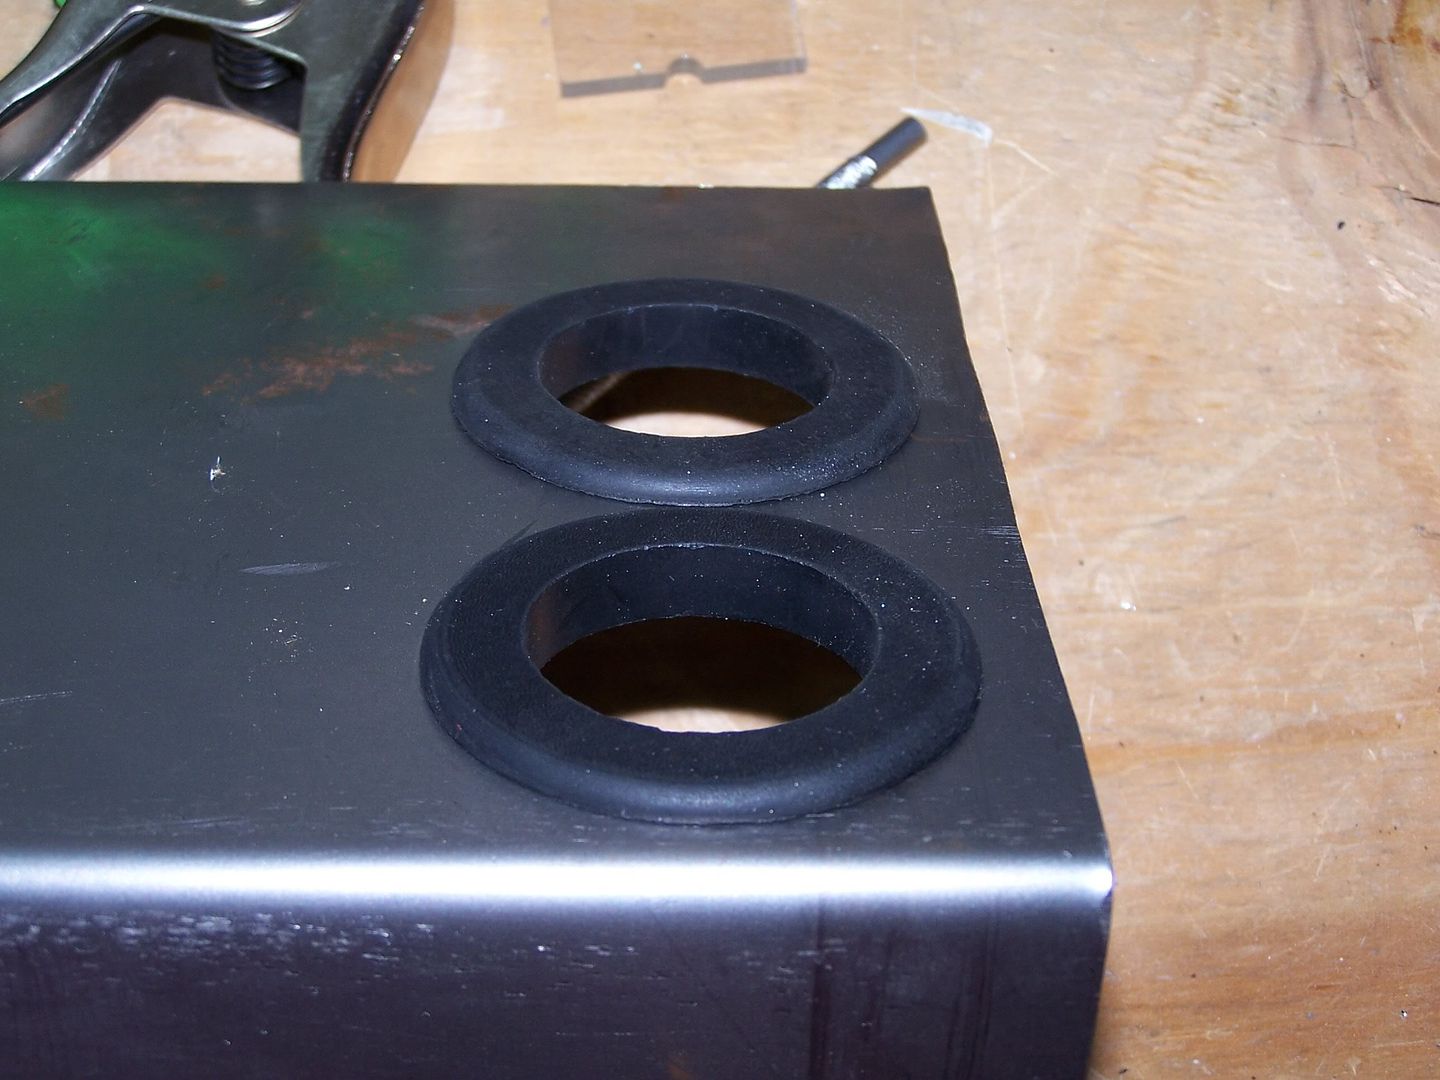
The holes are a little bit rough but that is ok because I am using a couple of nice grommets I got from Bill over at MNPCTech
That was all I got accomplished today and I know I better really get my ass in gear because the clock is ticking....lol
I did finally break down and purchased a Drill Press and also a nice fat Air Compressor so I am pretty excited about that. Anyway thanks for looking guys and will be posting more this week after I make my SSD Window and bracket.
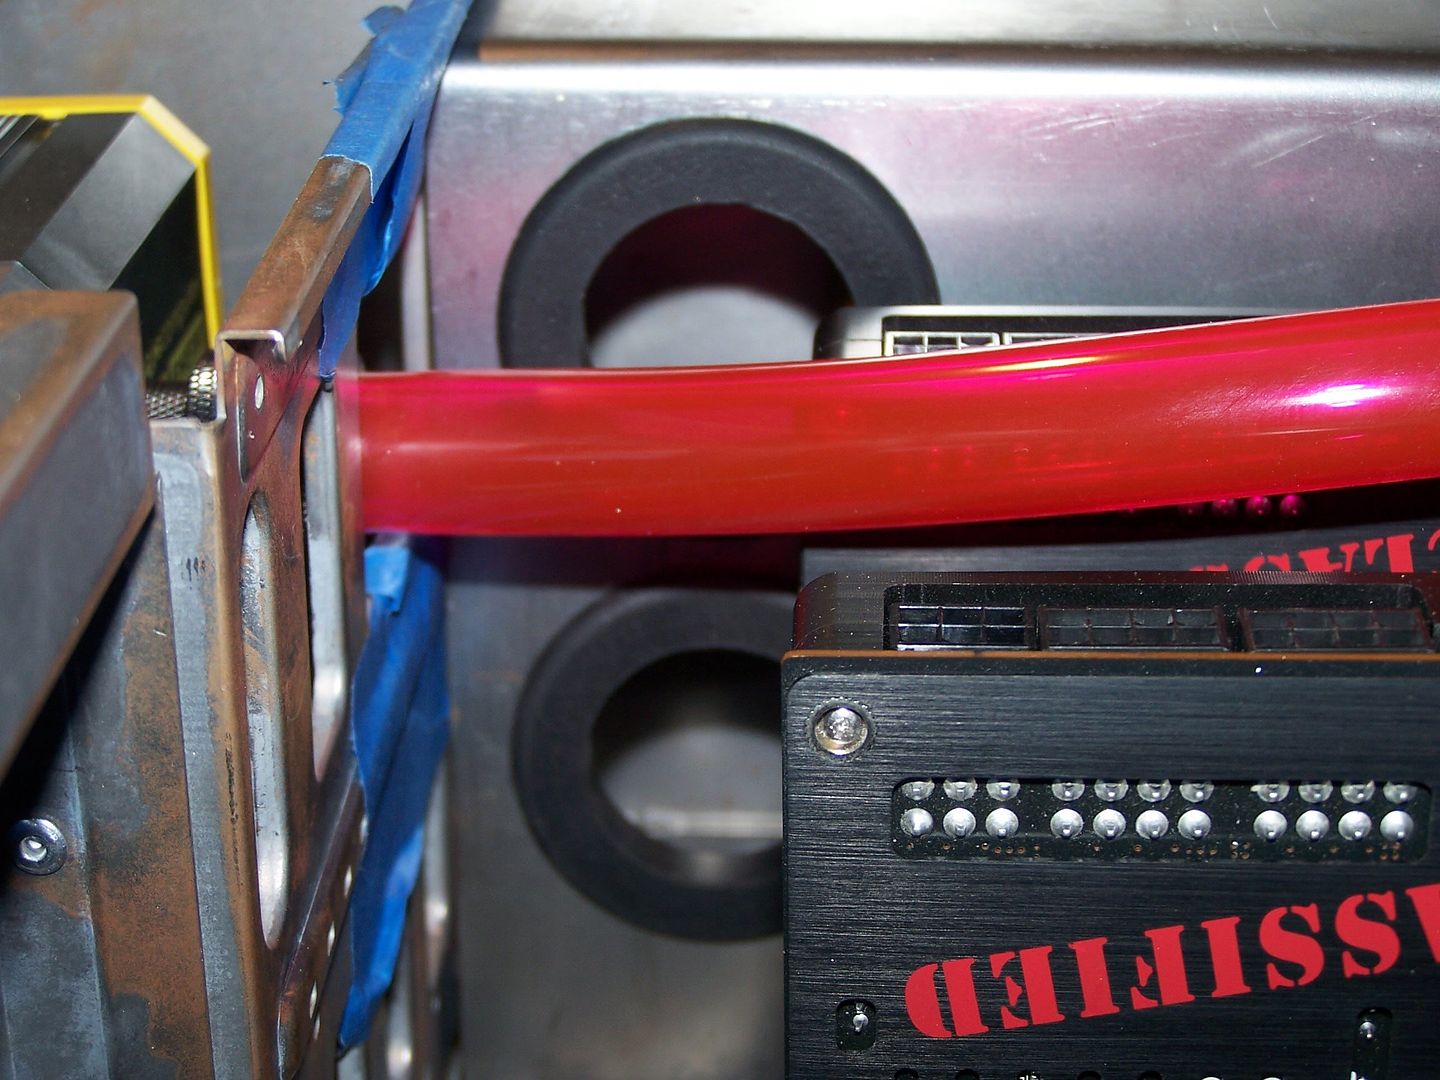
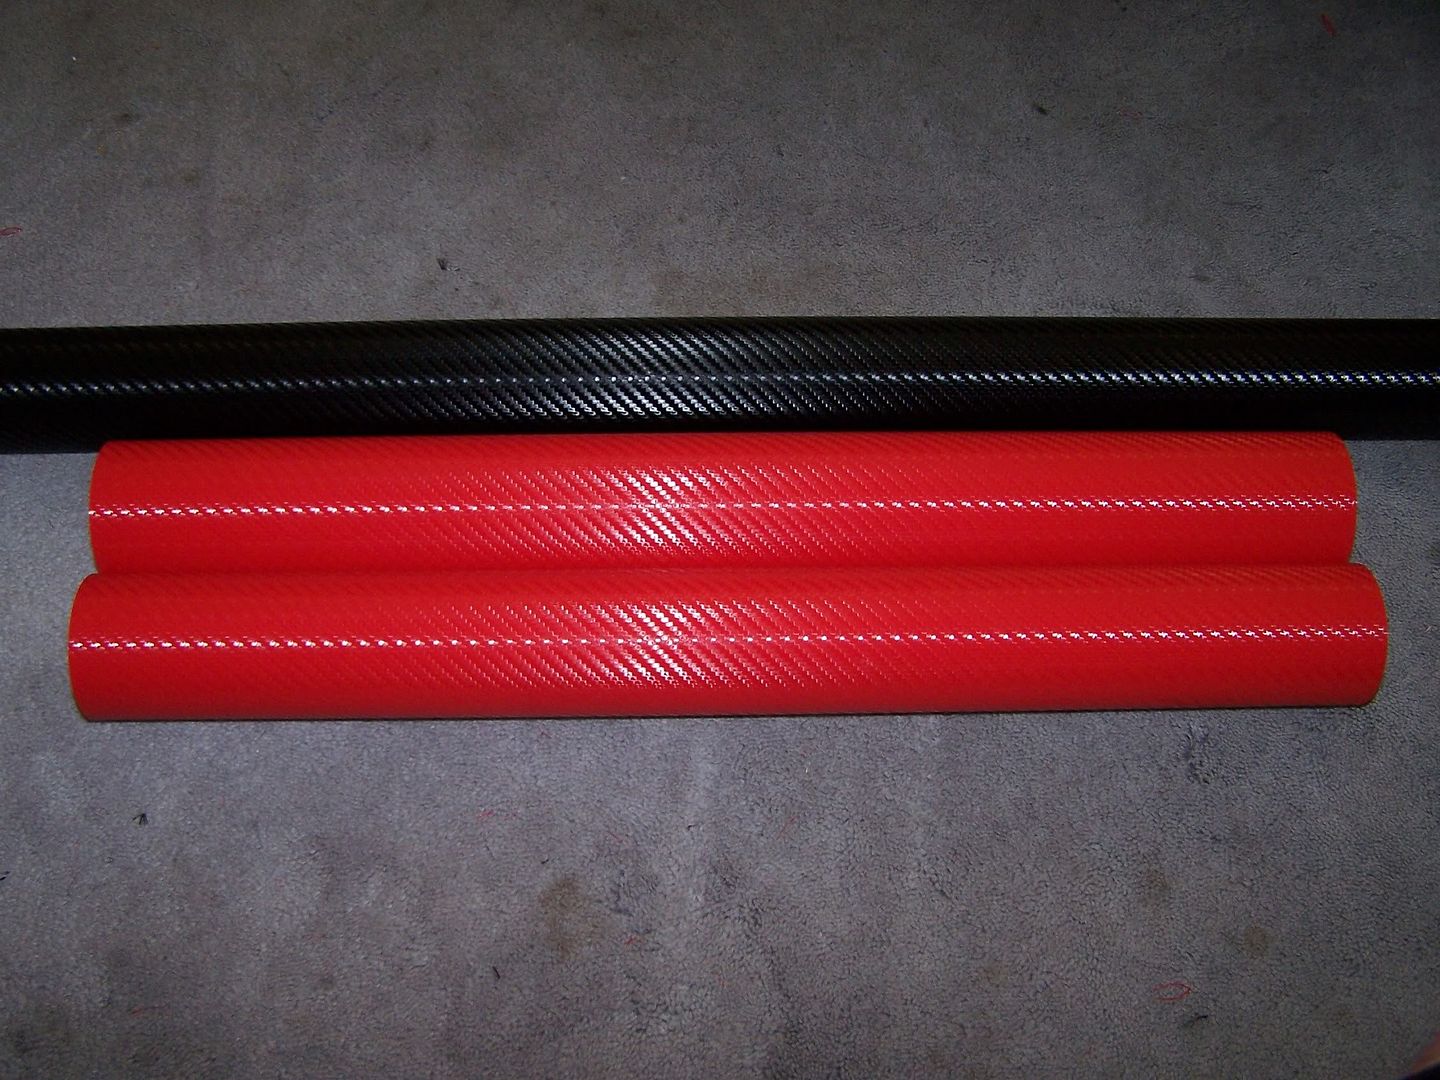
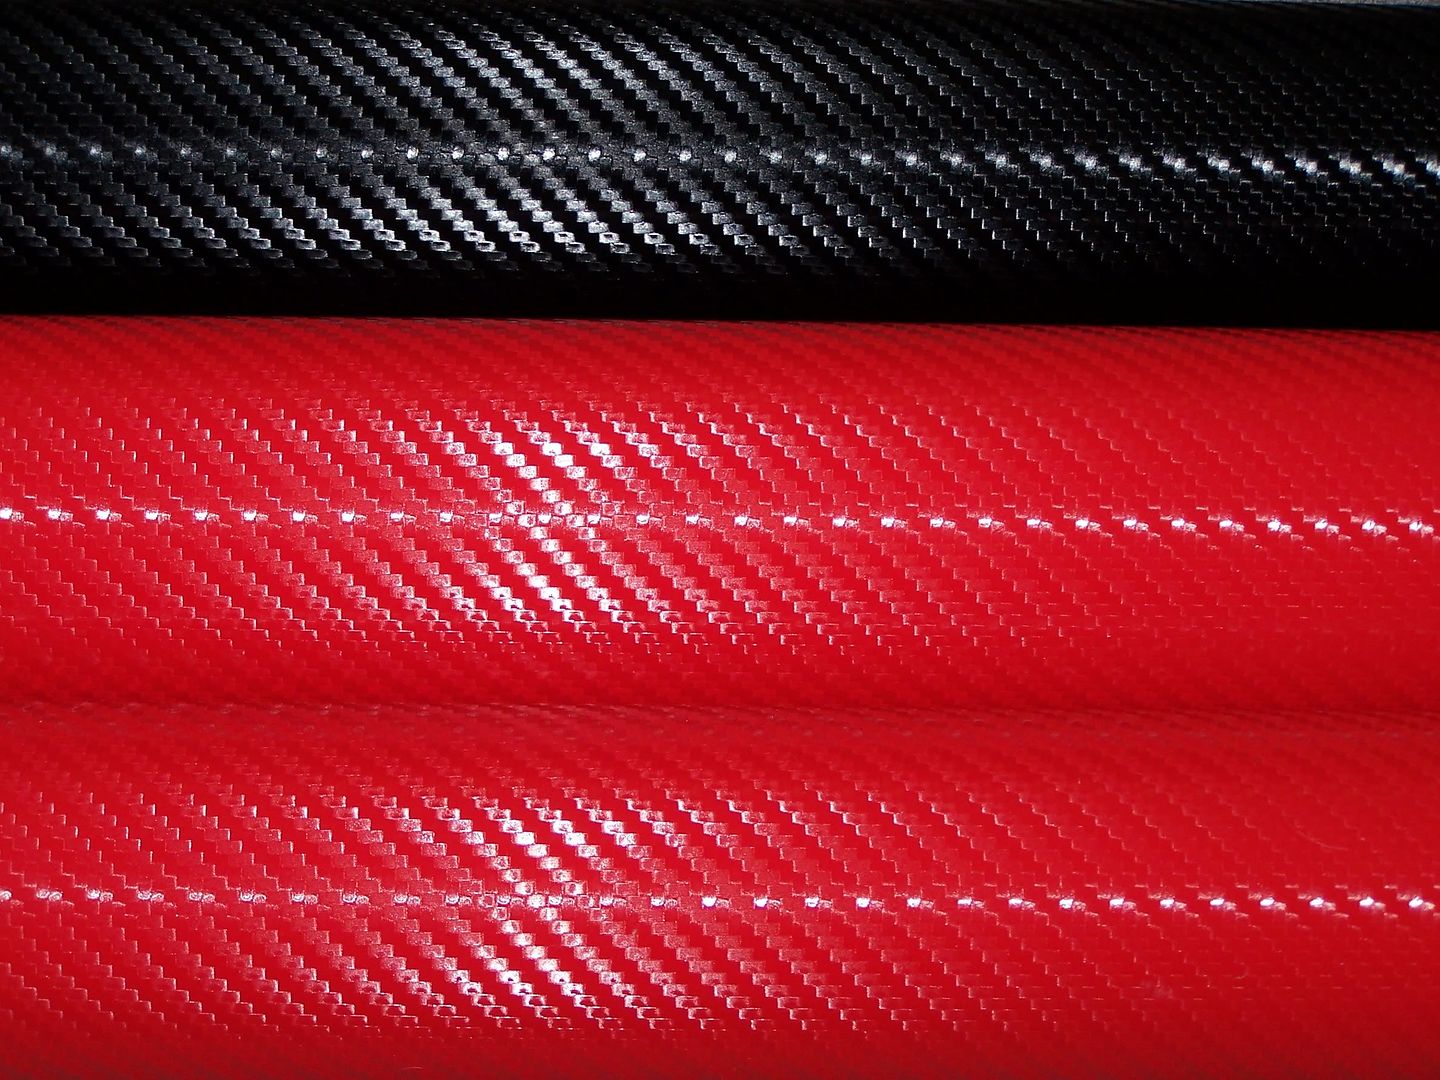
So today I finally received the new 3M DiNoc Ferrari Red glossy carbon fiber and also the glossy black.
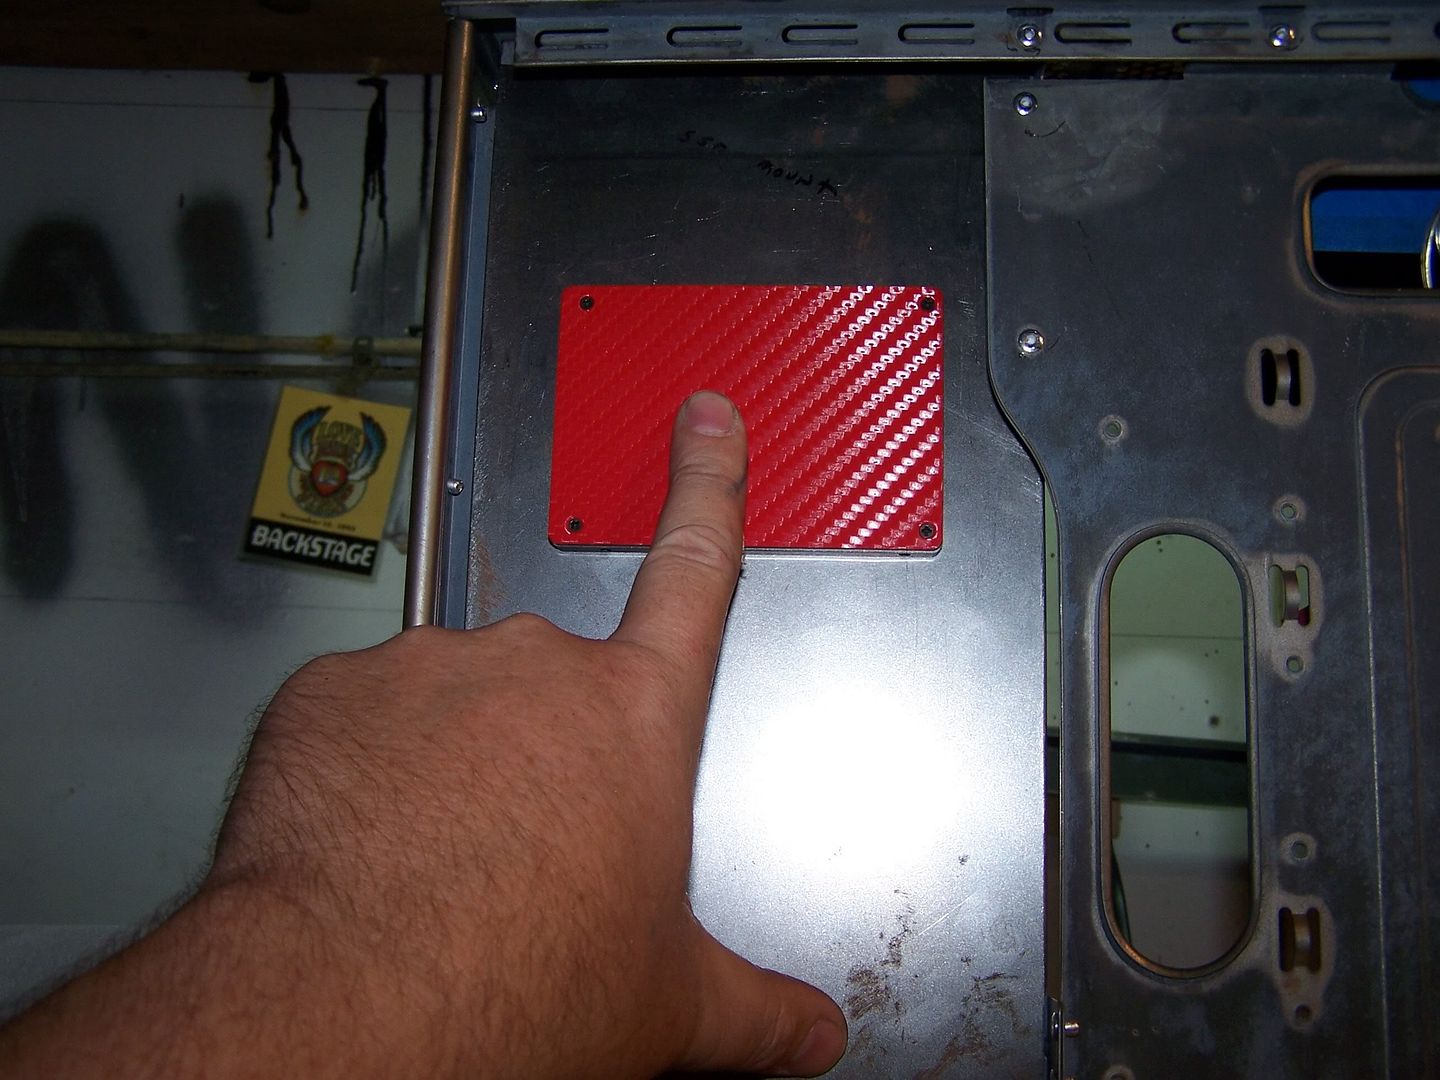
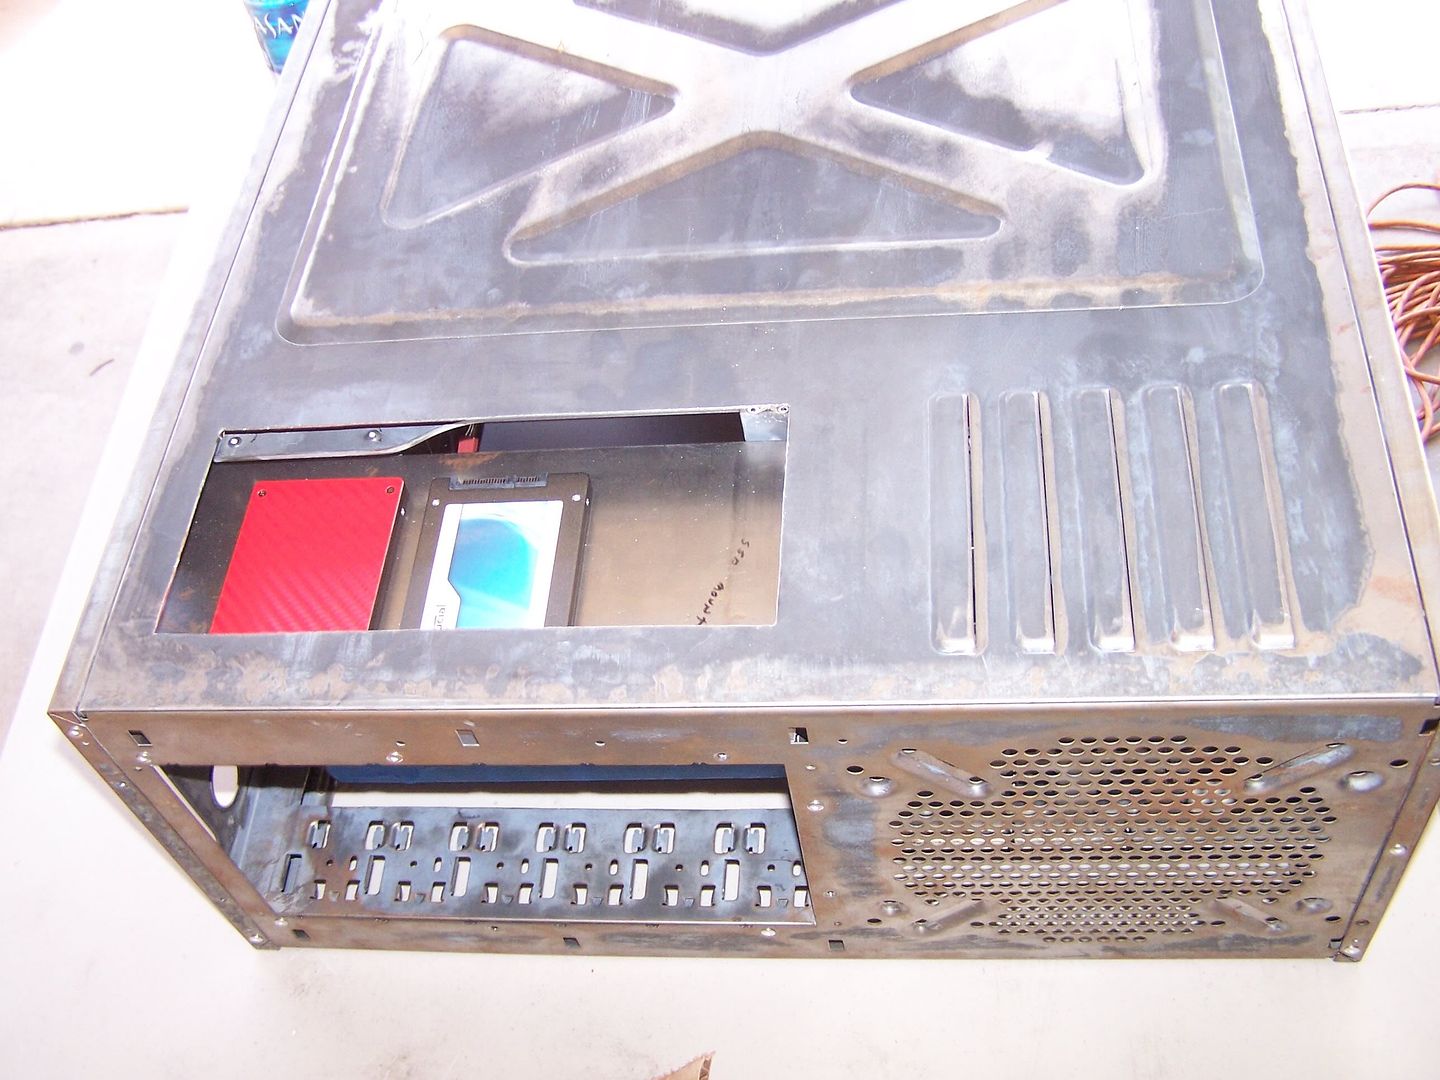
Also I did a little more steel work and made my mounting plate for my 2 SSD's that I will be cutting a window on the back panel to showcase them. I will be powder coating this black.

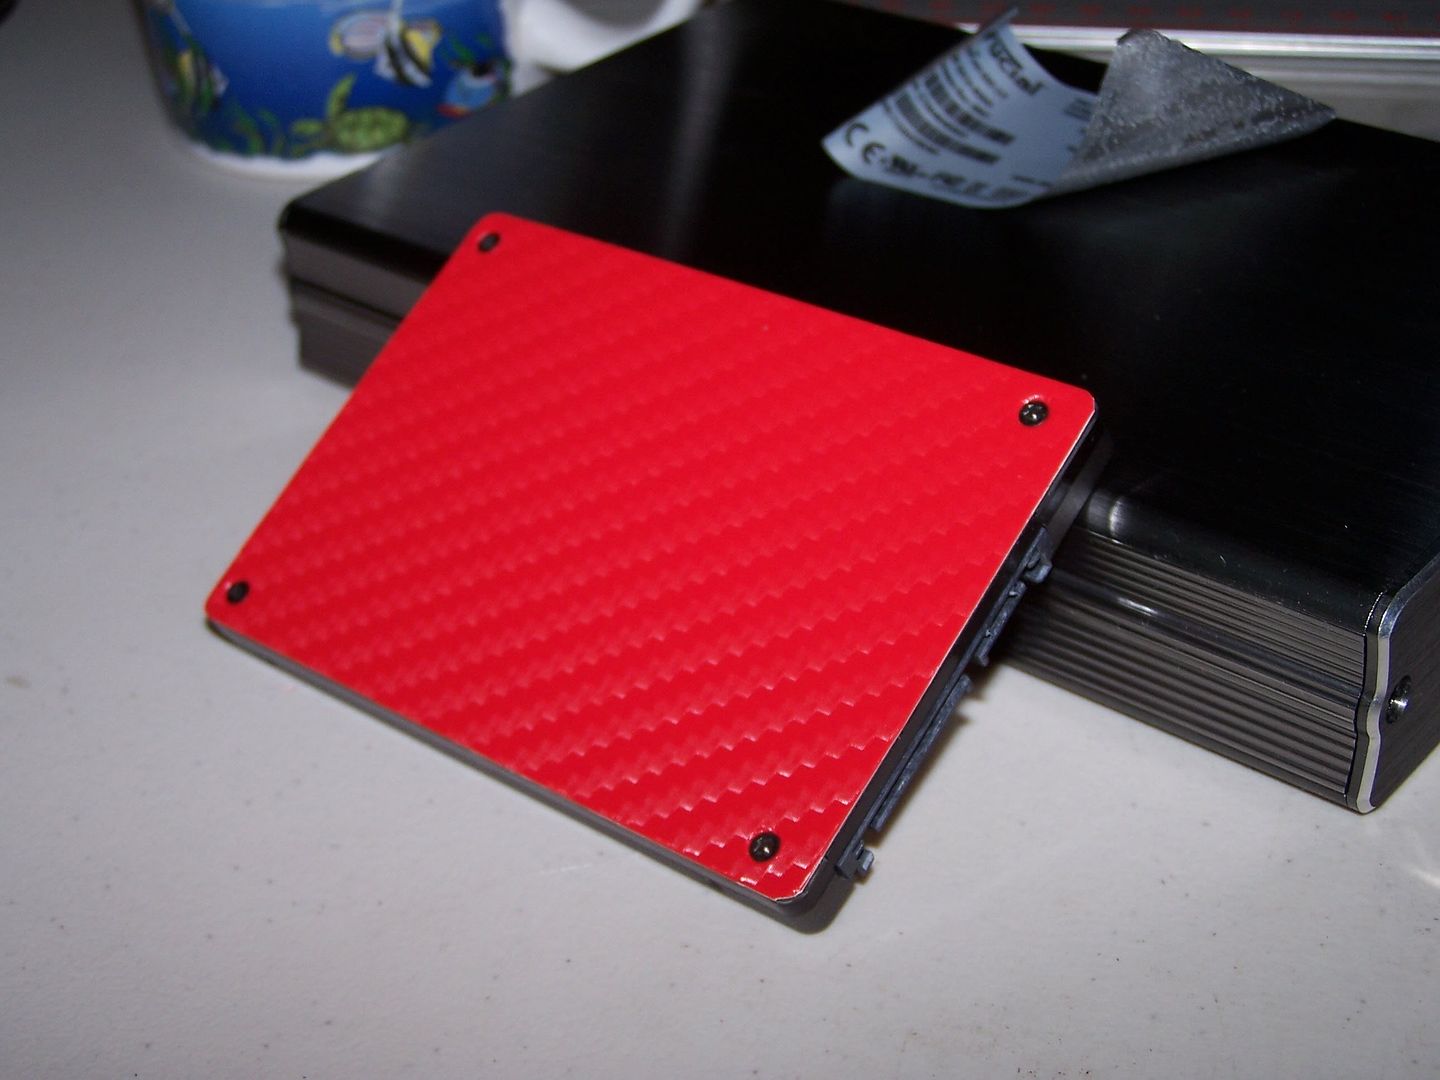
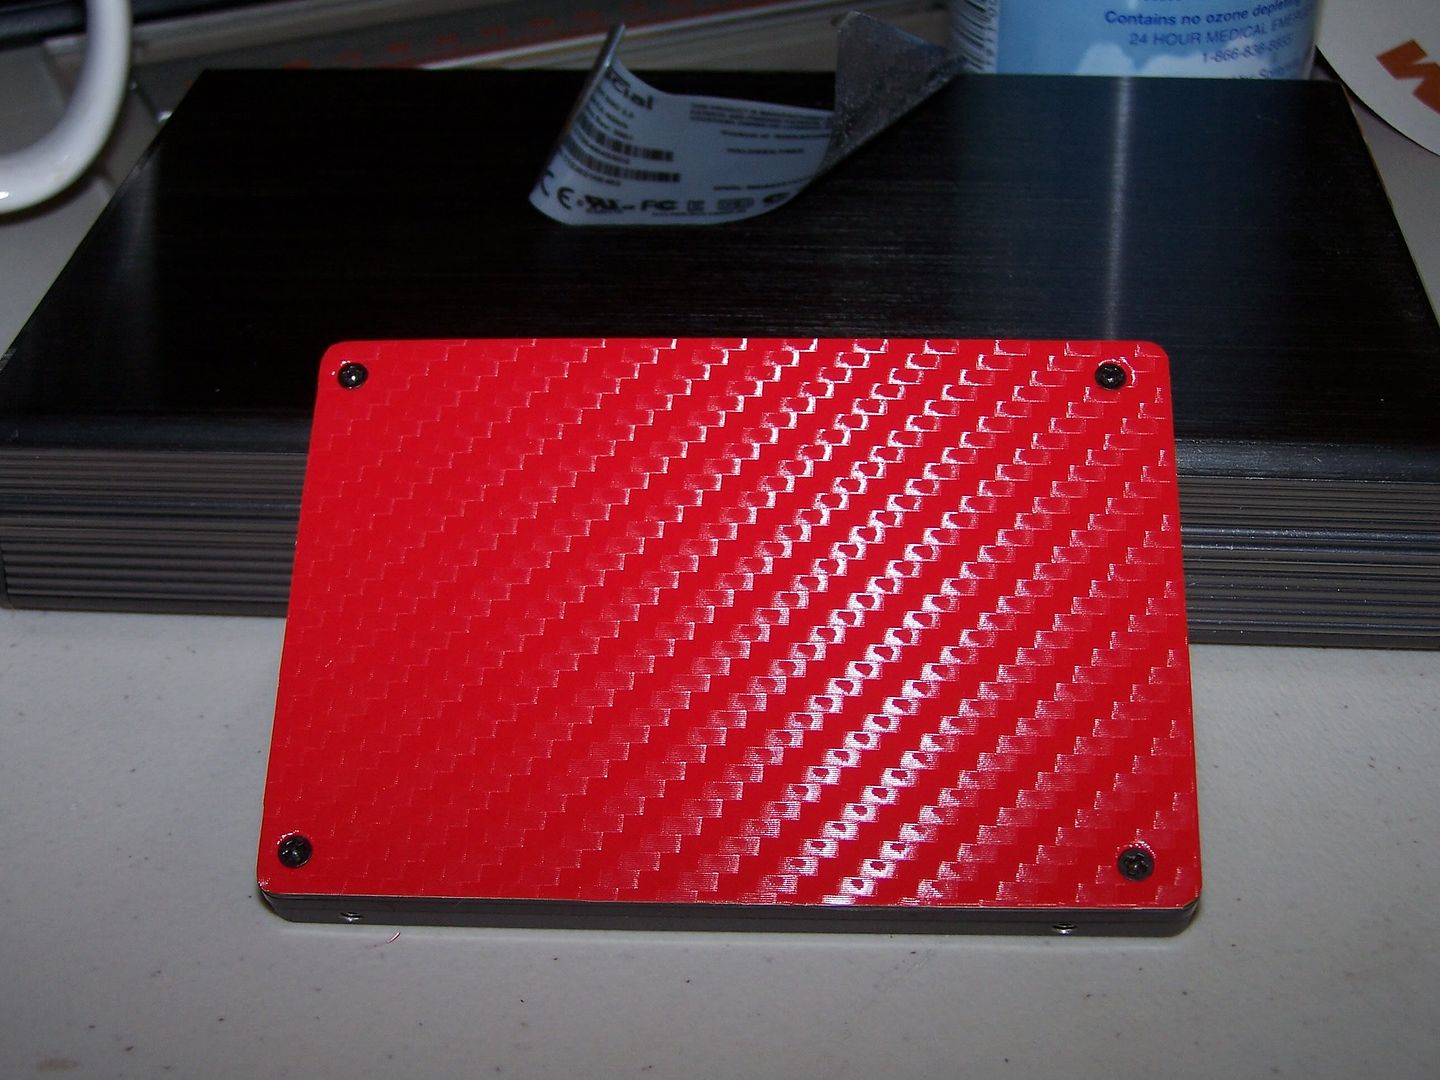
And here is one of the SSD's that I just did a quick wrap job with the ferrari red to see how it will look.
Now I have one more steel piece I need to work on which will cover the pump bay and then another tear down in order to powder coate everything.
I got the DiNoc from TipTopSigns on Ebay, they have always been good to me. I will be taking it to my own powder coater that does all of my families Harley Davidson brackets.
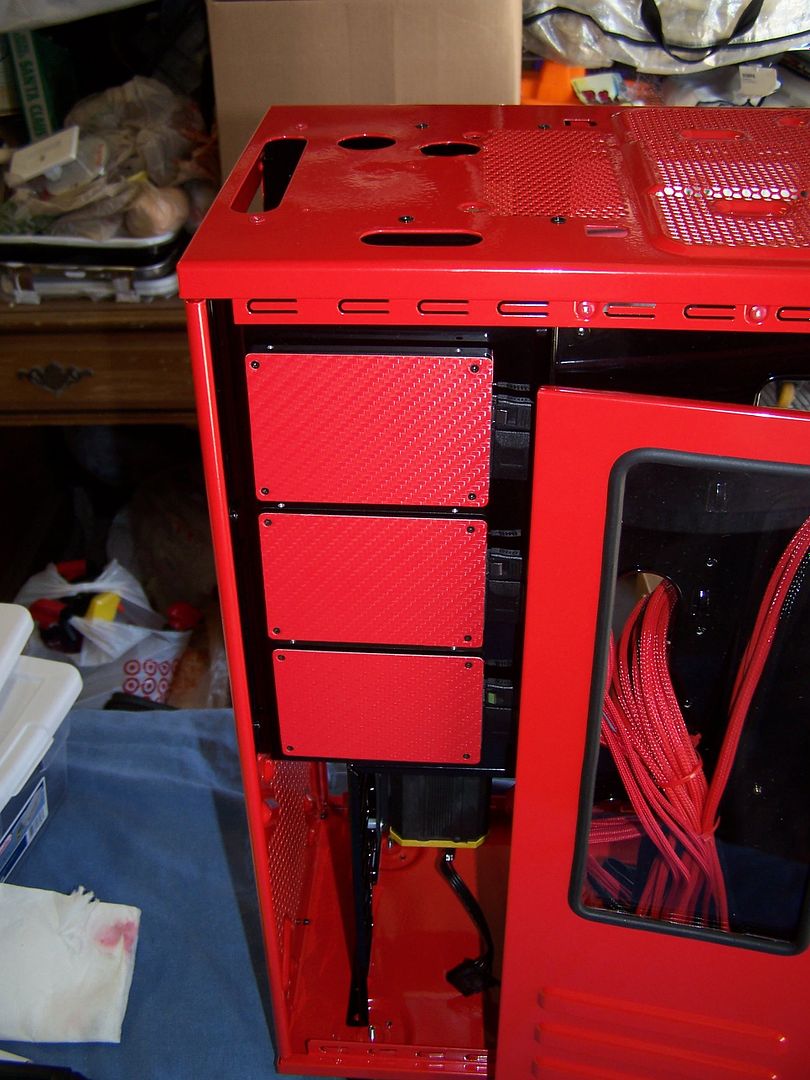
So I have went ahead and cleaned up the new reservoir bay and made some steel bezels as seen here:
Next up I went ahead and cut out my back panel window for my SSD's which will be going back there:
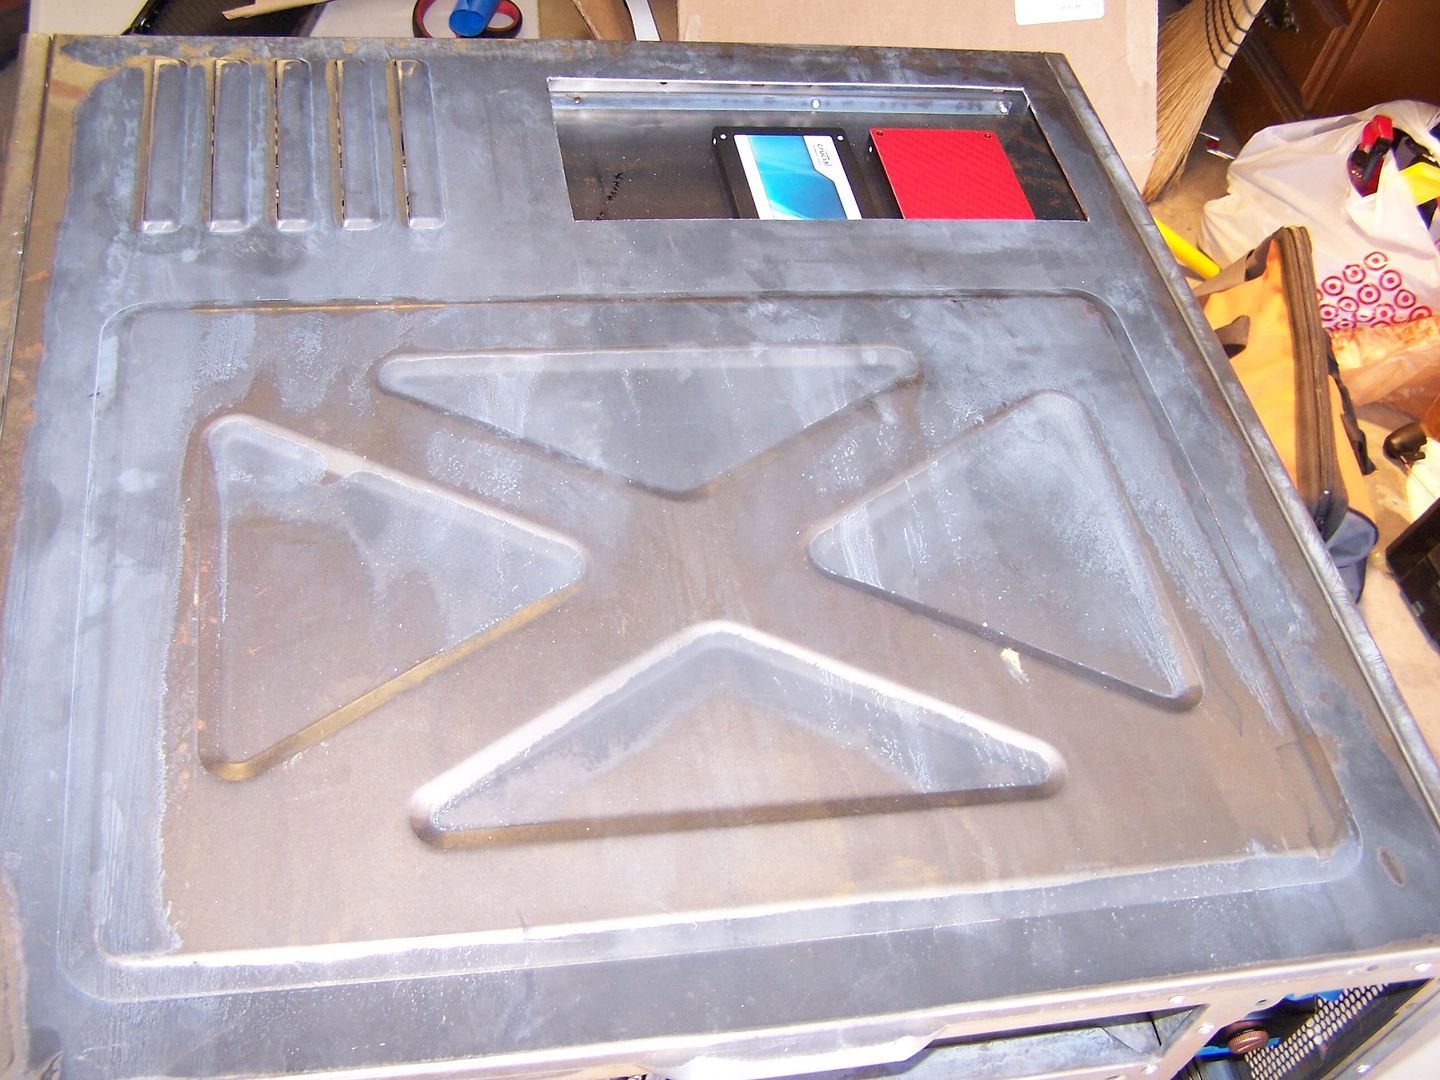
One thing I noticed was that this window was designed for 3 SSD's instead of 2 (I did this on purpose lol) It gives me a reason to pick up the 256 gig SSD I have been wanting for my games.
I will be installing a LED Module I picked up today back there to light up the SSD window.
Getting ready to powder coat after I drill a hole and remove a couple of tabs from the case tomorrow.
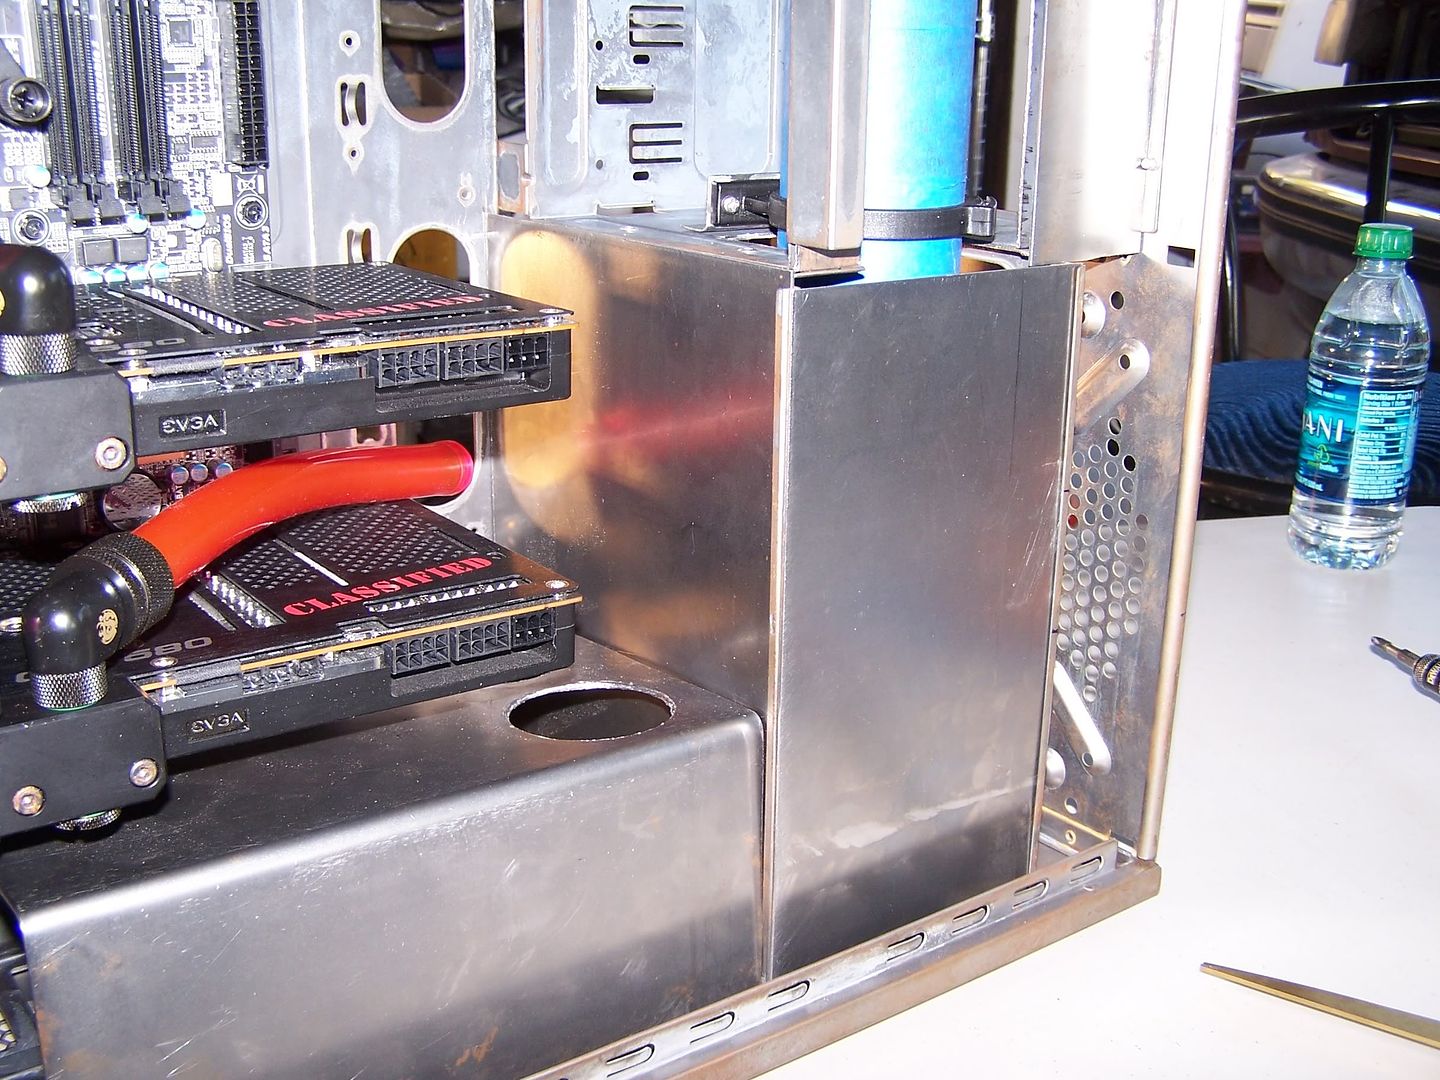
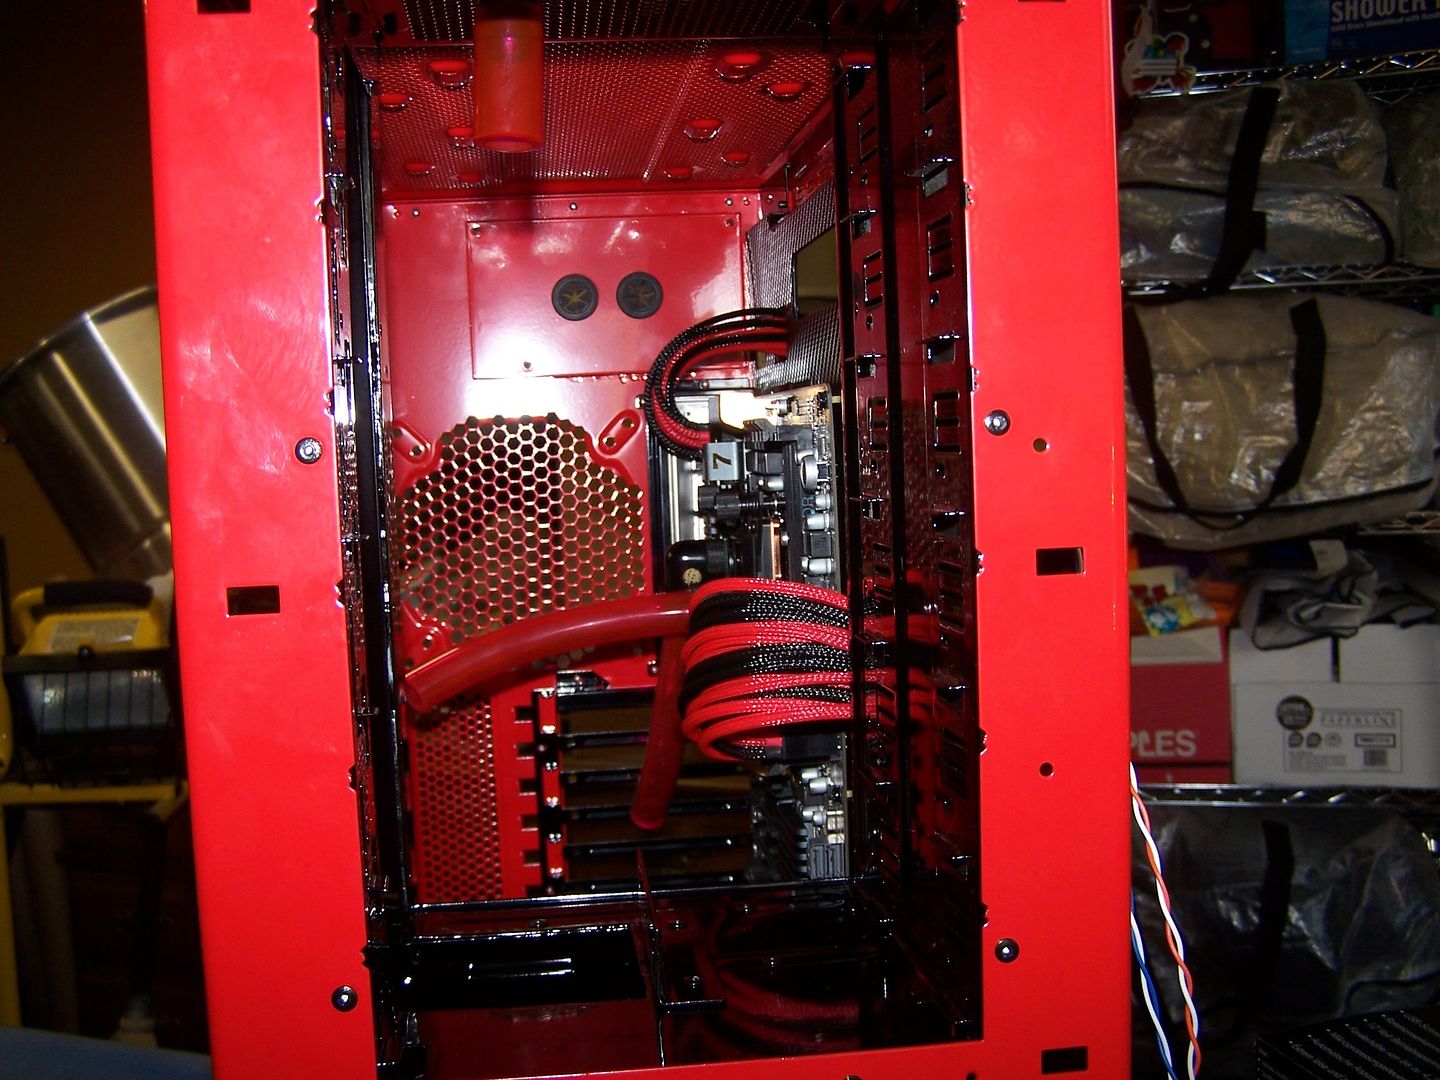
Here is the recent metal work that I have done to seal off the new Pump Bay to give it a nice clean look instead of the hdd cage that it used to be.
I will be installing a smaller grommet for the hose to come out of there and into the GPU's.
I am pretty satisfied with the way it looks.
Well that's it for now will post again when I do the tear down before and after powder coating.
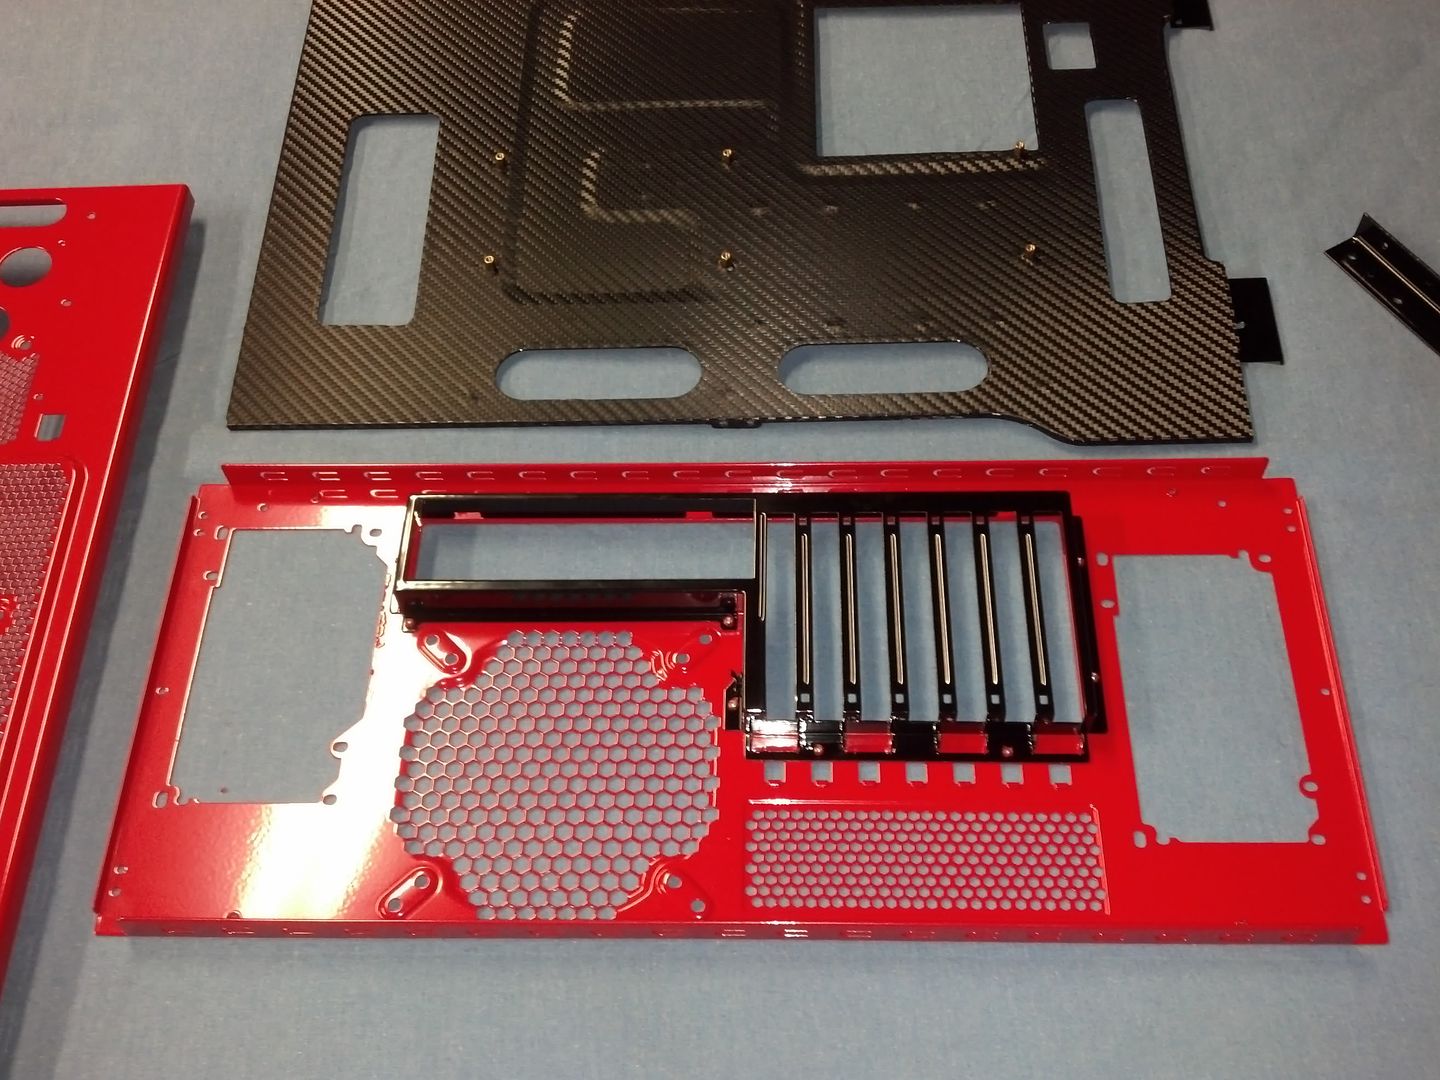
Picked up my powder coated pieces today. I am actually very impressed with the quality of their work but the pictures are nothing like it actually looks in person.
A special thanks to Kenny Price at Samson Motorcycle Exhausts for not only referring me to Central Powder Coating in Brea, CA but also for his generosity in paying for the purchase order.
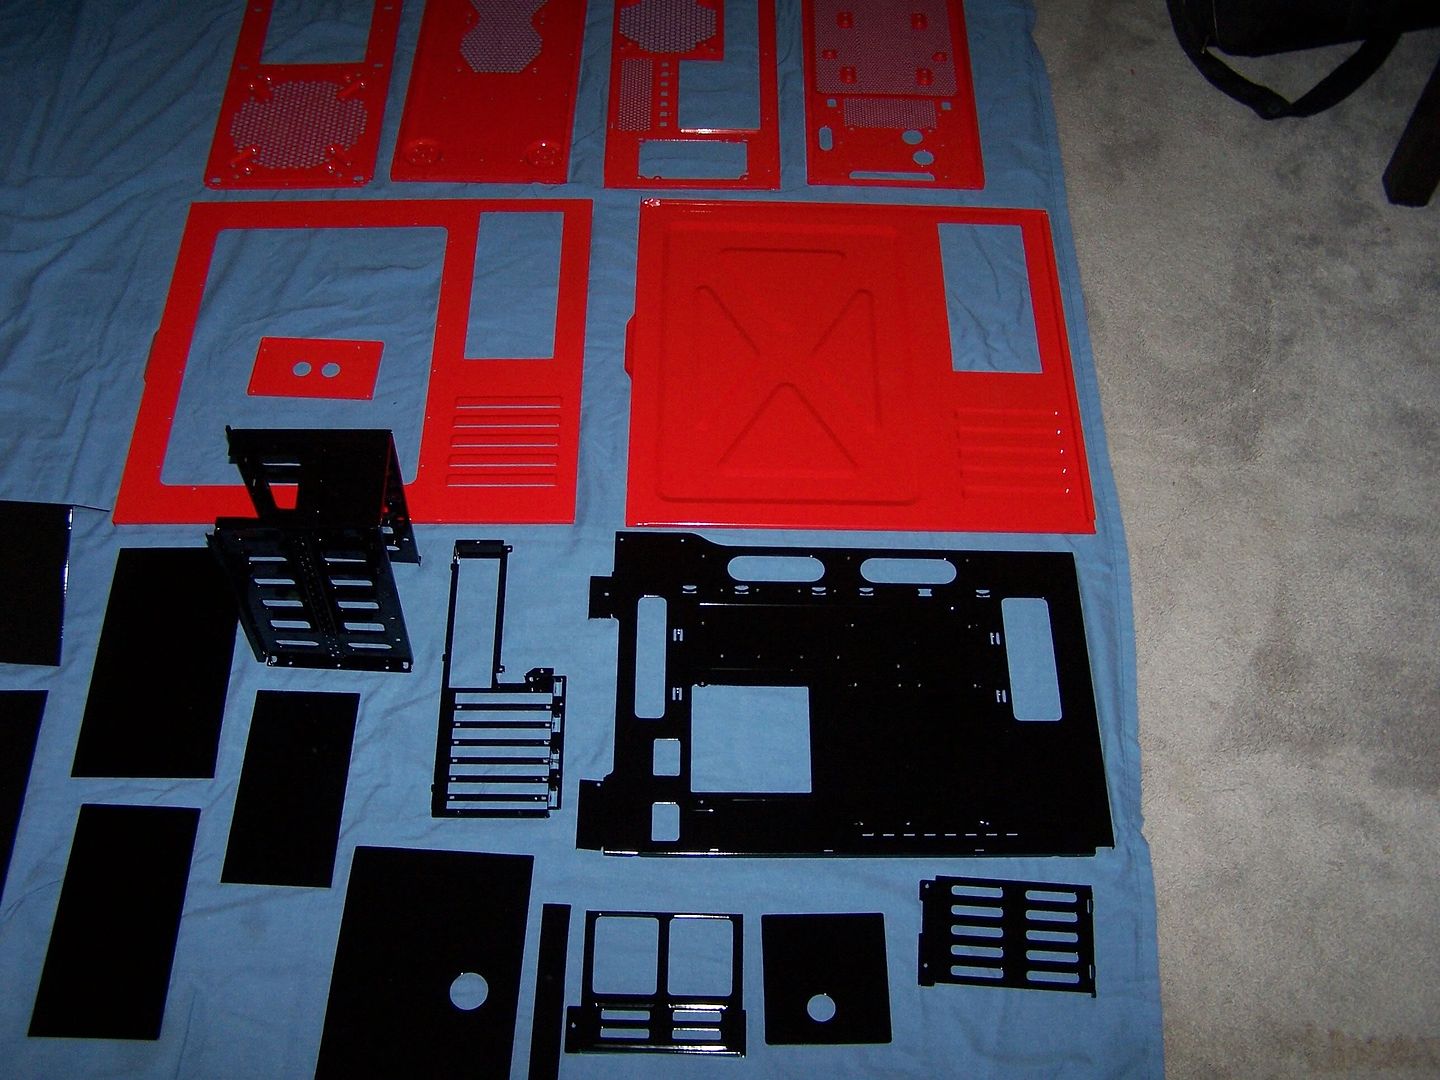
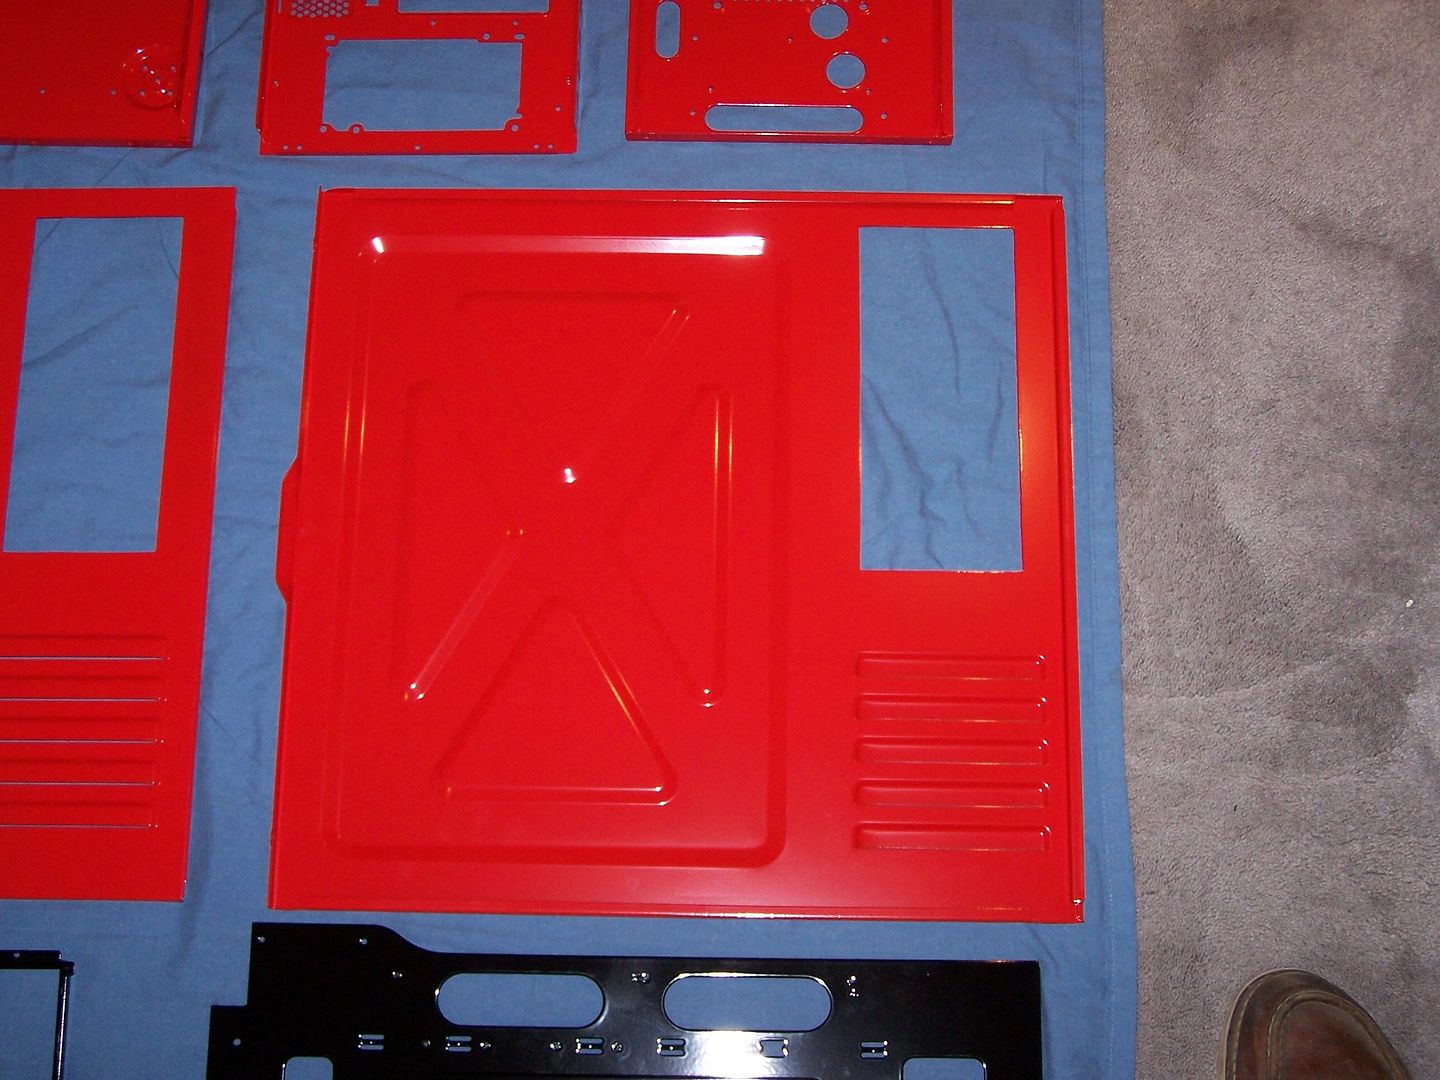
Now the best part of all my hard work begins......putting her together and bringing it to life.
Here are some way better pictures taken with my phone. (damn phone is better than my camera )
These are some shots of the process of riveting it back together. Now I have to get all of my custom case pieces I made and install them along with my components, loop etc.
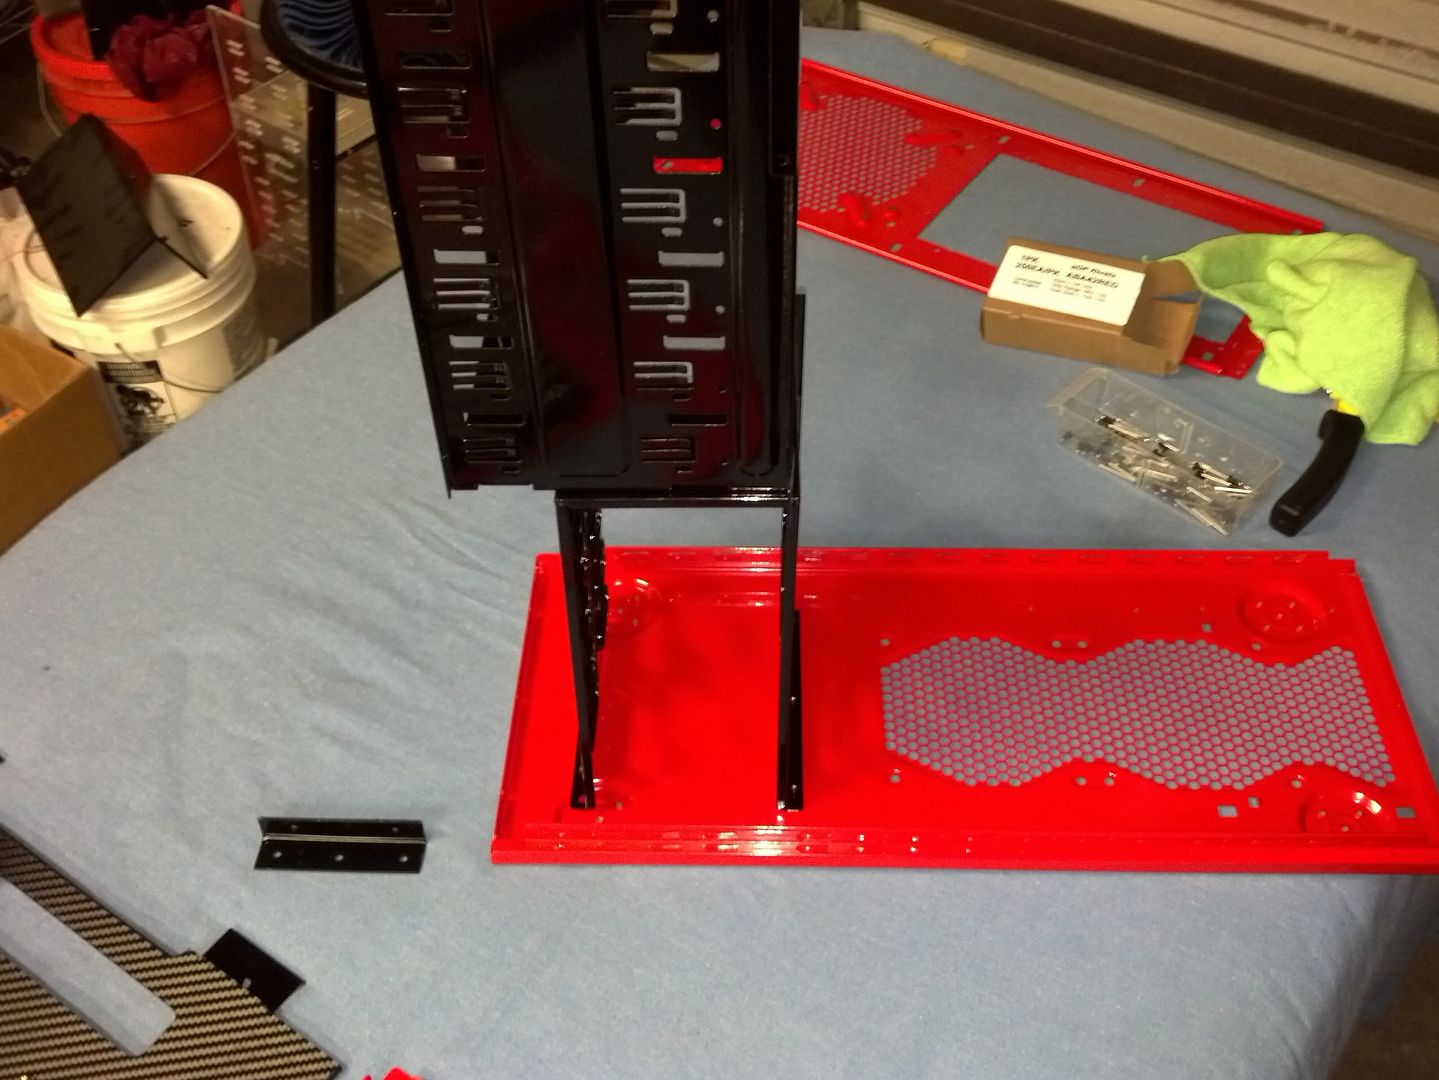
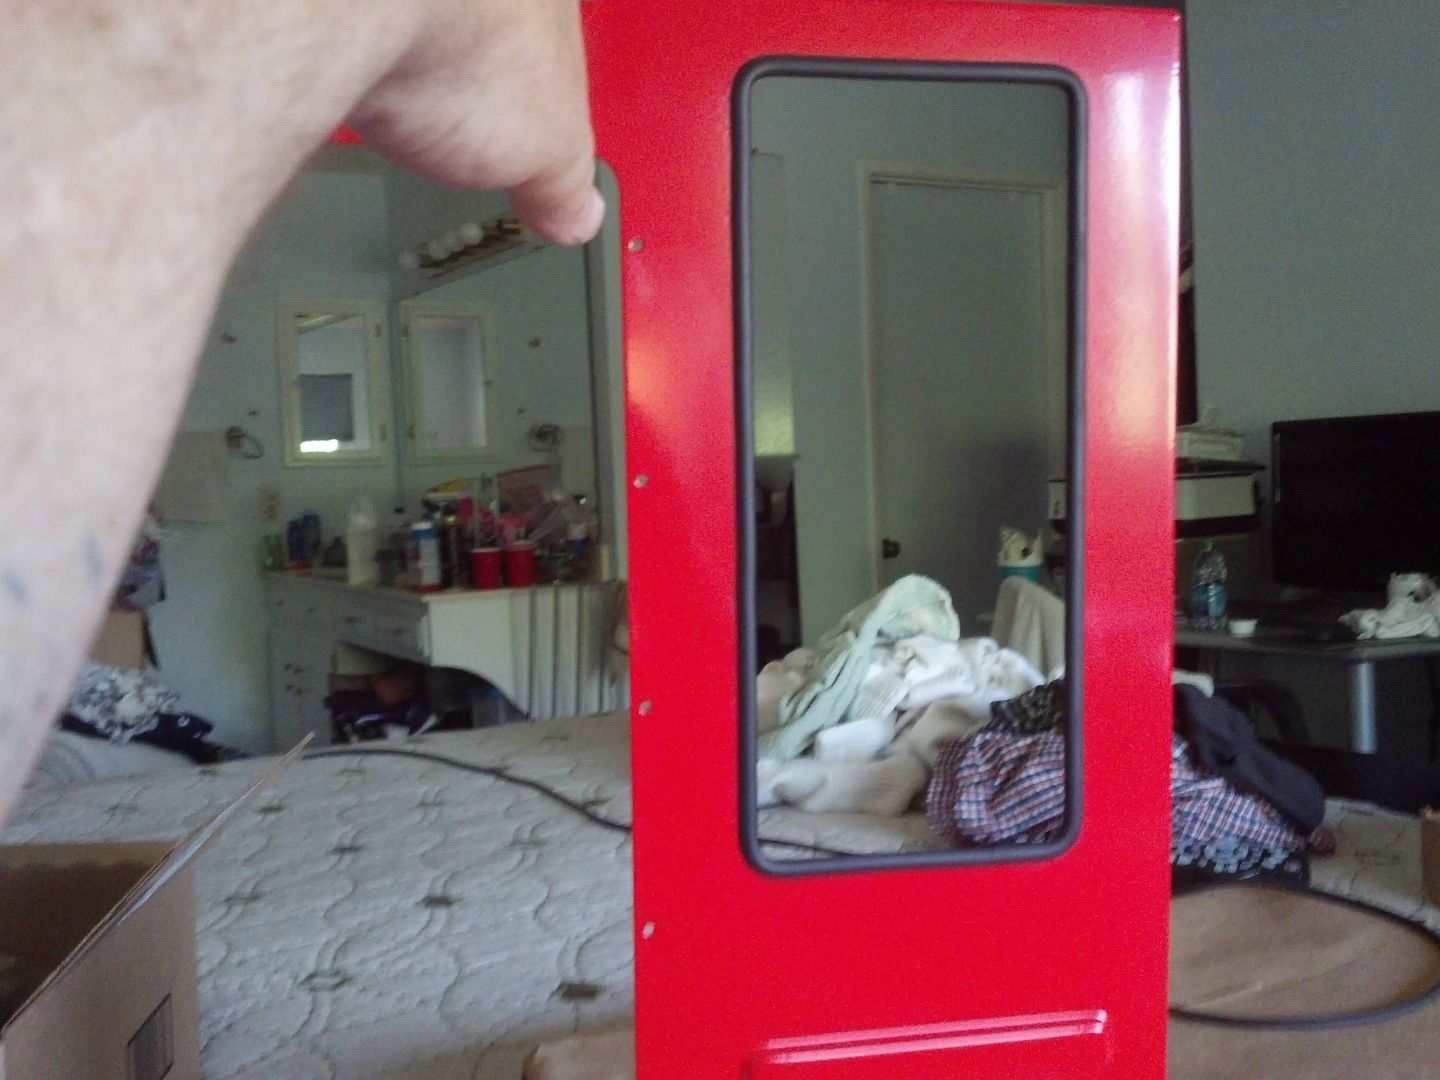
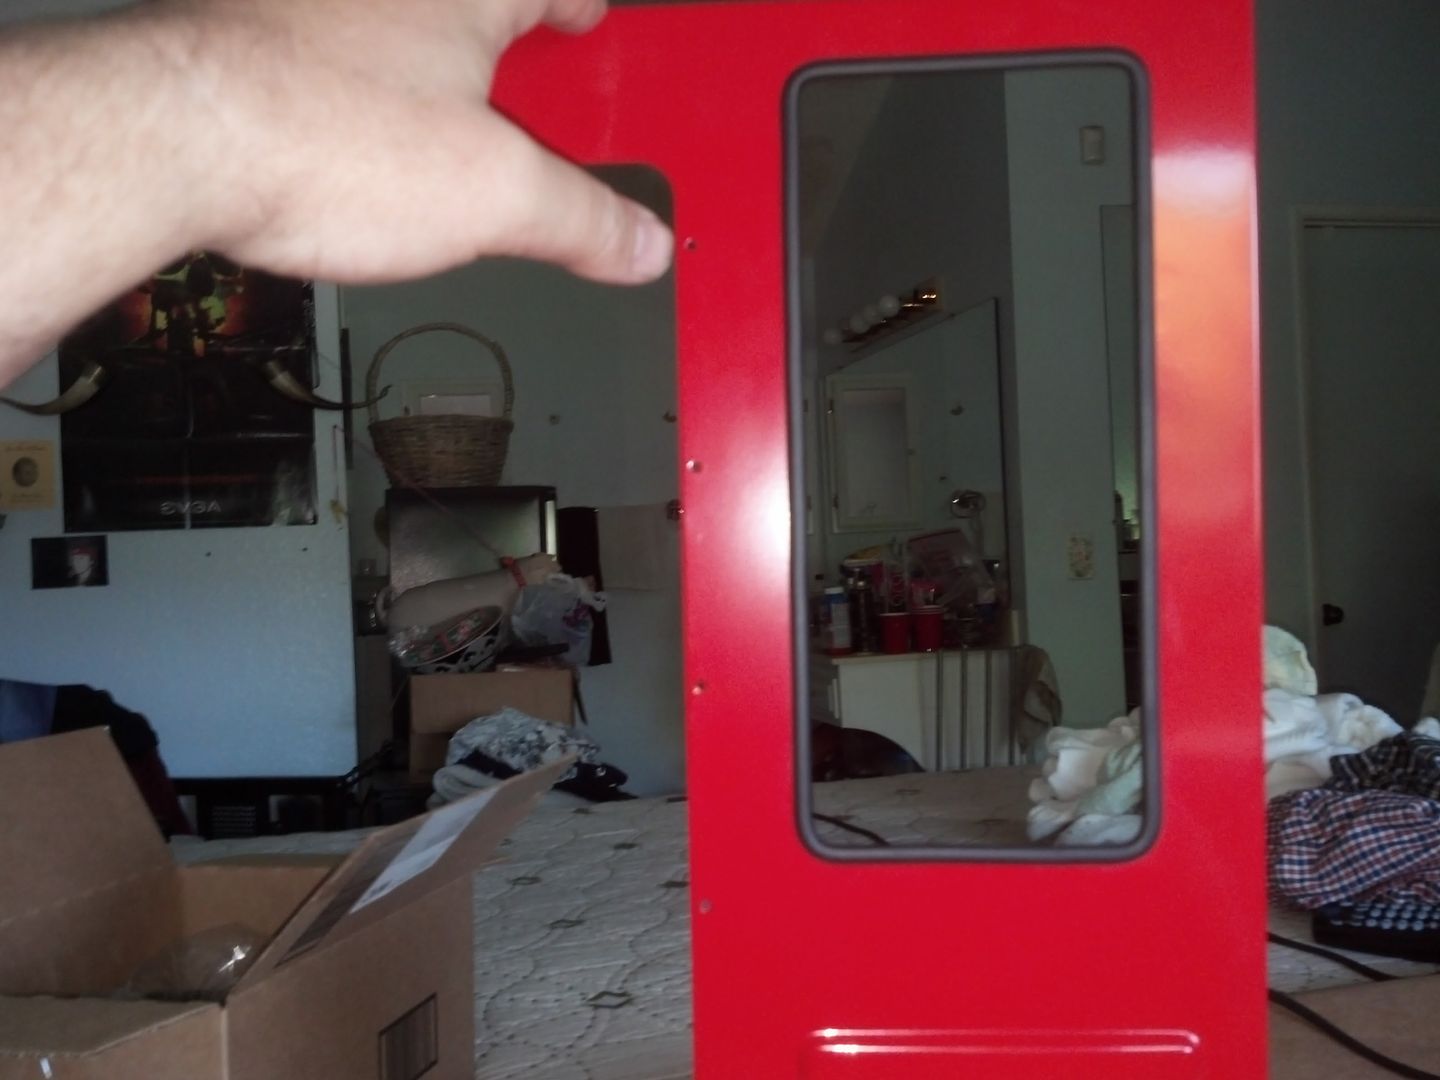
Reservoir window installed now I have two more windows to go and I can start assembling.
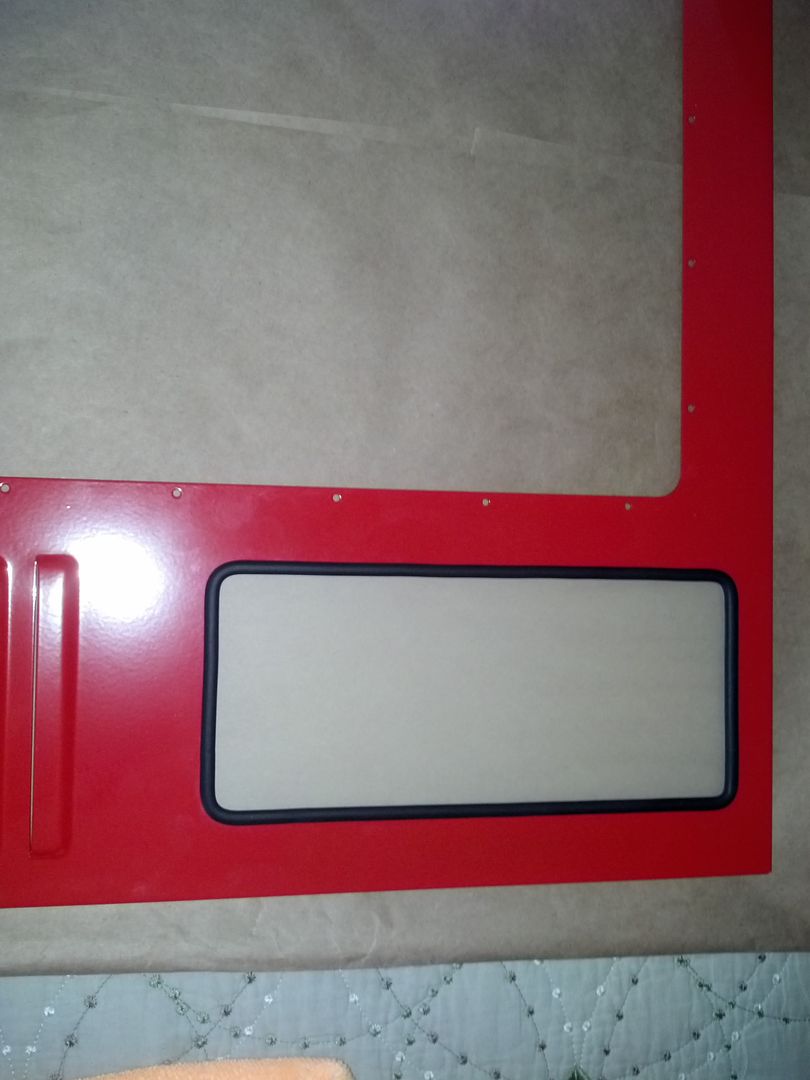
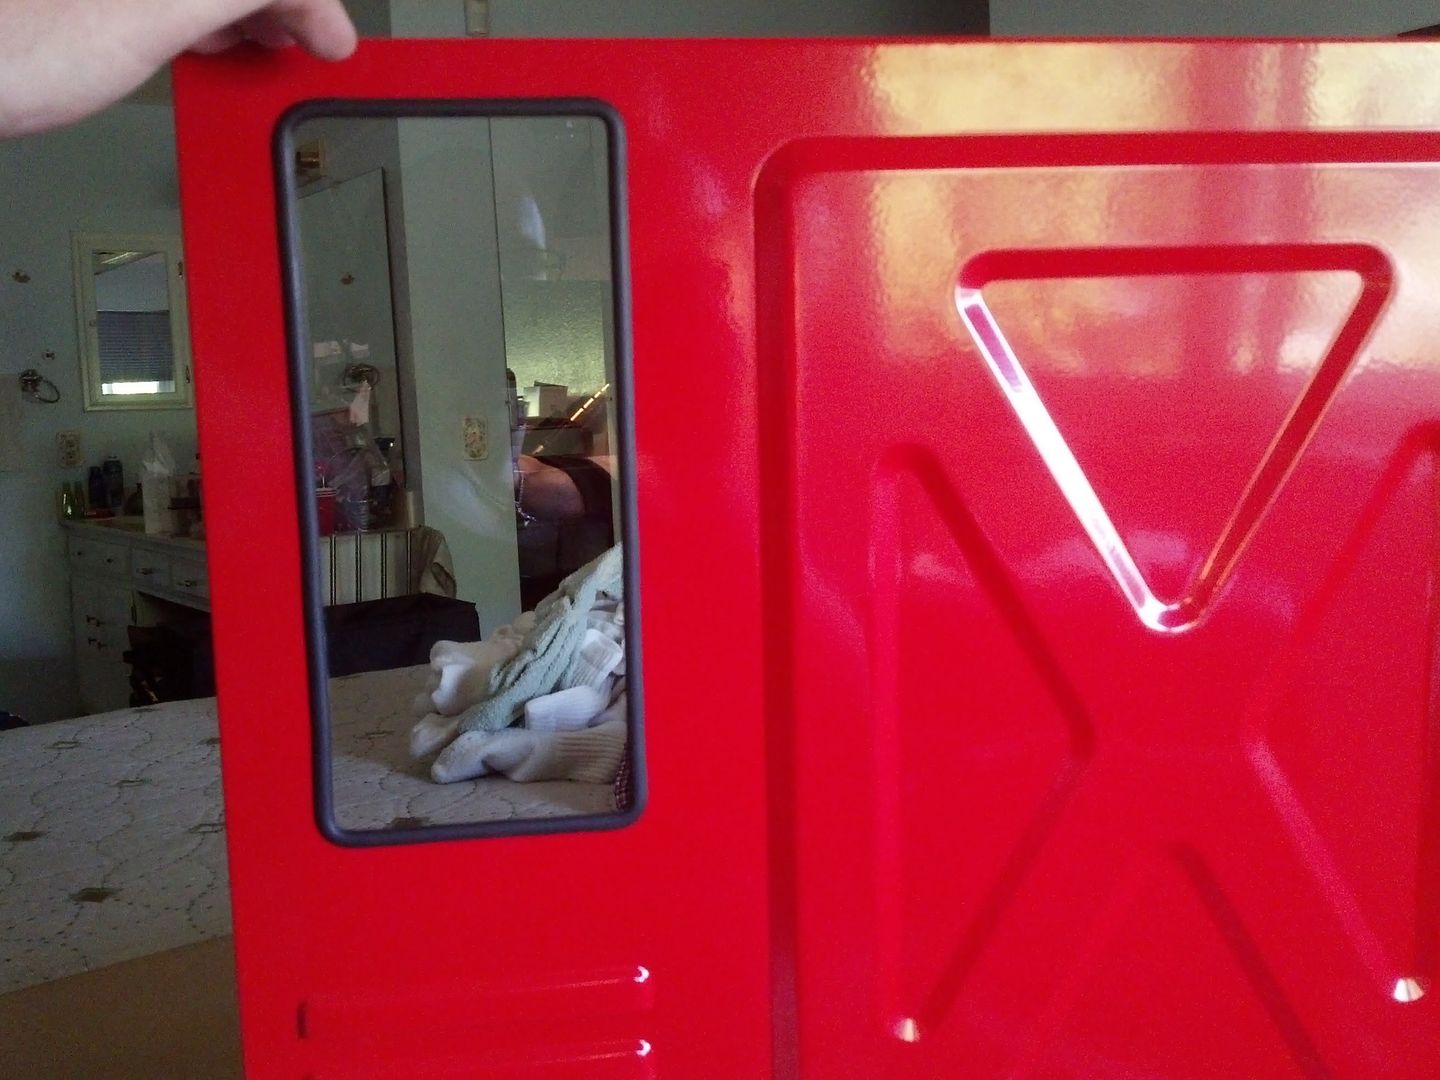
And here is the back panel window installed. 3 SSD's will be mounted here. 2 64gig Crucial M4's in RAID 0 and 1 256gig Crucial M4 for Games etc.
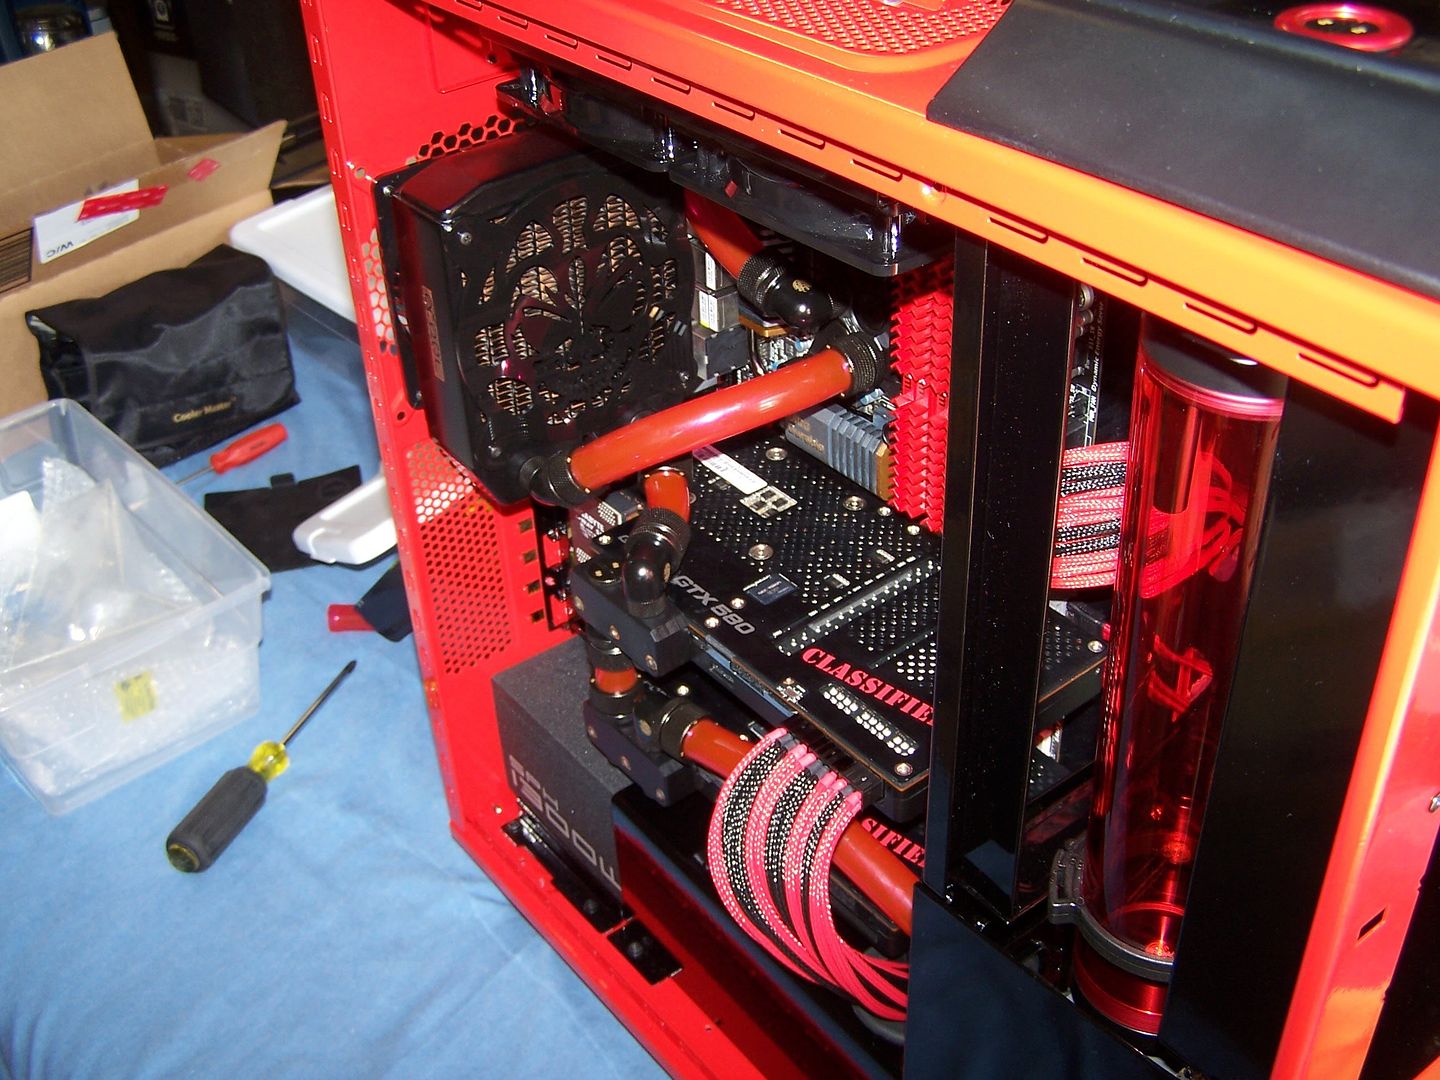
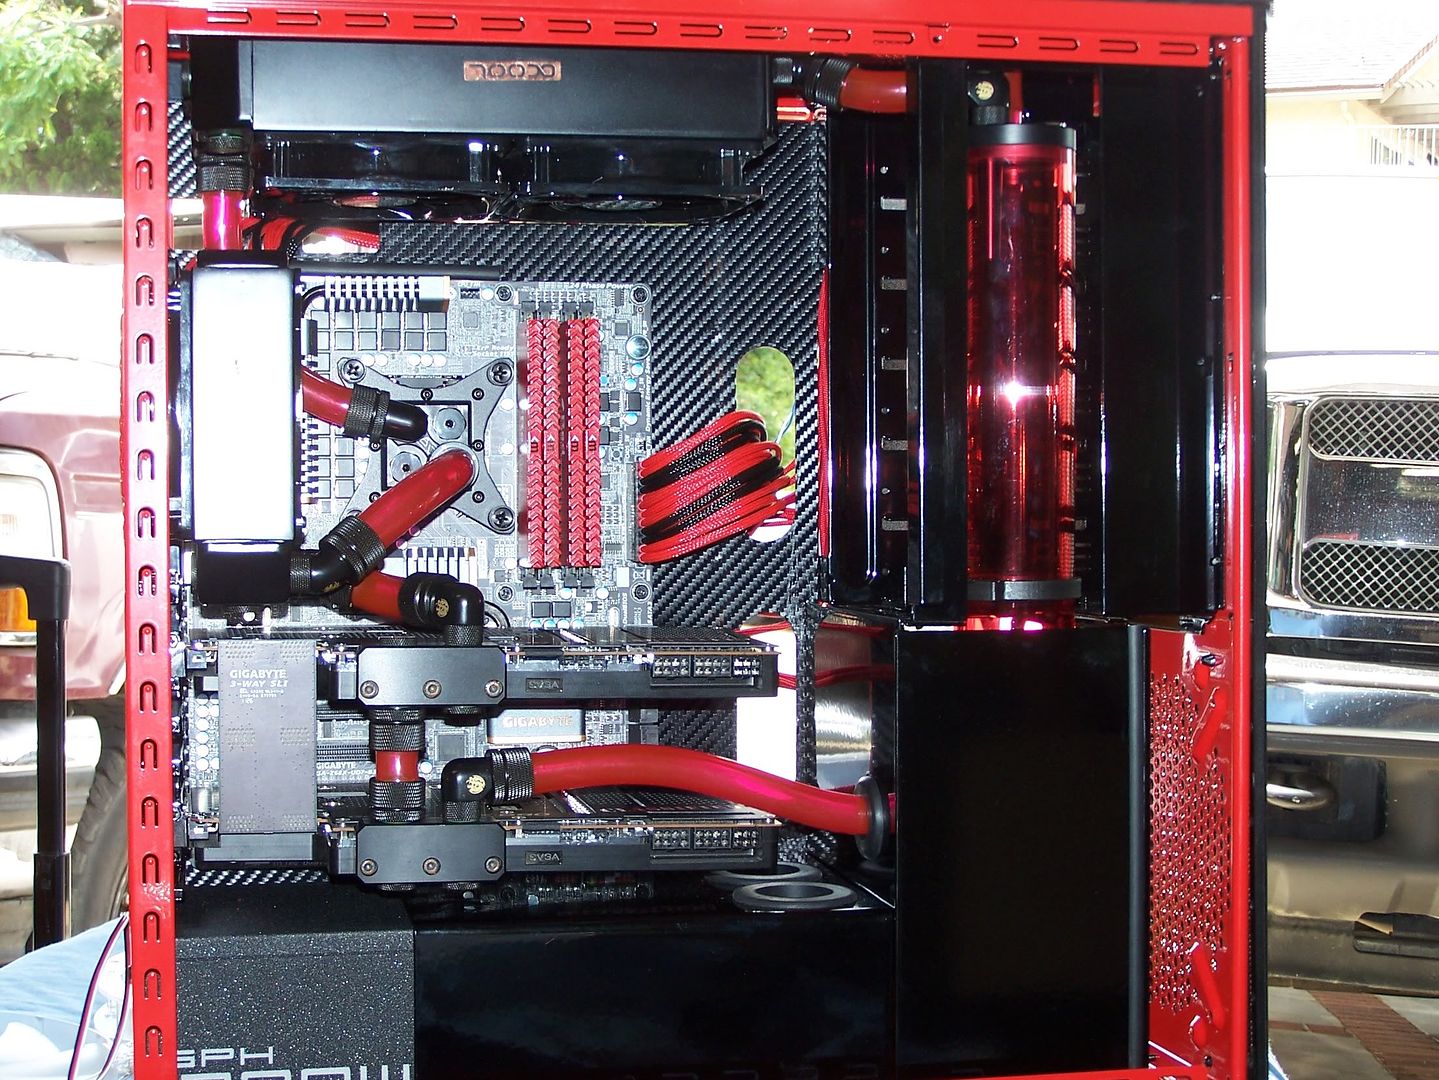
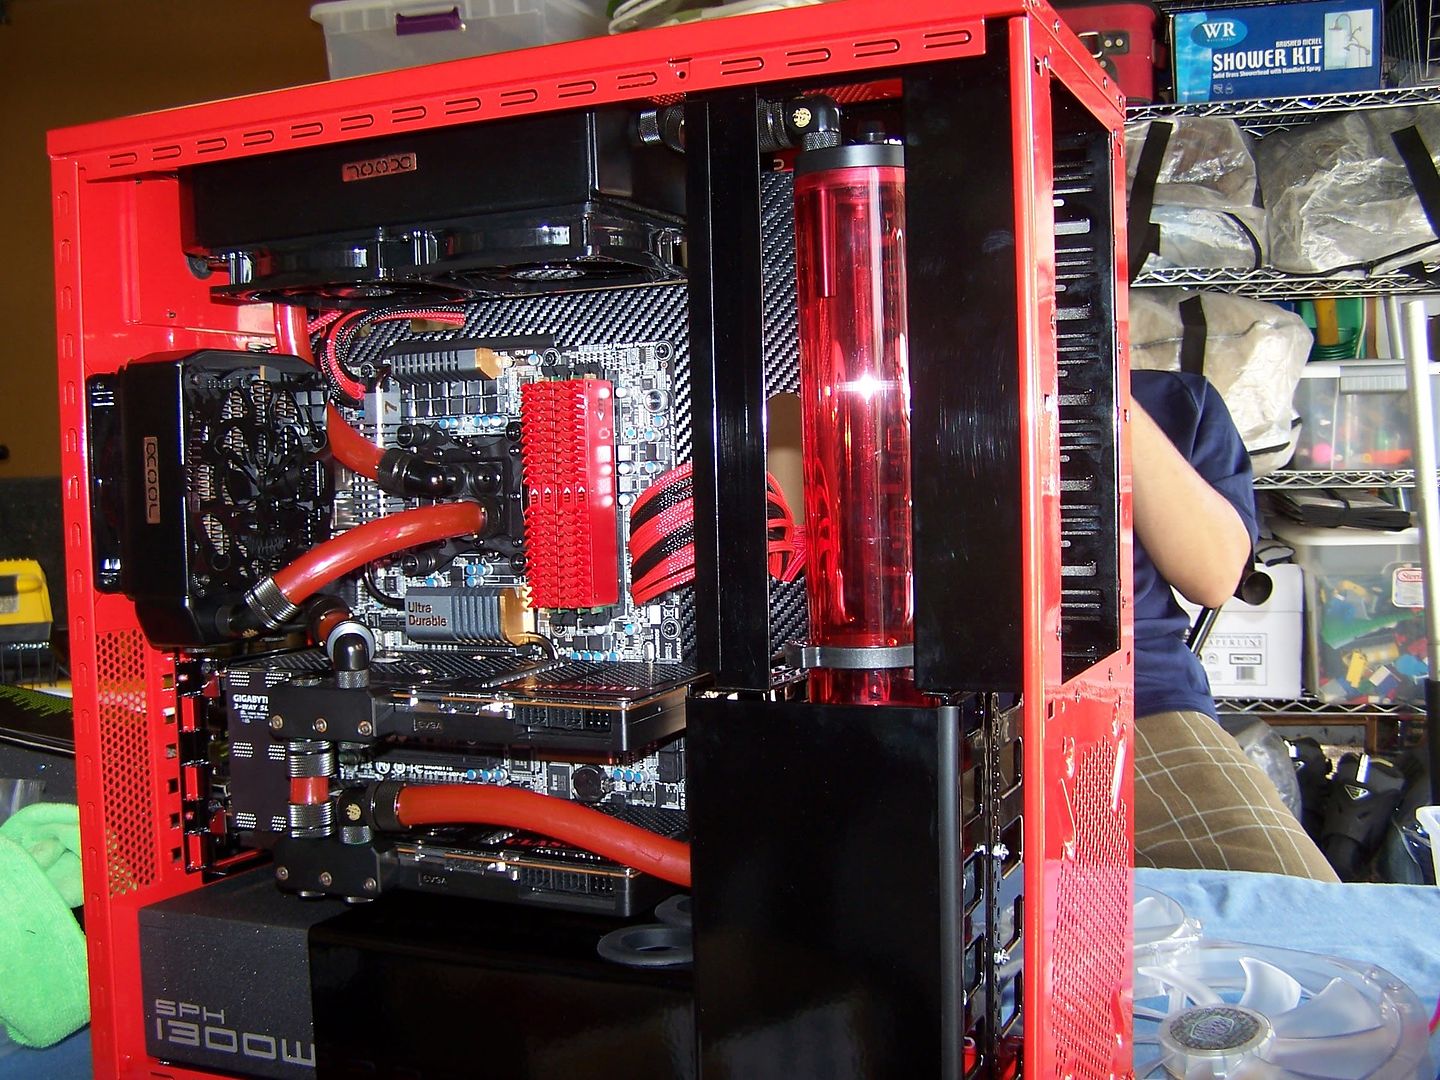
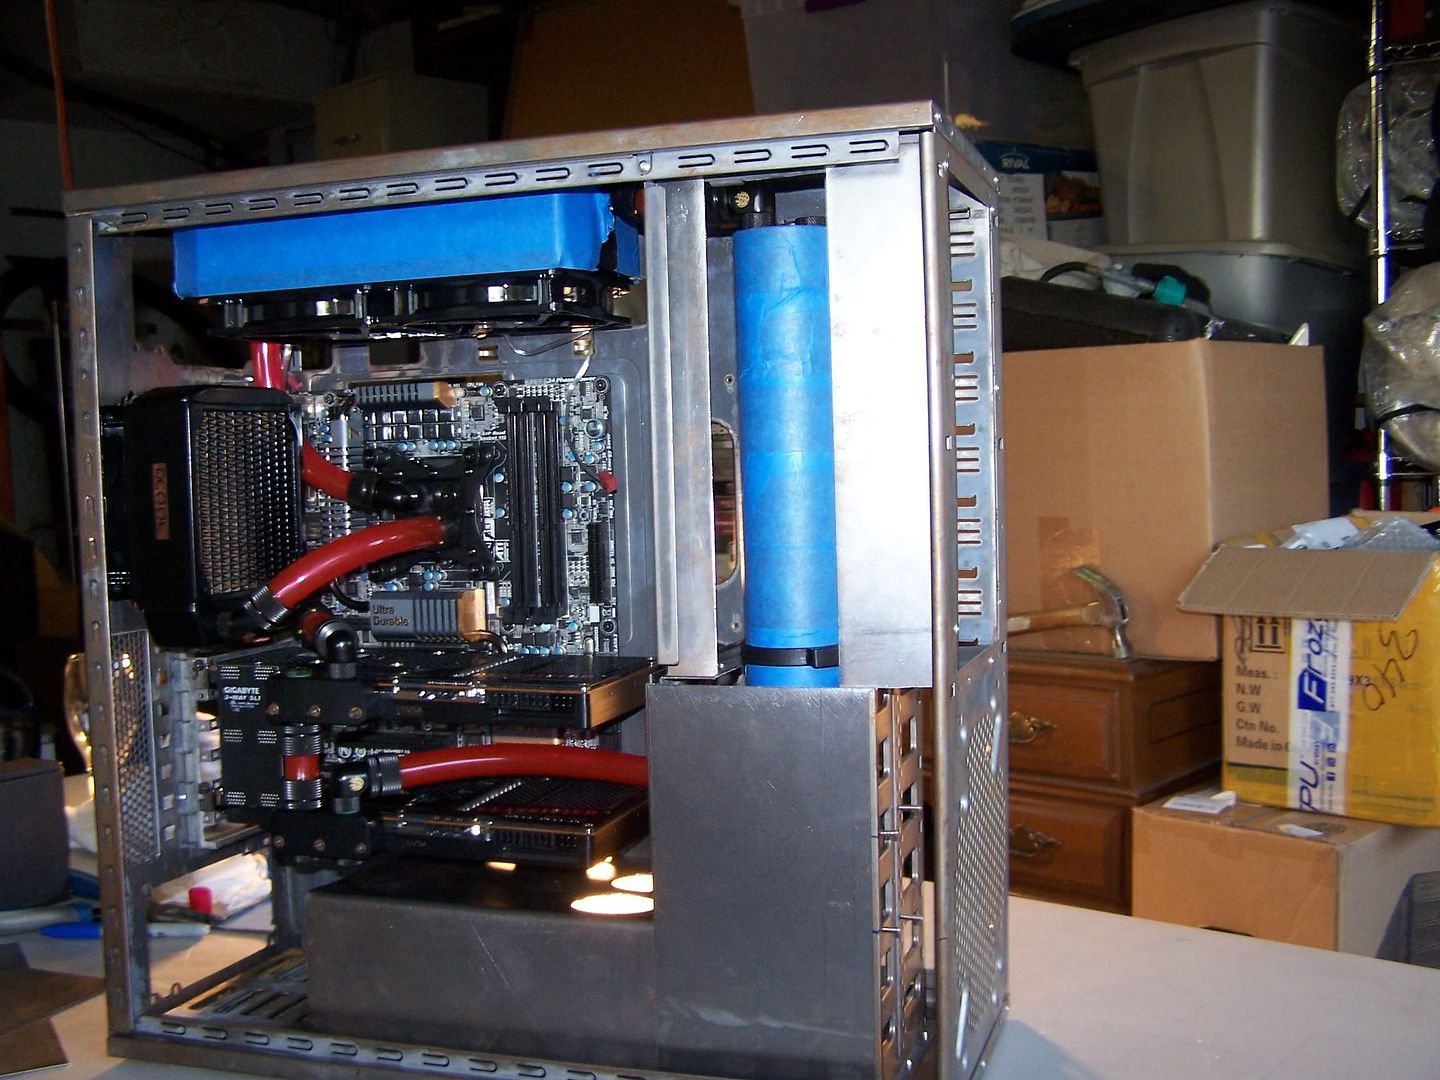
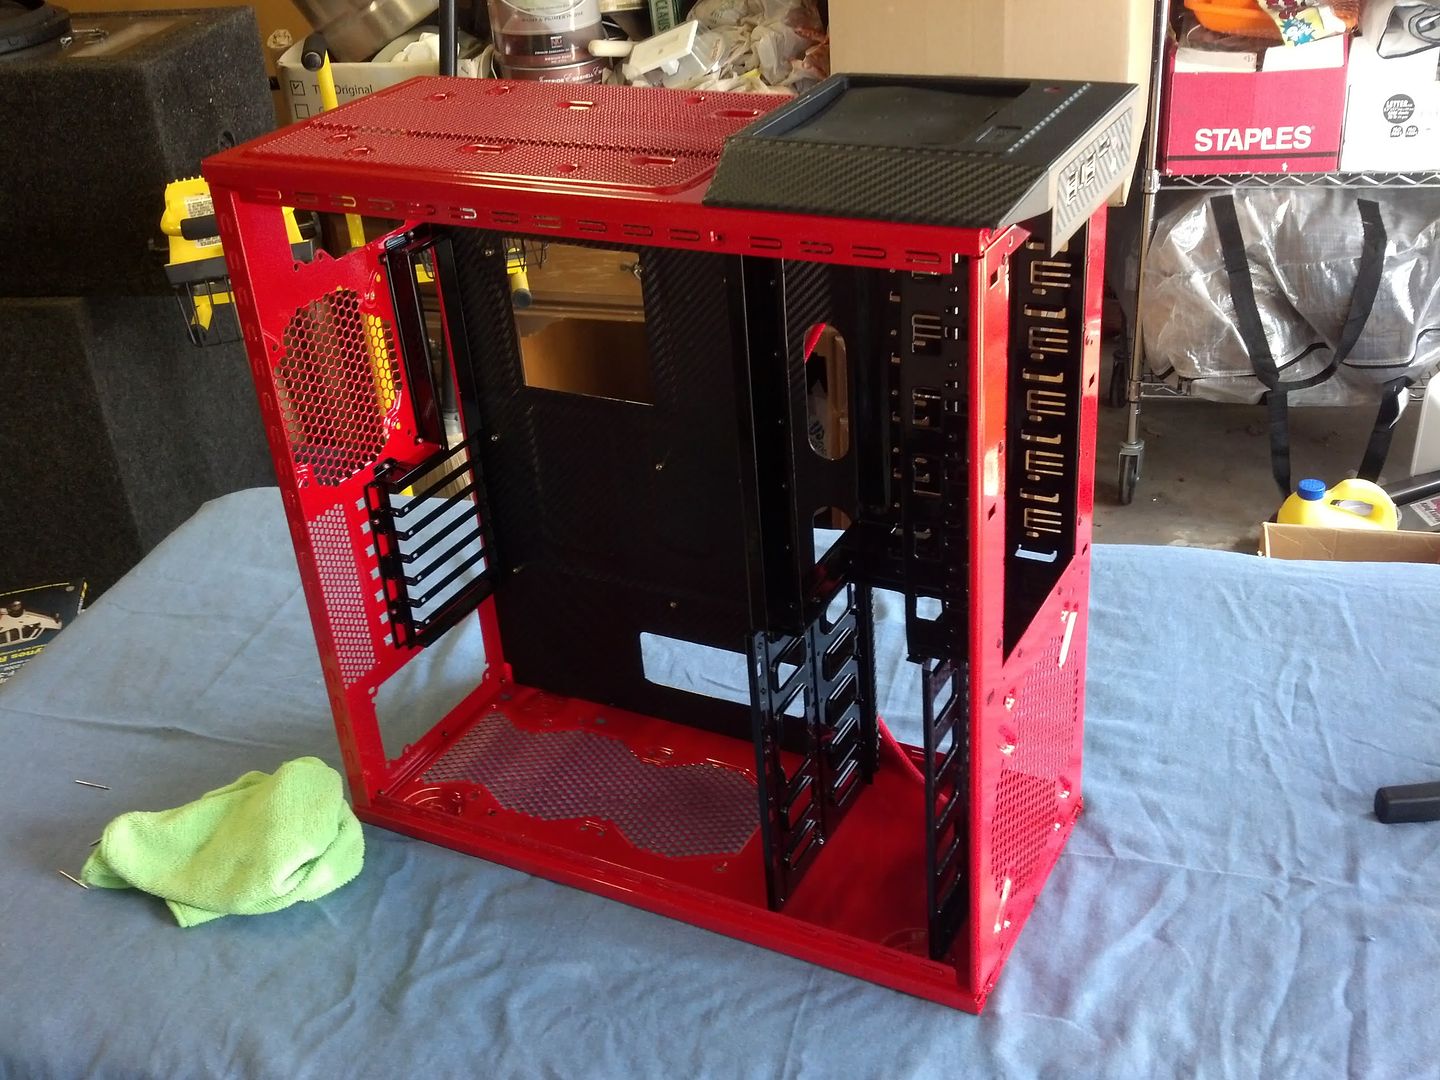
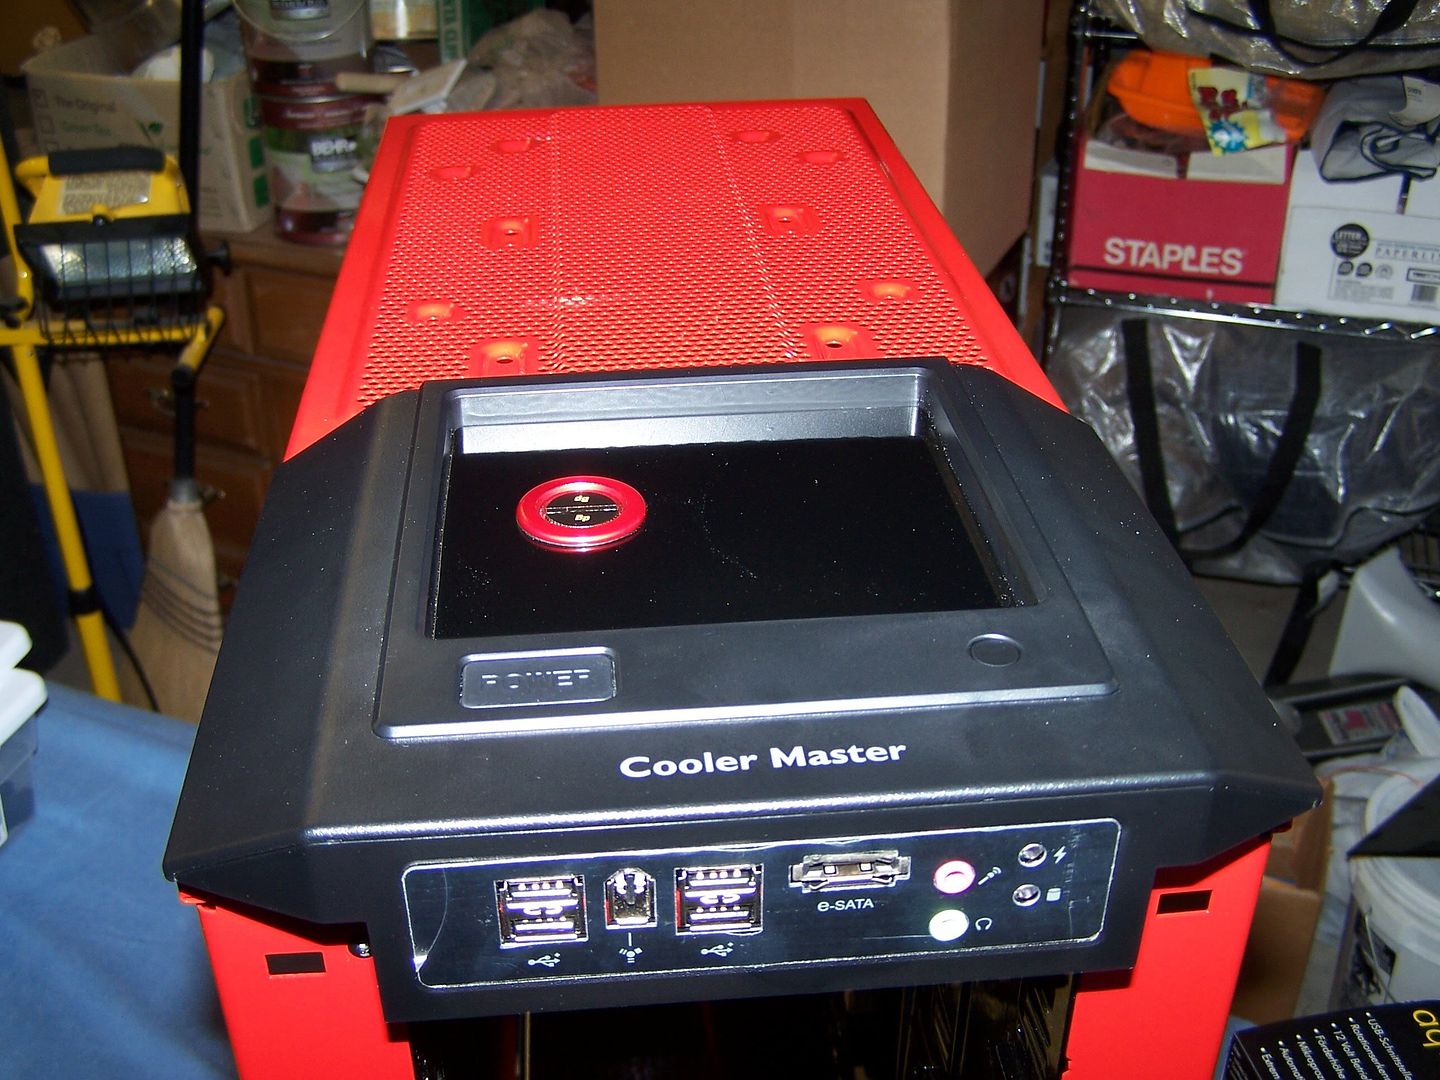
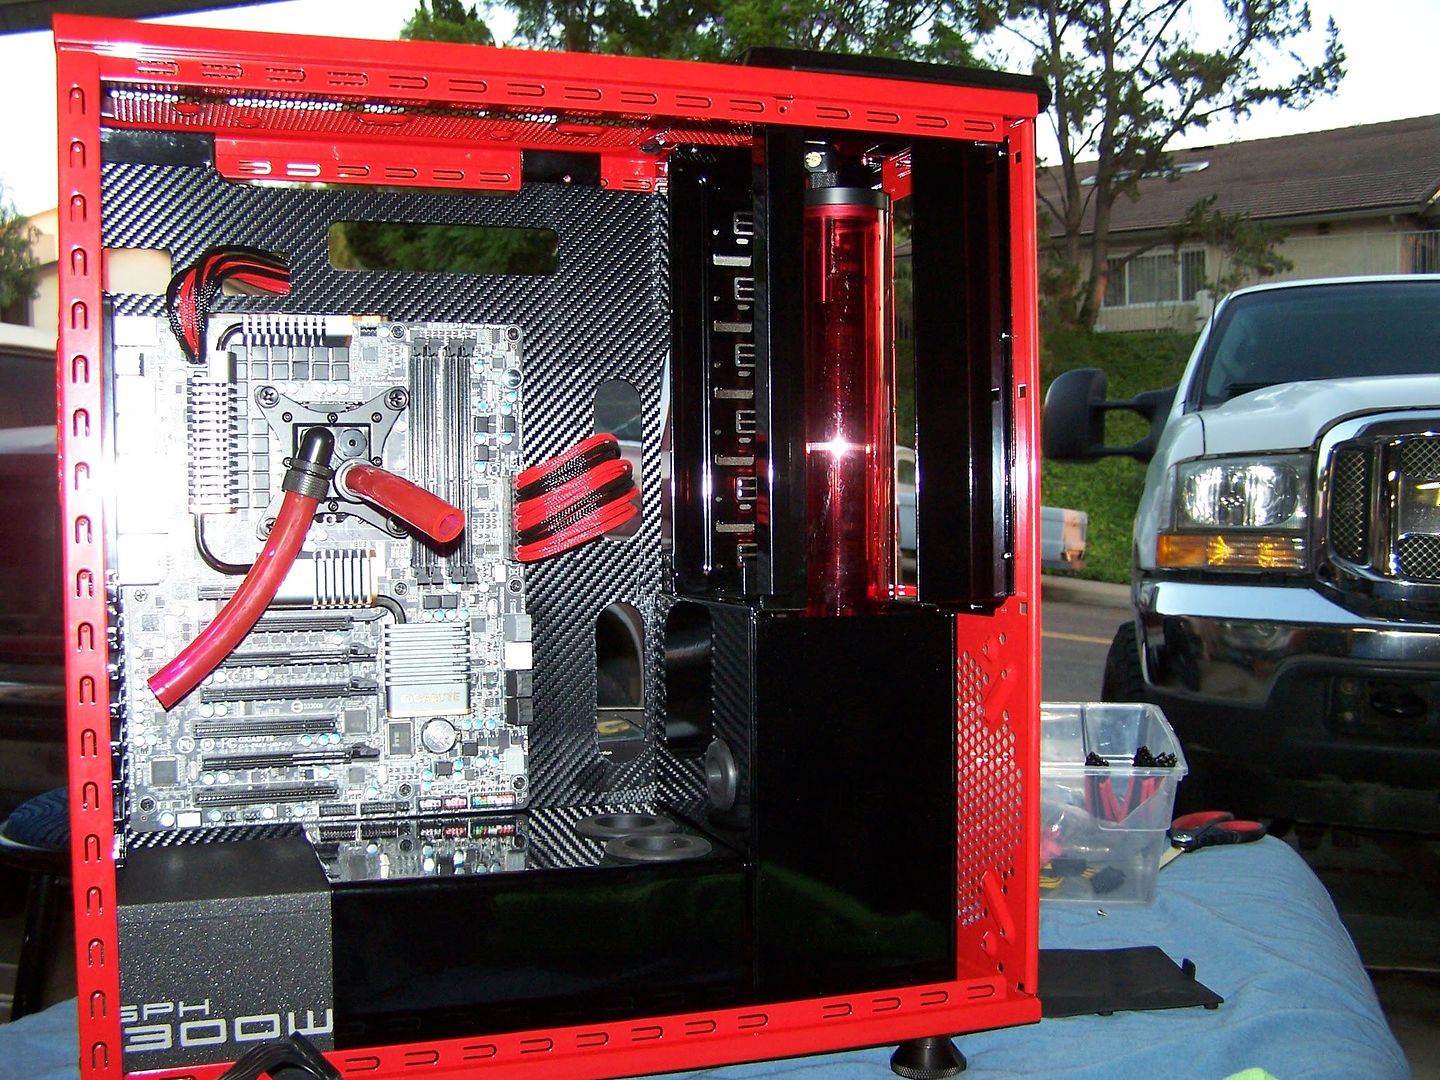
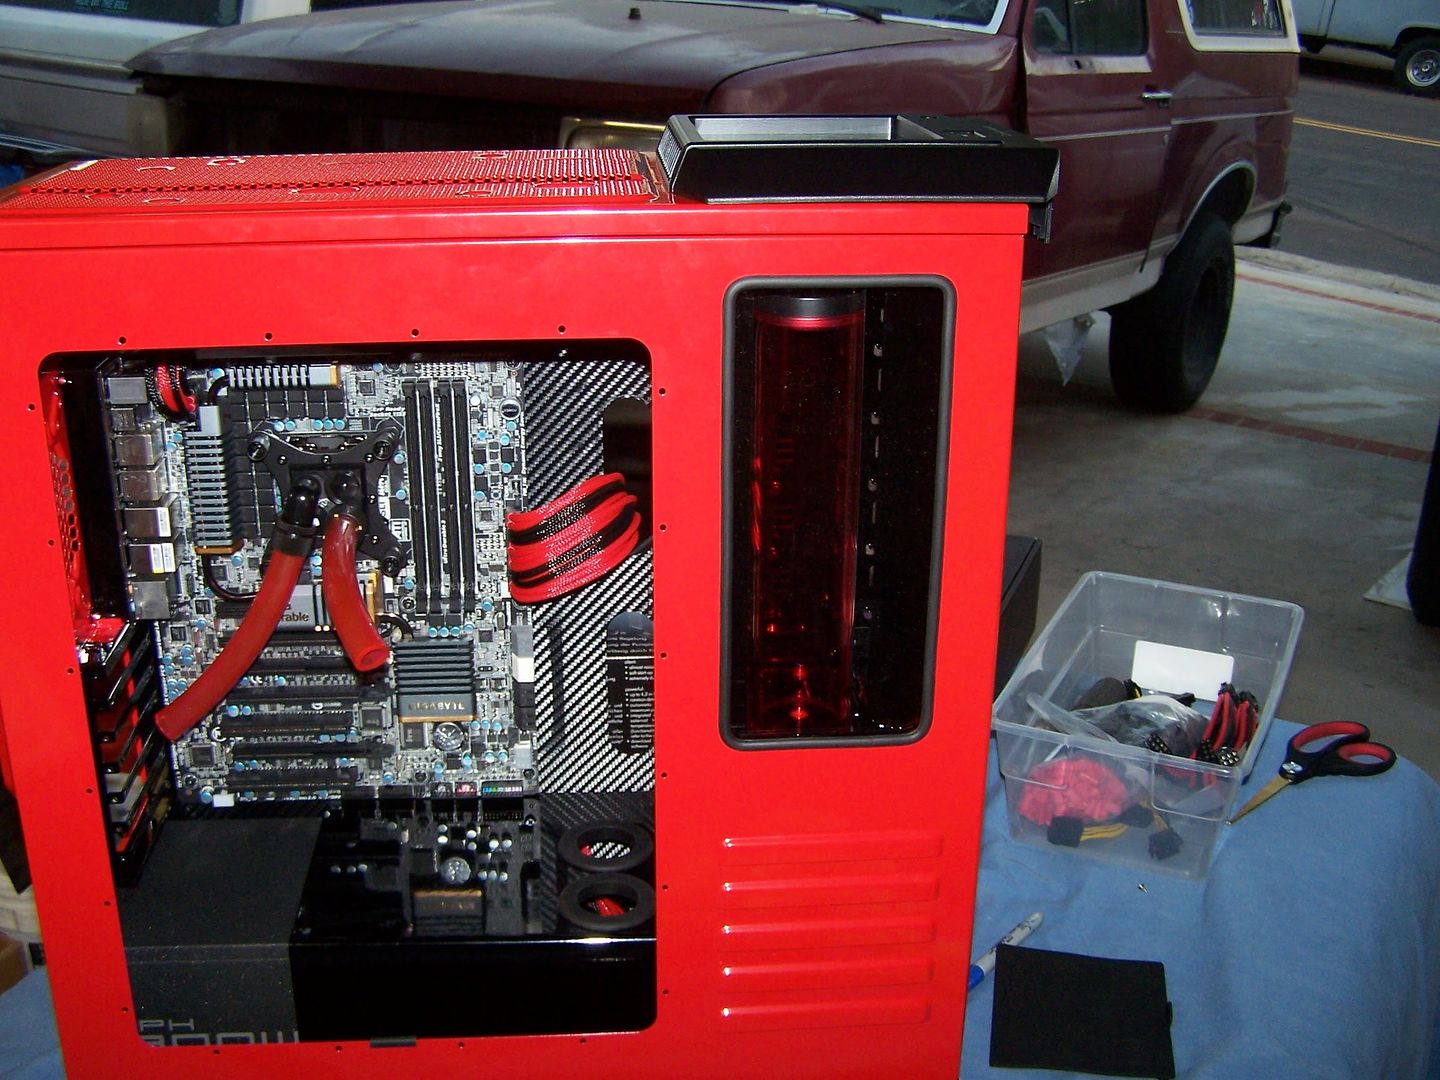
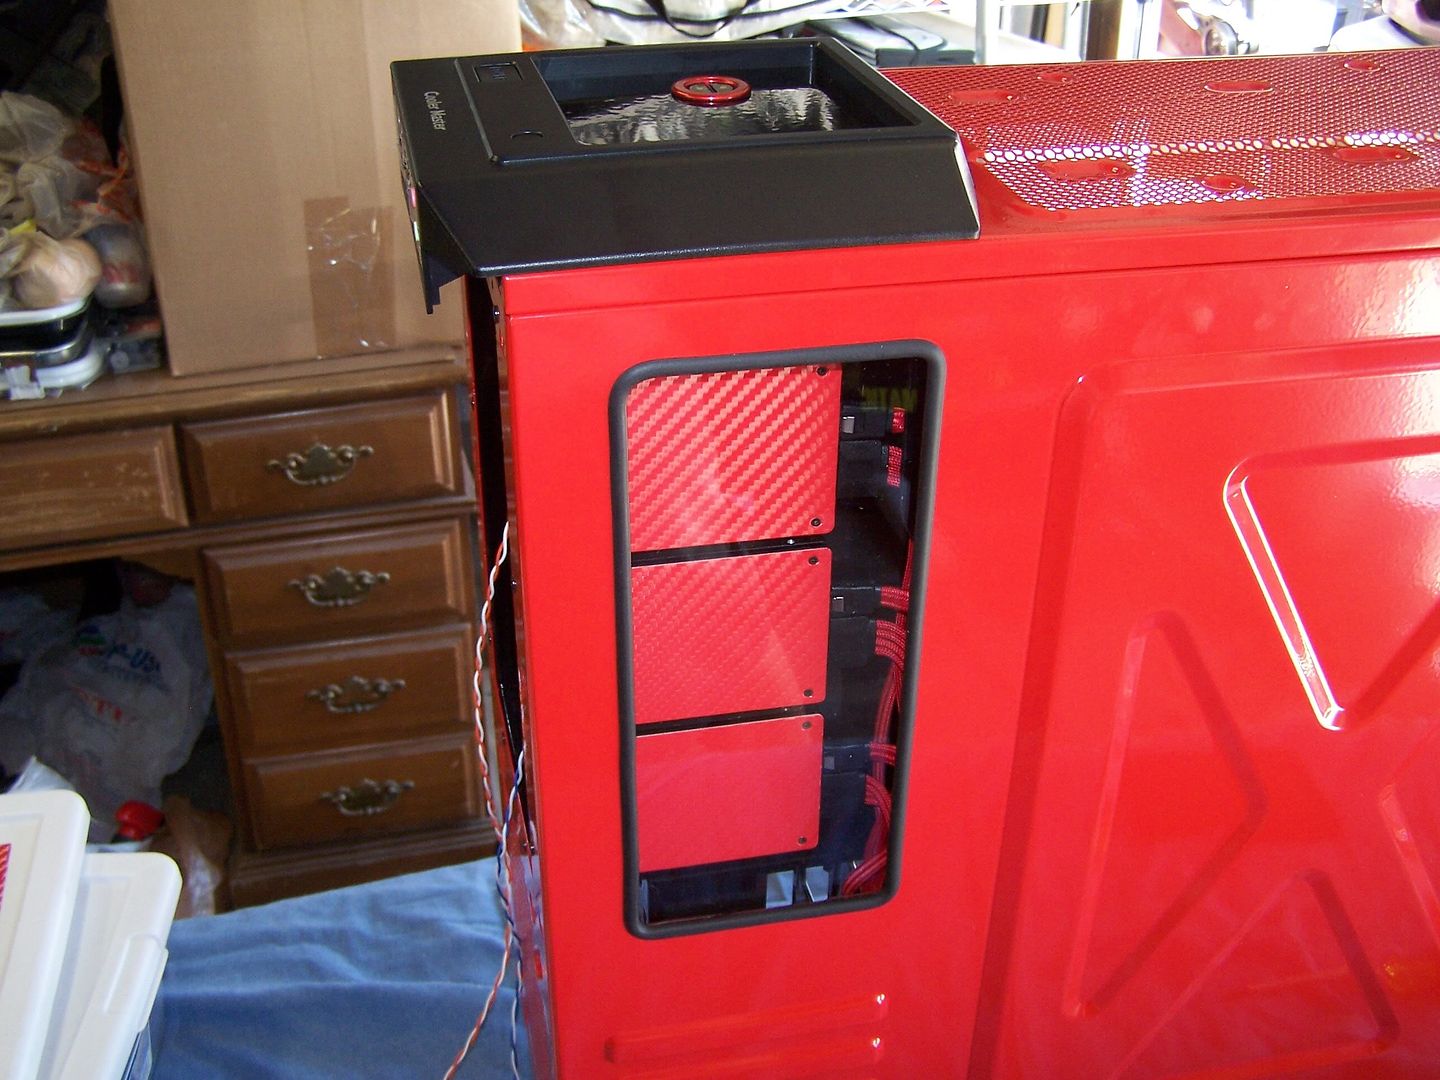
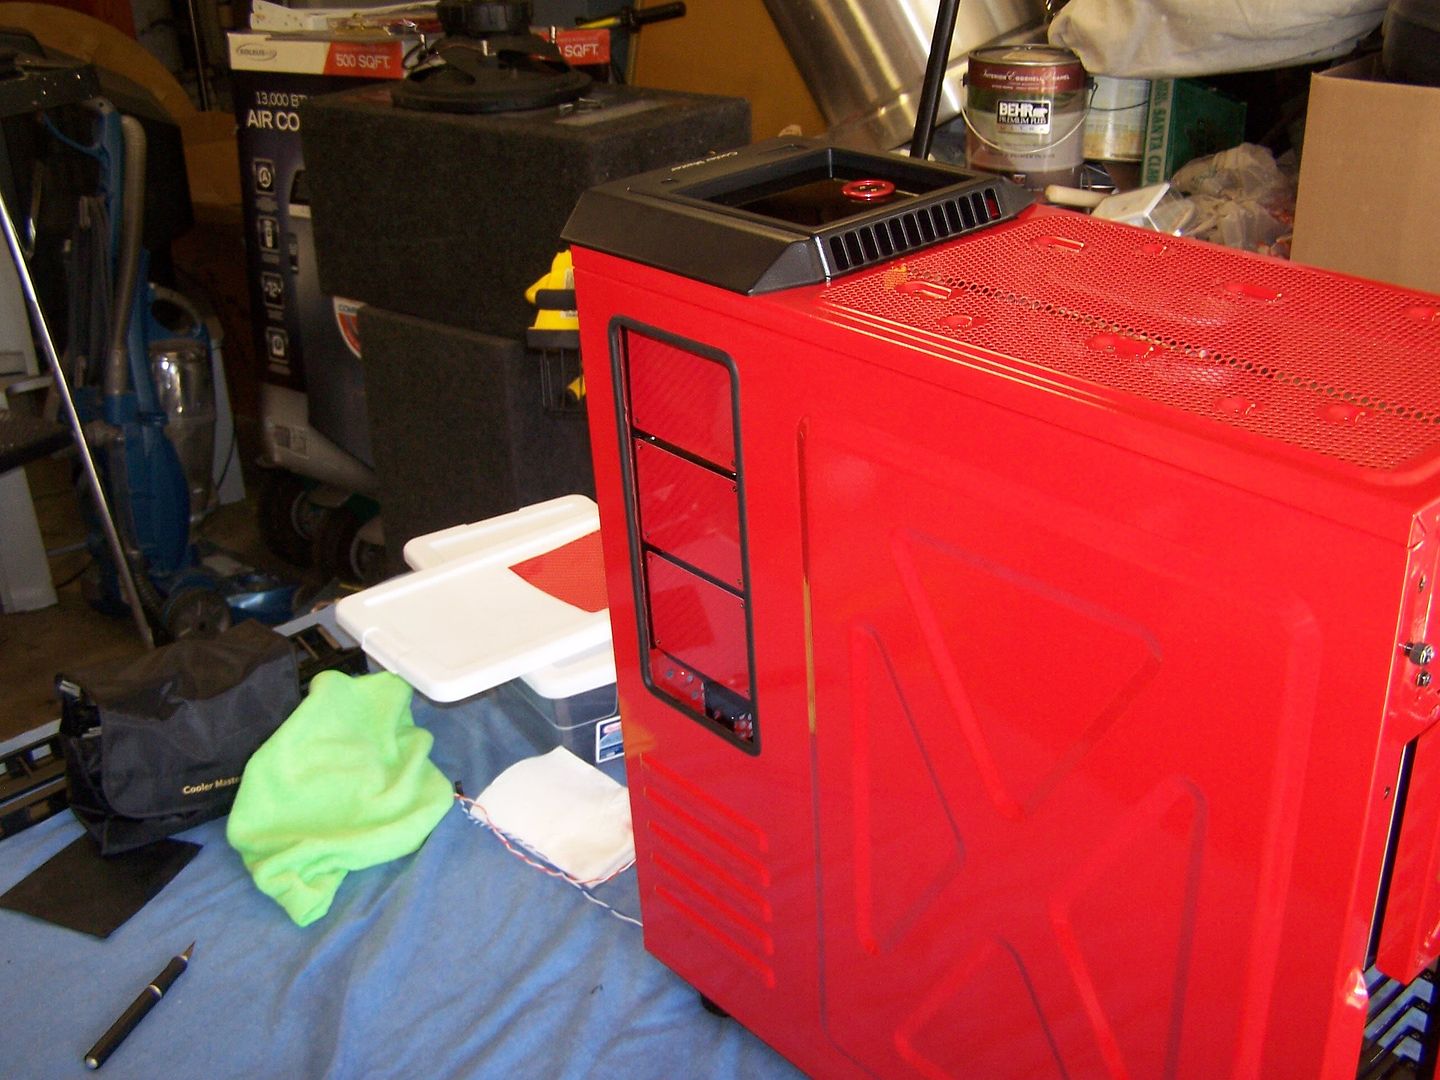
Ok wanted to give a quick status update and post a couple of money shots for you guys during the rebuild.
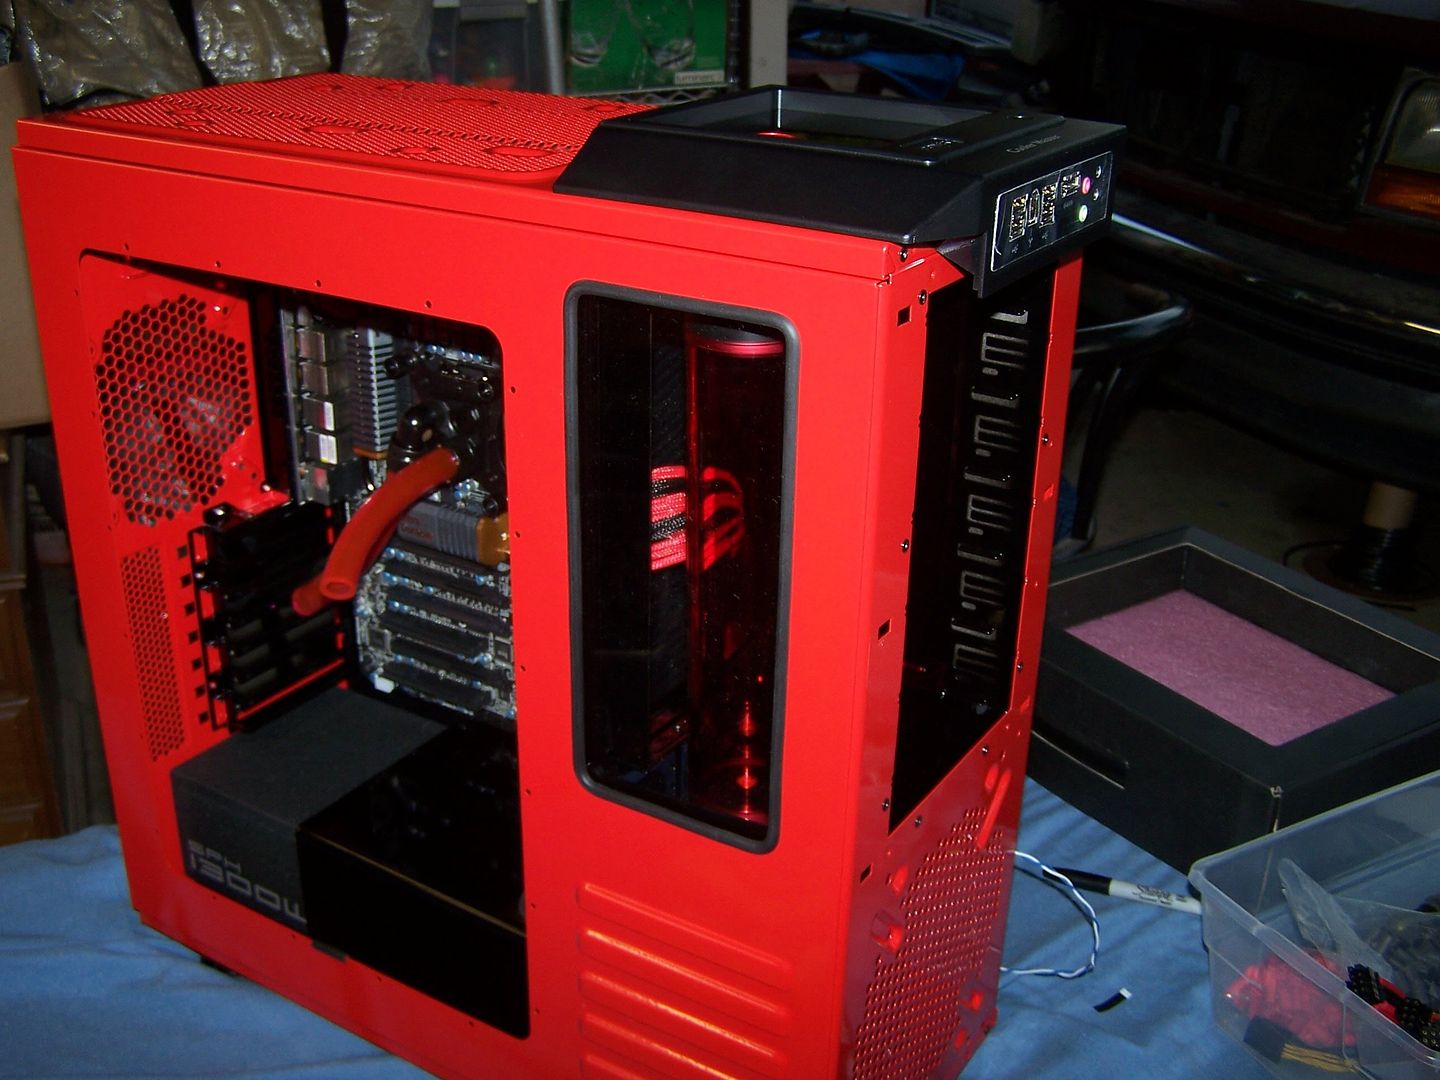
What I did here on the top I/O panel is dropped a piece of 16g steel I had fabricated prior and powder coated gloss black (the picture doesn't do it justice though) to match the other case pieces and made an actual functioning fill port for the bitspower 250mm reservoir. I always see cases showcasing a fillport up top but I have never actually seen someone utilize it and make it functional so here you have it:
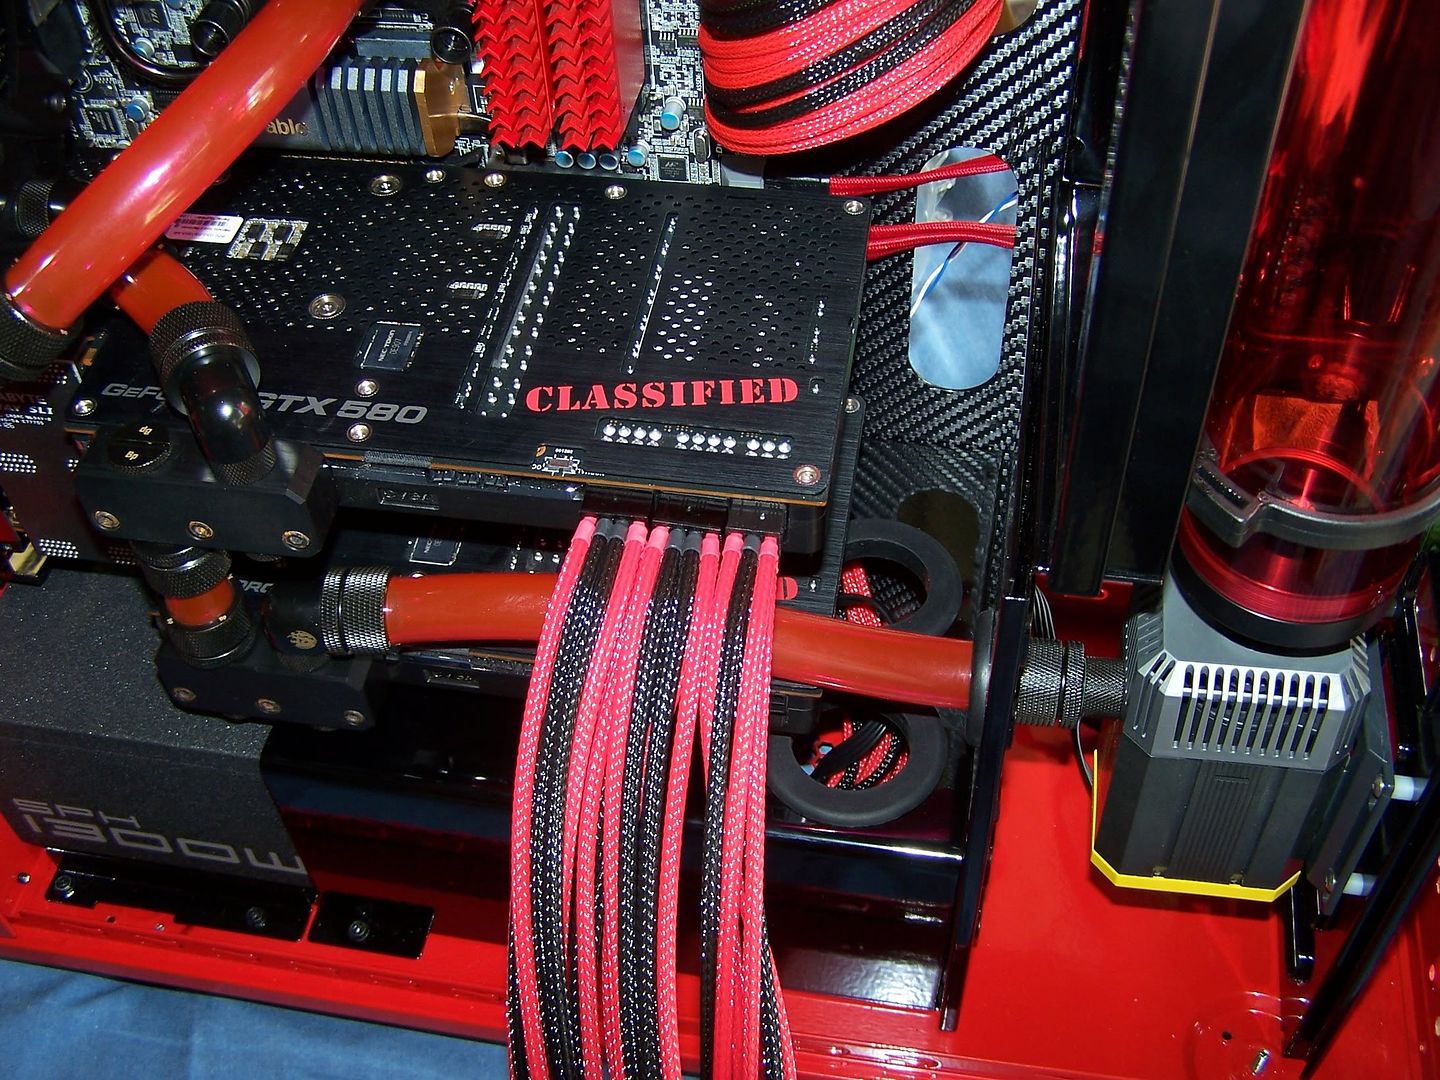
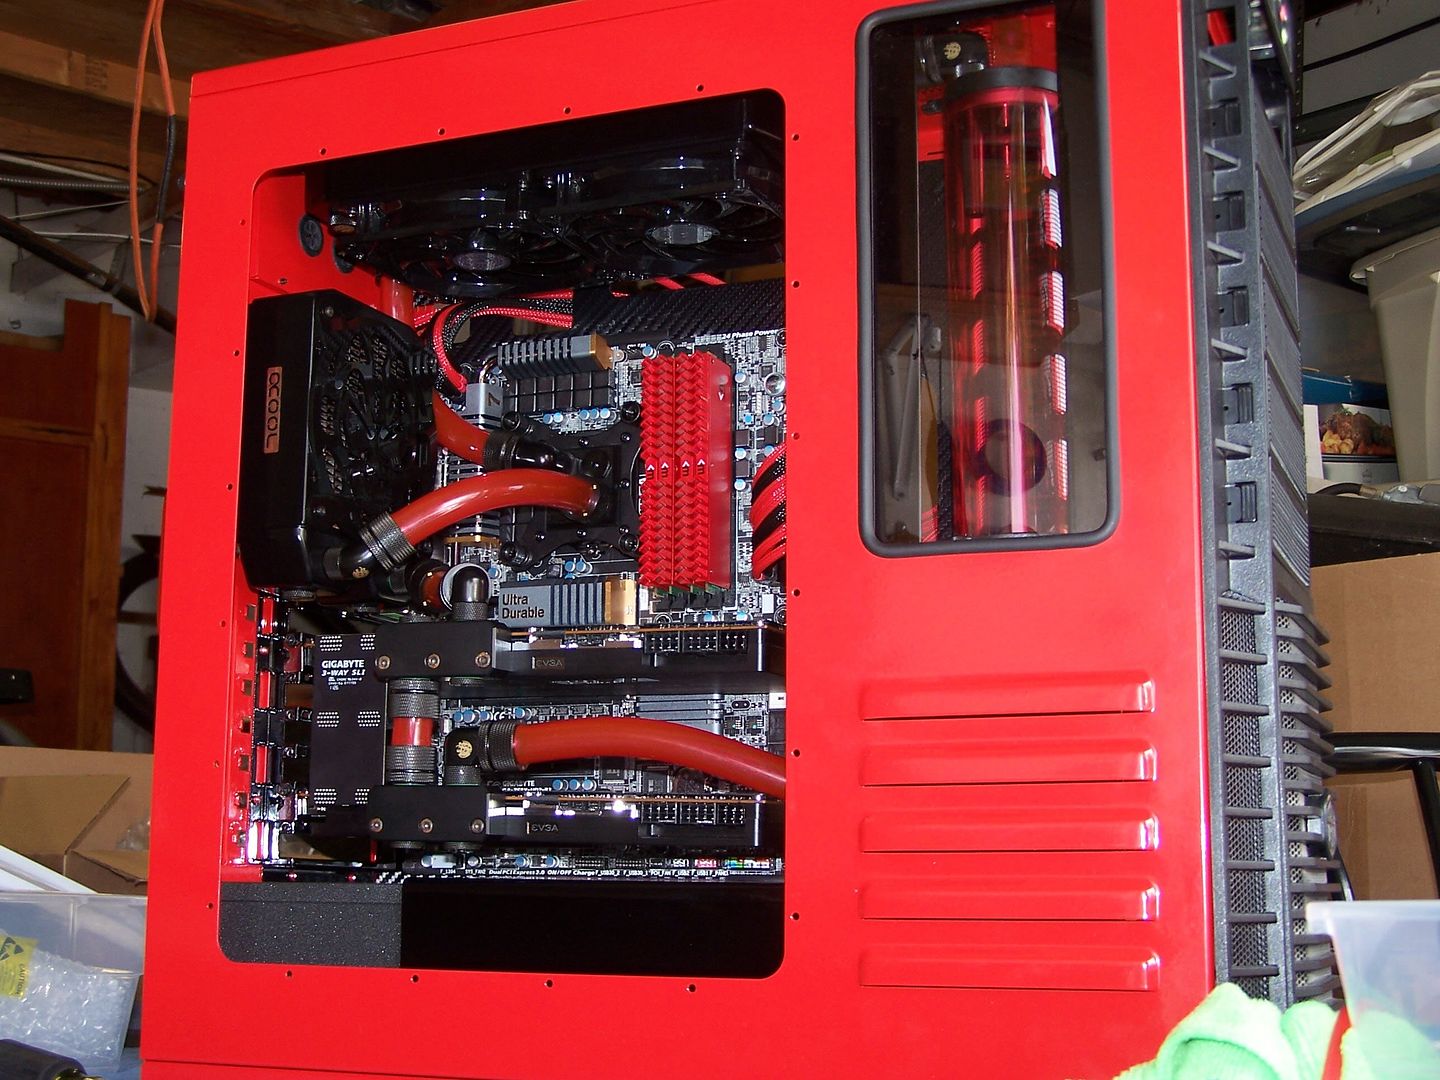
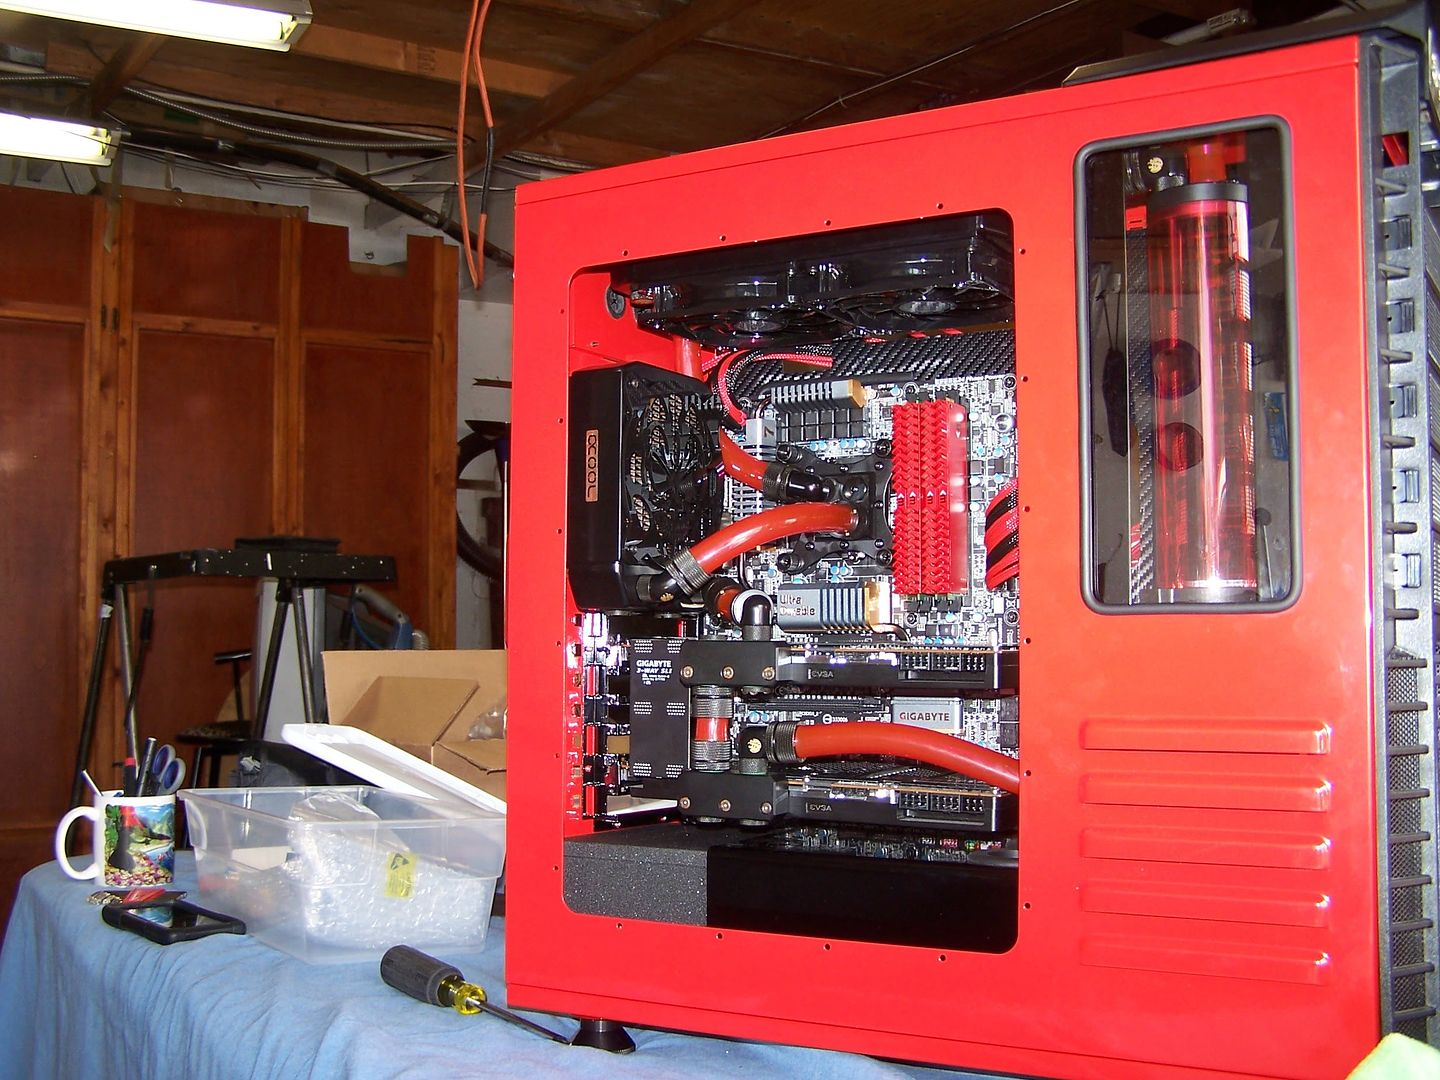
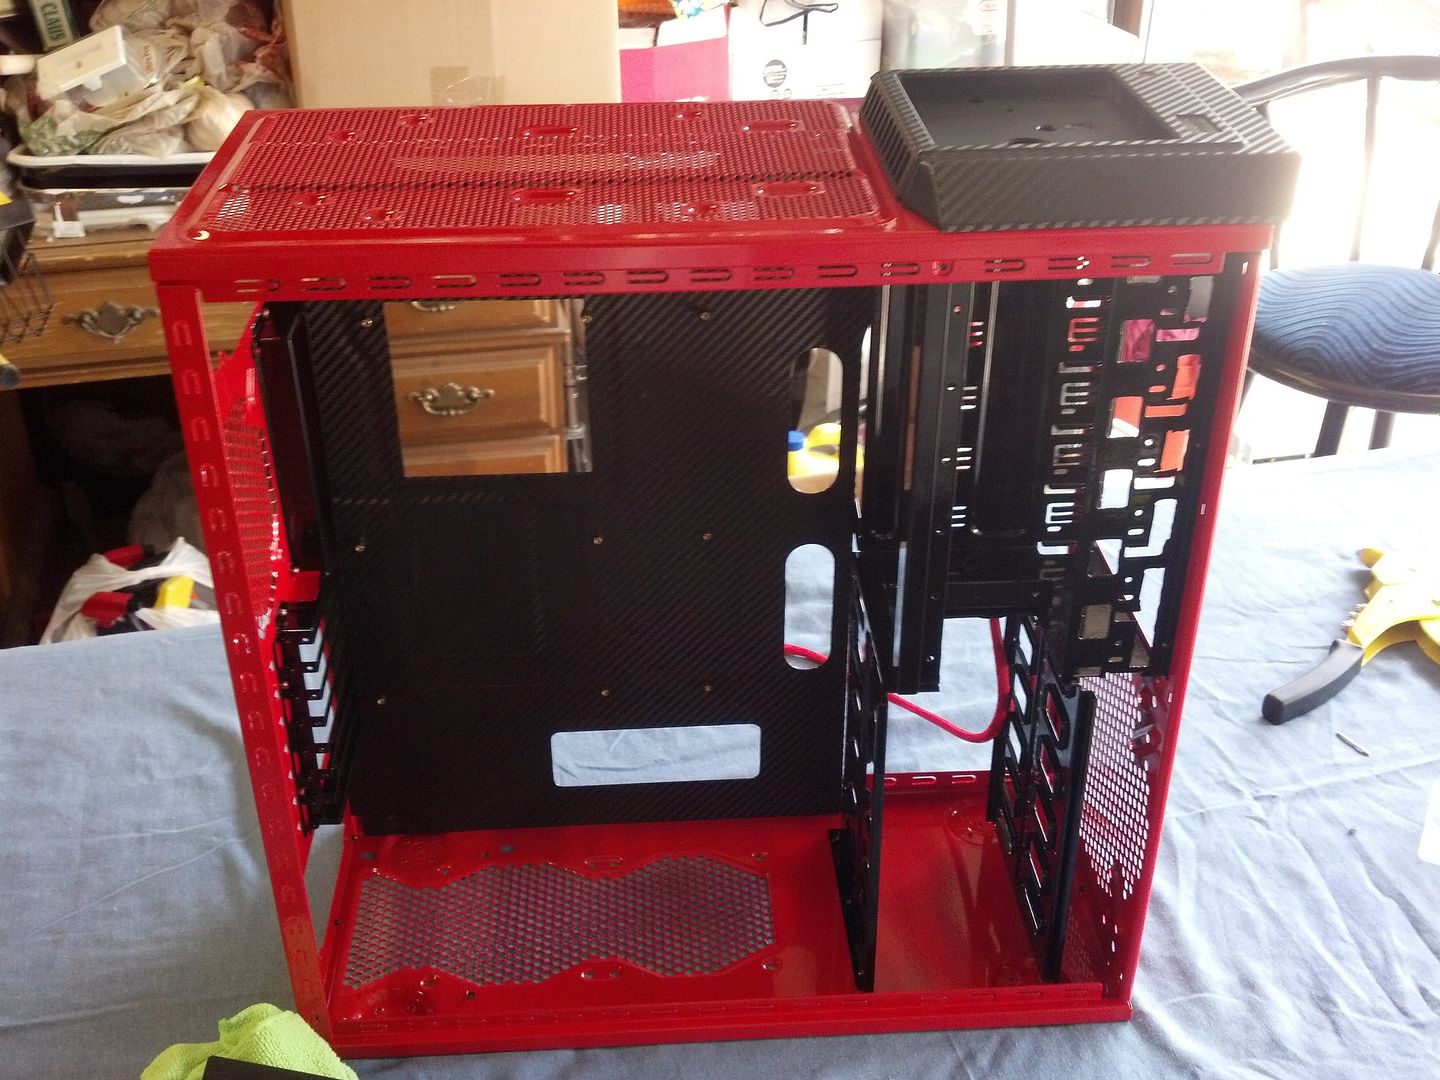
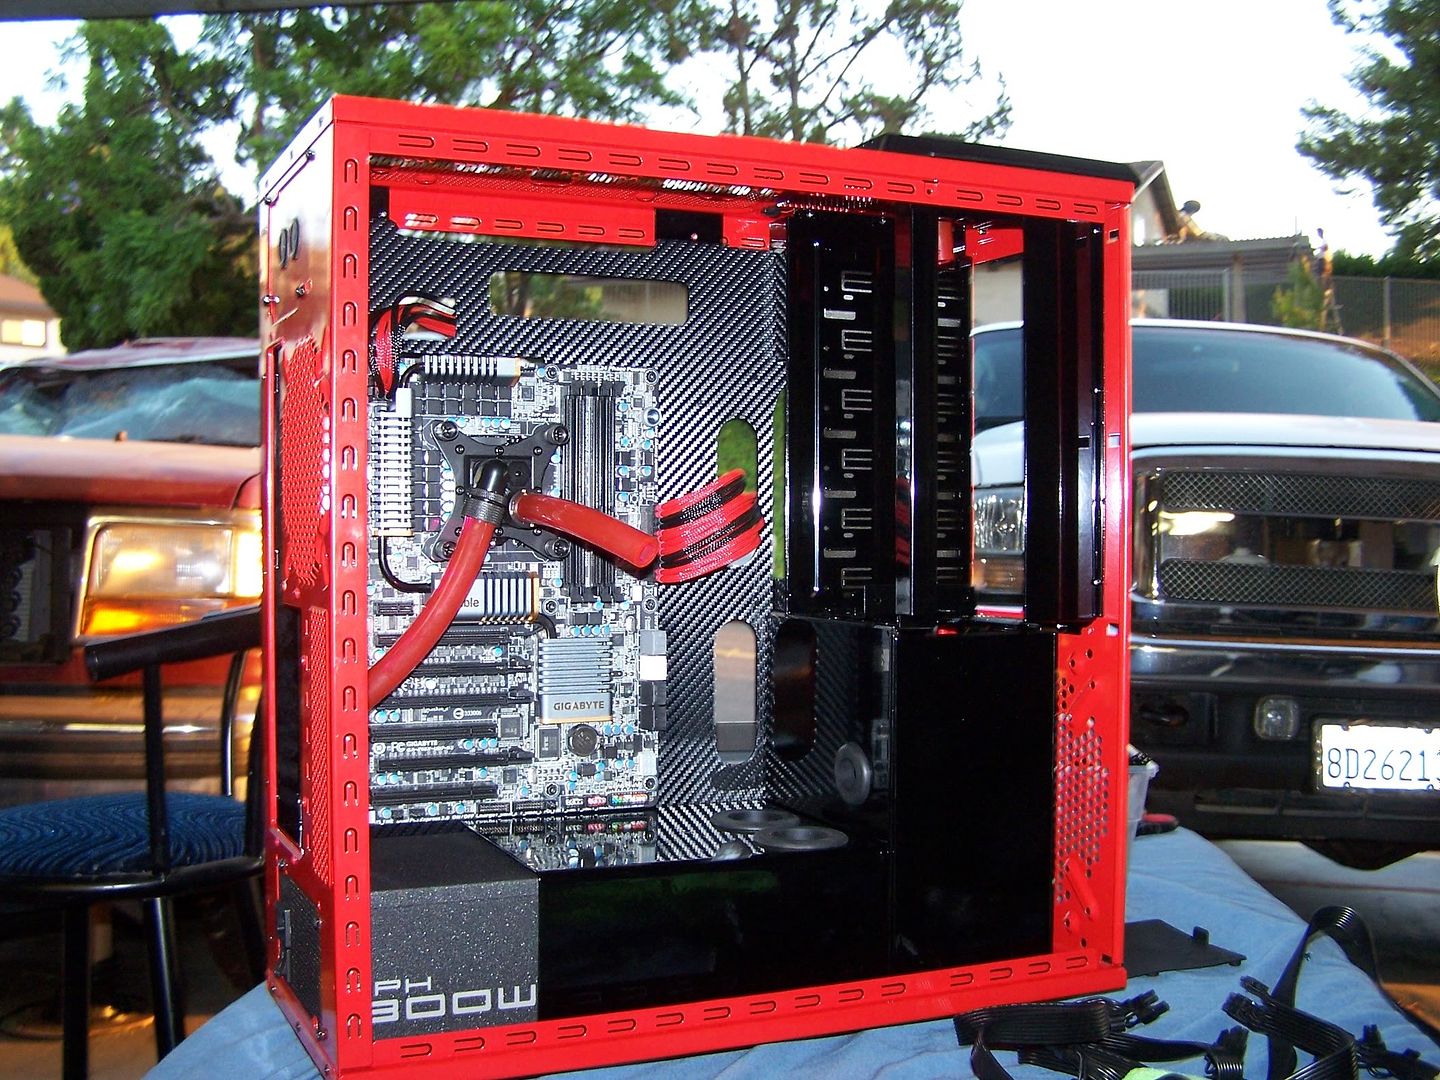
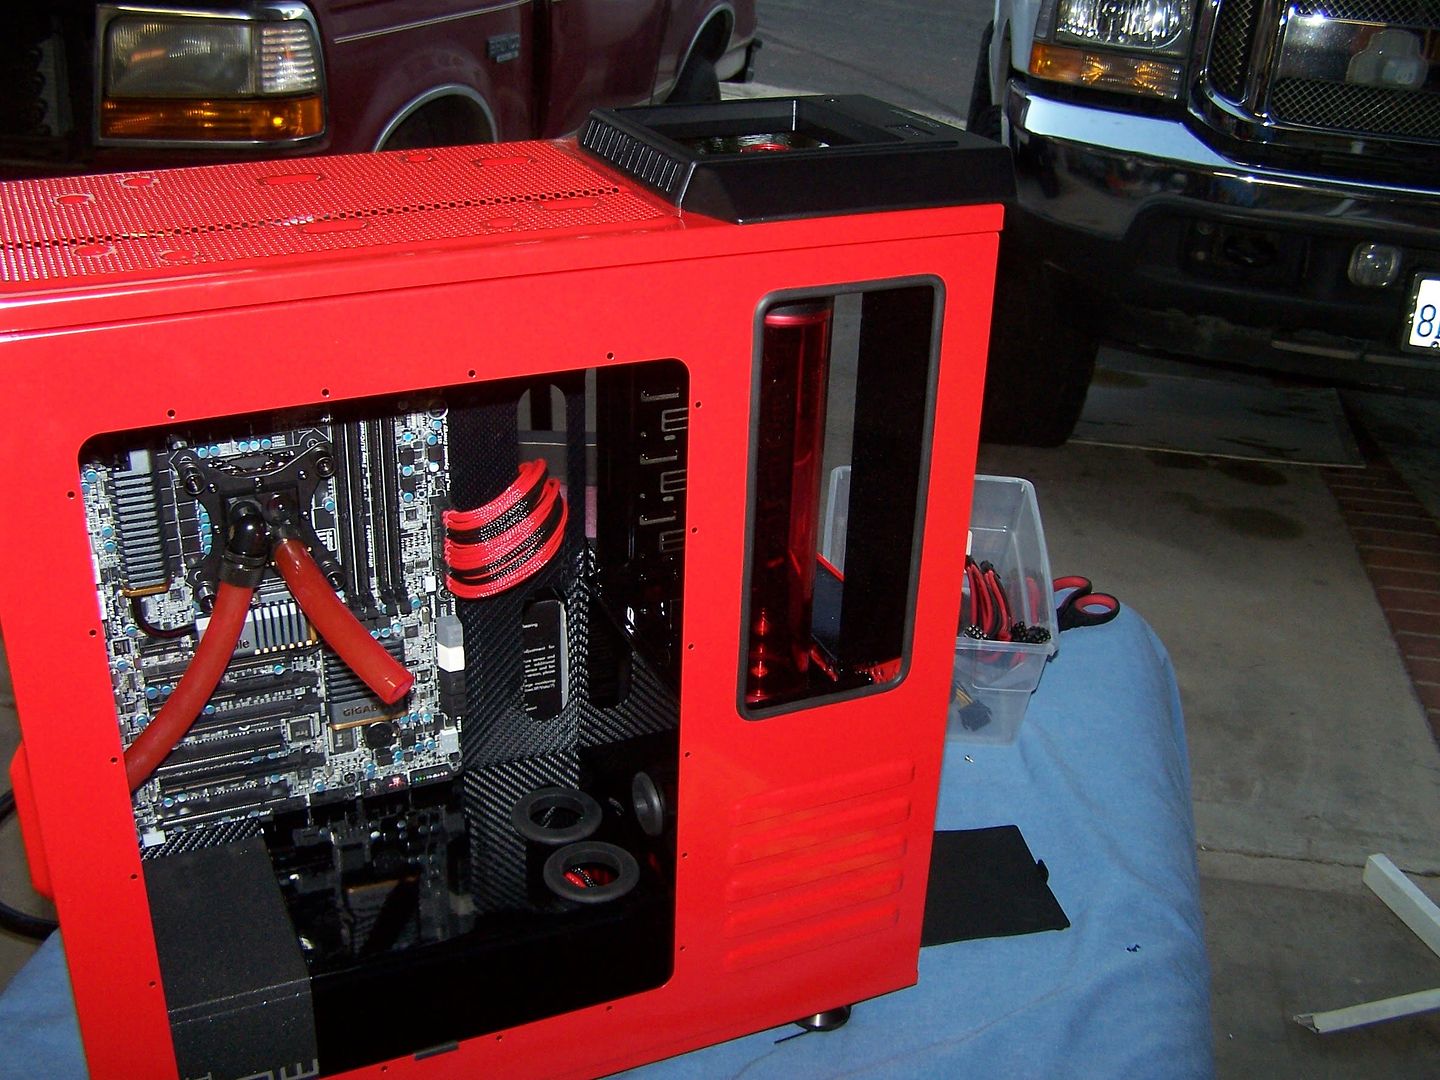
The rest are just some shots of the build progress to see how everything is going to layout and whether or not it is going to meet my standards before I commit to complete reassembly. All in all I am very satisfied and quite stoked to say the least. I want to hurry up and drop in those 2 580 classifieds and see where I stand at 5.3ghz...lol
Here is what I have done for today.
Installed 3 Crucial M4's to their new mounting bracket underneath the reservoir bay on the backside of the case. I already planned this from the begining of the build and that is why there is a nice new shiny window on the backpanel to showcase the SSD's. The top one is a 256 gig Crucial M4 and the other two are 64 gig Crucial m4's in RAID 0.
Originally I had planed on turning the SSD's inside out and just mounting the pcb of each on the bracket so you could see them through the window but really didn't care for the way it looked.
That's it for now I only have 10 days left actually 7 because I have to leave in 7 so I better hurry the hell up...lol
Anyway I recently placed 3rd in a modding contest and was fortunate enough to gain a wonderful sponsor "Coolermaster"
I will be bringing this rig up to PAX Prime in Seattle Washington at the end of this month.
Hey guys so I am completely redoing my case since I was given permission from Gigabyte and the judges so long as I keep the same case and basic theme.
Yeah I know I over did it on the carbon fiber so the transformation from air to liquid will only have some subtle carbon fiber to accent everything I have planned.
Sponsors for this build:
Coolermaster
Patriot Memory
List of products used in the build:
Coolermaster Haf932 Black Edition
Coolermaster 1300W Silent Pro Hybrid PSU
2 EVGA GTX 580 Classified Hydro Copper 3072mb GPU's
Eheim Pump
Gigabyte GA-Z68X-UD7 Motherboard
Patriot Viper Extreme 2133mhz Memory 16gigs
2 Crucial M4's RAID 0
Bitspower Reservoir
Bispower compression fittings
Alphacool 240 Rad and Alphacool 120 Rad
Here is what is used to look like:
First I had to break the case down and strip the powder coating because I will be powder coating everthing a red and black.
Going to be doing a 240 rad up top and a 120 in the back with two 580 classified hydrocopper gpus. Also going to be changing out the motherboard for a Gigabyte one as you will see in the pics.
Now before I get all crazy I need to load windows and raid 0, overclock, benchmark and make sure this board and the parts I have installed right now are working to my specifications.
Here are some of the parts I will be implementing:
What I am planning is to delete the 5.25" bays and hd bays and turn them into a reservoir bay and a pump bay so going to be cutting a lot out of there and putting a nice additional window to show off the reservoir then on the back panel I will be doing another window and going to remove my SSD's and mount the bare PCB's on the other side with a window to see them as well.
First up is going to make a custom PSU shroud with some 16 gauge steel so I picked up a bending brake from harbor freight and made this nice psu shroud which will be powder coated.
Originally I was going to cover the entire PSU but I wanted to make sure I left the SPH 1300 to be displayed to show my gratitude to Coolermaster. I am pretty satisifed with it like this and I will be drilling a hole and slapping a grommet in there for the 4 8pins and 2 six pins these GPU's require.
Next up is to cut a nice window for the new reservoir bay.
As you can see there are still some ugly tabs on the 5.25" bay I deleted so I will be cutting all of those out and cutting a nice flush piece of steel for the left and right side that I will just rivet in there later to give it a nice clean look and accent the reservoir.
Had to get my butt started on the sleeving before time runs out for me so started on the 24 pin today.
Well that's it for now will post more as it comes along.
Wanted to at least give a small update on my build log.
I have been so busy with work haven't had much time on this mod but did manage to get a little bit done today. I plan on routing my 4 8 pin PciExpress cables and my 2 6 pin PciExpress cables through the PSU shroud I made from 16gauge steel so I had to drill a couple of holes in order to make that happen as seen here:
The holes are a little bit rough but that is ok because I am using a couple of nice grommets I got from Bill over at MNPCTech
That was all I got accomplished today and I know I better really get my ass in gear because the clock is ticking....lol
I did finally break down and purchased a Drill Press and also a nice fat Air Compressor so I am pretty excited about that. Anyway thanks for looking guys and will be posting more this week after I make my SSD Window and bracket.
So today I finally received the new 3M DiNoc Ferrari Red glossy carbon fiber and also the glossy black.
Also I did a little more steel work and made my mounting plate for my 2 SSD's that I will be cutting a window on the back panel to showcase them. I will be powder coating this black.
And here is one of the SSD's that I just did a quick wrap job with the ferrari red to see how it will look.
Now I have one more steel piece I need to work on which will cover the pump bay and then another tear down in order to powder coate everything.
I got the DiNoc from TipTopSigns on Ebay, they have always been good to me. I will be taking it to my own powder coater that does all of my families Harley Davidson brackets.
So I have went ahead and cleaned up the new reservoir bay and made some steel bezels as seen here:
Next up I went ahead and cut out my back panel window for my SSD's which will be going back there:
One thing I noticed was that this window was designed for 3 SSD's instead of 2 (I did this on purpose lol) It gives me a reason to pick up the 256 gig SSD I have been wanting for my games.
I will be installing a LED Module I picked up today back there to light up the SSD window.
Getting ready to powder coat after I drill a hole and remove a couple of tabs from the case tomorrow.
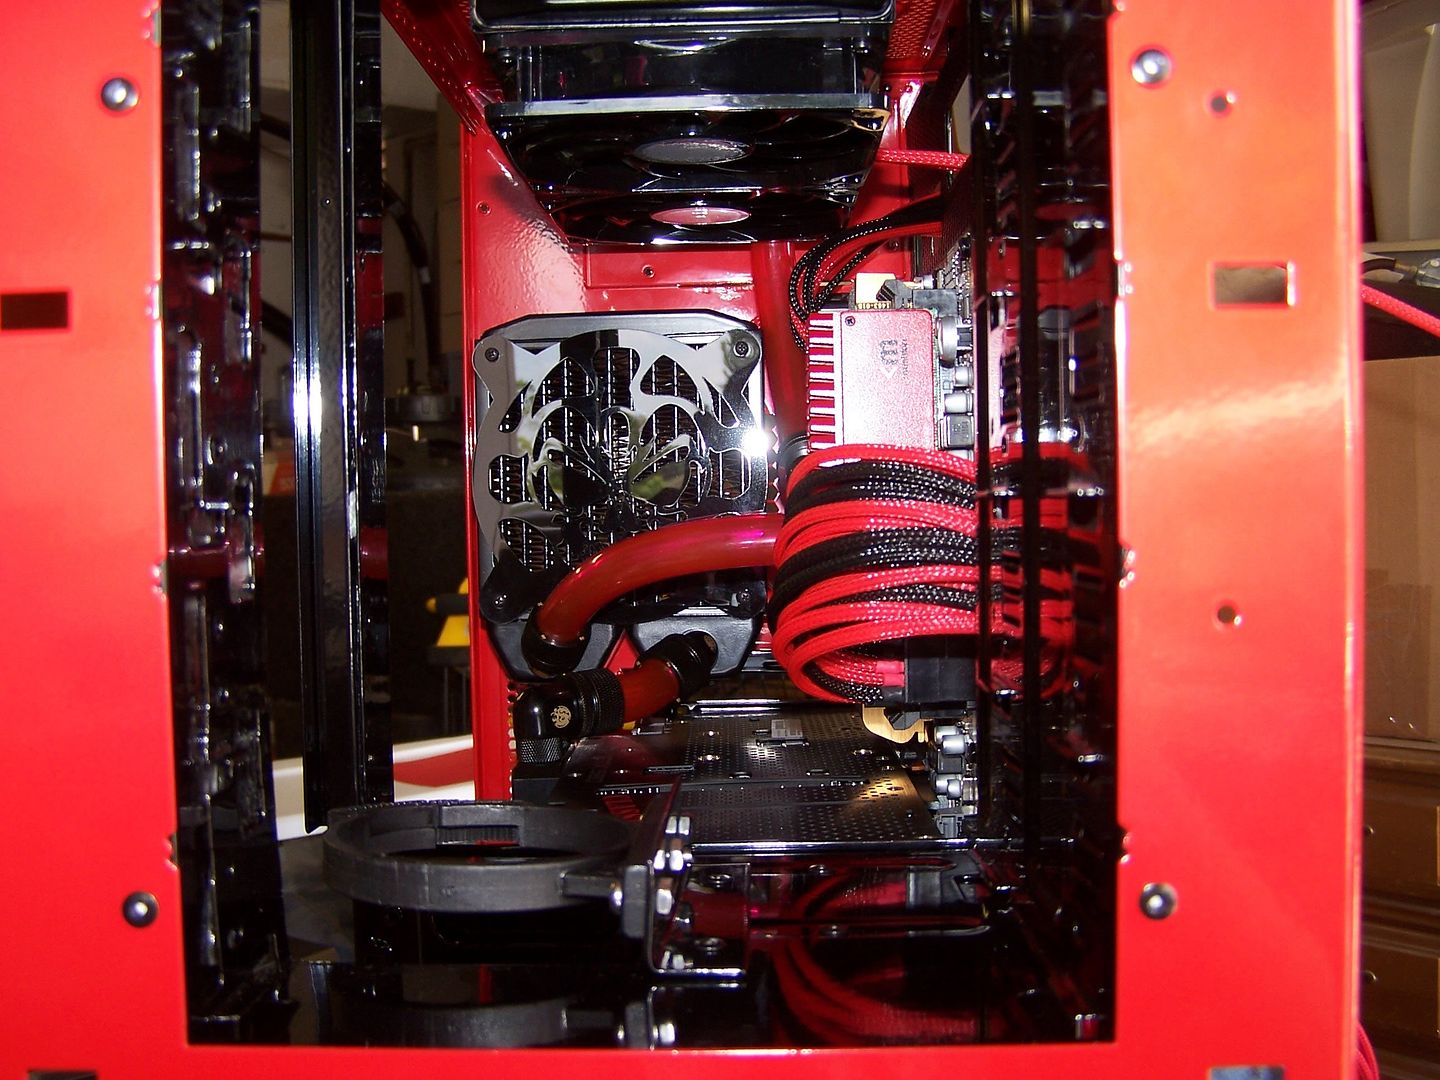
Here is the recent metal work that I have done to seal off the new Pump Bay to give it a nice clean look instead of the hdd cage that it used to be.
I will be installing a smaller grommet for the hose to come out of there and into the GPU's.
I am pretty satisfied with the way it looks.
Well that's it for now will post again when I do the tear down before and after powder coating.
Picked up my powder coated pieces today. I am actually very impressed with the quality of their work but the pictures are nothing like it actually looks in person.
A special thanks to Kenny Price at Samson Motorcycle Exhausts for not only referring me to Central Powder Coating in Brea, CA but also for his generosity in paying for the purchase order.
Now the best part of all my hard work begins......putting her together and bringing it to life.
Here are some way better pictures taken with my phone. (damn phone is better than my camera )
These are some shots of the process of riveting it back together. Now I have to get all of my custom case pieces I made and install them along with my components, loop etc.
Reservoir window installed now I have two more windows to go and I can start assembling.
And here is the back panel window installed. 3 SSD's will be mounted here. 2 64gig Crucial M4's in RAID 0 and 1 256gig Crucial M4 for Games etc.
Ok wanted to give a quick status update and post a couple of money shots for you guys during the rebuild.
What I did here on the top I/O panel is dropped a piece of 16g steel I had fabricated prior and powder coated gloss black (the picture doesn't do it justice though) to match the other case pieces and made an actual functioning fill port for the bitspower 250mm reservoir. I always see cases showcasing a fillport up top but I have never actually seen someone utilize it and make it functional so here you have it:
The rest are just some shots of the build progress to see how everything is going to layout and whether or not it is going to meet my standards before I commit to complete reassembly. All in all I am very satisfied and quite stoked to say the least. I want to hurry up and drop in those 2 580 classifieds and see where I stand at 5.3ghz...lol
Here is what I have done for today.
Installed 3 Crucial M4's to their new mounting bracket underneath the reservoir bay on the backside of the case. I already planned this from the begining of the build and that is why there is a nice new shiny window on the backpanel to showcase the SSD's. The top one is a 256 gig Crucial M4 and the other two are 64 gig Crucial m4's in RAID 0.
Originally I had planed on turning the SSD's inside out and just mounting the pcb of each on the bracket so you could see them through the window but really didn't care for the way it looked.
That's it for now I only have 10 days left actually 7 because I have to leave in 7 so I better hurry the hell up...lol